Advertisement
Assembly Instruction
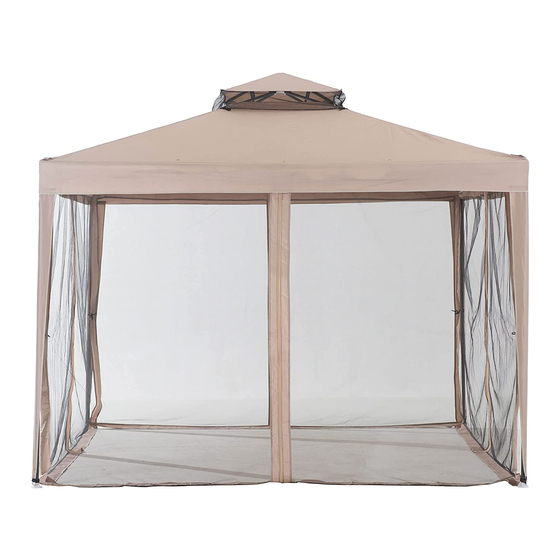
ITEM# L-GZ098PST-1B
IMPORTANT:
Please read and follow all safety statements, warnings, assembly instructions, use & care
directions, before attempting to assemble.
WARNINGS:
1. Assembly Instructions must be followed.
2. Pegs supplied must be used to hold this gazebo in place when upright.
3. Warranty does not cover damage due to extreme weather conditions.
4. Do not use candles, matches or open flames of any kind in or near a tent.
5. Do not cook inside the tent.
6. Build campfires downwind and several meters away from a tent and be sure to fully
extinguish campfires before leaving a campsite or before retiring for the night.
1 / 7
Advertisement
Table of Contents

Subscribe to Our Youtube Channel
Related Manuals for Sunjoy L-GZ098PST-1B


Summary of Contents for Sunjoy L-GZ098PST-1B
- Page 1 Assembly Instruction ITEM# L-GZ098PST-1B IMPORTANT: Please read and follow all safety statements, warnings, assembly instructions, use & care directions, before attempting to assemble. WARNINGS: 1. Assembly Instructions must be followed. 2. Pegs supplied must be used to hold this gazebo in place when upright.
- Page 2 7. Exercise extreme caution when using fuel-powered lanterns or heaters inside a tent and use battery-operated lanterns whenever possible. 8. Do not refuel lamps, heaters or stoves inside a tent. 9. Extinguish or turn off all lanterns before going to sleep. 10.
- Page 3 Parts List Pole1 Pole2 Long Support Pole3 Short Support Pole4 Pole5 Pole6 Base plate Corner connector Top connector Small Canopy Big Canopy Mosquito netting ¢4x180 Stake 8PCS Rope 8PCS Rope peg 8PCS Plastic loop 3 / 7...
- Page 4 Fig.1: Insert the Short Support Pole 4 into Long Support Pole 3, then insert the other end of Long Support Pole 3 into the Corner Connector B as above drawing. Fig.2: Insert the Pole 5 into Pole 6 (Note: Before last Pole 5 inserted into Pole 6, put Big Canopy E onto the Big Top, do not fully spread).
- Page 5 Fig.4: Put Small Canopy D onto Small Top. Then insert the spring clip end of Pole 1 into the Corner Connector B. Please make sure the Pole 1 is completely inserted into Connector B. Fig.5: Insert the spring clip end of Pole 2 into Pole 1, and then insert Pole 2 into Base Plate A, then fix gazebo by using Stake AA through Base Plate A.
- Page 6 Fig.6: Fully Spread Big Canopy E on the top frame. Hang the Big canopy metal hook into hole of Pole 2 first, and then hang the plastic hook into Base plate A. Fig 7: Tie Rope BB onto four corner of Big Canopy, and then use Rope Peg CC to secure it to the ground.
- Page 7 Important: Please do not return this product to the store. For technical assistance on assembly or replacement parts. Please call Sunjoy Industries at 1-866-578-6569 from 8:00 am EST to 8:00 pm PST or fax the replacement part form which is in the box to 1-740-283-3549 or Email customer.care@sunjoygroup.com for assistance.
Need help?
Do you have a question about the L-GZ098PST-1B and is the answer not in the manual?
Questions and answers