Advertisement
Quick Links
Advertisement

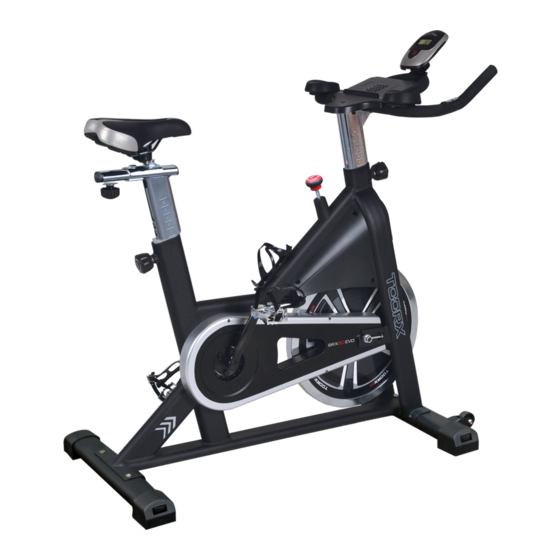
Summary of Contents for TOORX SRX60 EVO
- Page 1 INSTRUCTION...
- Page 2 EXPLOSIVE...
- Page 3 PART NO. DESCRIPTION Computer 1 PC Computer holder 1 PC Handlebar 1 PC Hexagon screw M8 4 PCS Spring washer φ8 4 PCS I-pad holder 1 PC Brake knob 1 PC Hexagon nut M8 1 PC Brake cover 1 PC Screw M5 1 PC Brake nylon bushing...
- Page 4 PART NO. DESCRIPTION Pedal(R +L) 1 SET Crank plug 2 PCS Flange nut M10 2 PCS Crank(R+L) 1 SET Crank bushing 1 PC Hexagon nut 2 PCS Bearing 2 PCS Bushing 1 PC End cap 4 PCS Hexagon nut M10 2 PCS Rear tube 1 PC...
- Page 5 PART NO. DESCRIPTION Frame 1 PC Screw M5 2 PCS Brake pad 1 PC Hexagon nut M5 2 PCS Nylon cap M5 2 PCS Screw 1 PC Brake shrapnel 1 PC Hand pulse tablet 2 PCS Cable 1 PC Flange nut M12 2 PCS Hand pulse cable 4 PCS...
-
Page 6: Assembly Instruction
ASSEMBLY INSTRUCTION STEP 1 Attach the rear tube (38) to the main frame(55) using two step screw(54) and hexagon wrench(79). Attach the front tube (53) to the main frame same as the rear tube. - Page 7 STEP 2 Put seat post (25) insert main frame with knob(70) adjust height. Fix slider(20) to seat post by carriage screw(22),washer(15) and knob(24).And then fix seat(21) to slider by harpoon wrench(80). Fix bottle holder(19) on main frame by two screws(18) and harpoon wrench.
- Page 8 STEP 3 Put handlebar post (79 )insert main frame with knob(70) adjust height. Fix handlebar on handlebar(3) post by spring washer(5) ,hexagon screw(4) and hexagon wrench(79). Fix arm pad(73) on handlebar by screw(76) and fix i-pad holder on handlebar by screw(10). Fix computer(1) on the handlebar by computer holder(2) and screw(60).And insert the sensor cable plug and hand pulse cable plug(65) into the sensor joint and pulse joint of computer.
- Page 9 STEP 4 The pedals (28L and 28R) are marked “L” and “R”-left and right. Connect them to their appropriate crank set. The right crank set is on the right hand side of the cycle as you sit on it. Note that the right pedal should be threaded on clockwise and the left pedal on anti-clockwise.
-
Page 10: Specifications
EXERCISE MONITOR INSTRUCTION MANUAL SPECIFICATIONS: TIME(TMR)................00:00-99:59 SPEED(SPD)……………………………………………………0.0-99.9KM/H(ML/H) DISTANCE(DIST)………………………………………………0.00-99.99KM(ML) CALORIES(CAL)………………………… …………………..0.0-999.9KCAL ※ODOMETER(ODO)…………………………………………………0-9999KM(ML) ※PULSE(PUL)………………………………………………………40-240BPM KEY FUNCTIONS: MODE:This key lets you to select and lock on to a particular function you want. ※SET(IF HAVE):Can to proceed the data establish for“TIME”“DISTANCE” “CALORIES”. CLEAR(RESET):The key to reset the value to zero by pressing the key. OPERATION PROCEDURES:... - Page 11 GARLANDO SPA Via Regione Piemonte, 32 - Zona Industriale D1 15068 - Pozzolo Formigaro (AL) - Italy www.toorx.it - info@toorx.it...


Need help?
Do you have a question about the SRX60 EVO and is the answer not in the manual?
Questions and answers