Table of Contents
Advertisement
Quick Links
Advertisement
Table of Contents

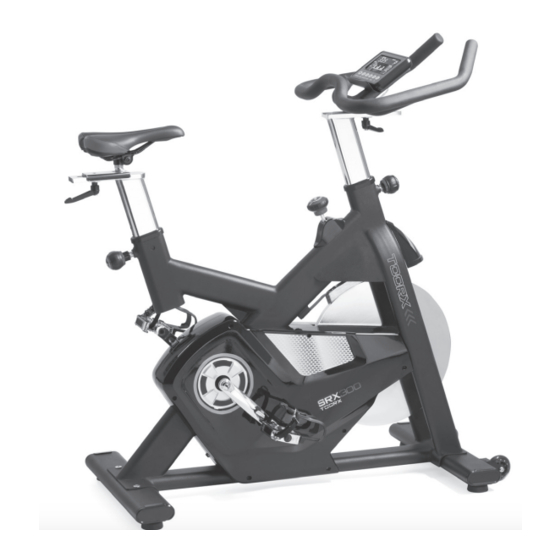
Summary of Contents for TOORX SRX300
- Page 1 INSTRUCTION...
-
Page 2: Explosive View
EXPLOSIVE VIEW... -
Page 3: Parts List
PARTS LIST PART NO. DESCRIPTION Computer 1 PC Ipad shelf 1 PC Line plug 3 PCS Handlebar 1 PC Handlebar post 1 PC Brake knob 1 PC Brake trim cover 1 PC Hexagon nut M8 2 PCS Brake rod φ10x225 1 PC Spring Φ14xΦ1.8x31.5L 1 PC... - Page 4 Chain cover L 1 PC Crank (L+R) 1 PC Pedal (L+R) 1 SET Crank plug 2 PCS Flange nut M10 2 PCS Hexagon nut 2 PCS Bearing 6004 2 PCS Axle pipe 1 PC End cap 40x100 4 PCS Hexagon nut M10 4 PCS Foot pad 4 PCS...
- Page 5 Hexagon nut 2 PCS Magnetic flywheel 1 PC Washer 2 PCS Cable 1 PC Main frame 1 PC Hexagon screw 2 PCS Brake pad 1 PC Screw M5 4 PCS Motor 1 PC Hexagon screw M6×45 2 PCS Hexagon screw M6 2 PCS Flange nut 2 PCS...
-
Page 6: Assembly Instruction
ASSEMBLY INSTRUCTION STEP 1 Attach the rear tube (38) to the main frame(60) using two sets of cap nut(25), Attach the front tube (54) to the main frame same as the rear tube. - Page 7 STEP 2 Put seat post (17) insert main frame with knob (21)adjust height. Put seat (15) on the slider(16) and fix it.
- Page 8 STEP 3 The pedals (29L and 29R) are marked “L” and “R”-left and right. Connect them to their appropriate crank set(28L and 28R). The right crank set is on the right hand side of the cycle as you sit on it. Note that the Right pedal should be threaded on clockwise and the left pedal on anti-clockwise.
- Page 9 STEP 4 Fix the ipad shelf(2) on the handlebar(4) using s (78),put computer(1) into crew ipad shelf(2), And fix handlebar(4) on handlebar post(5) using w (18) and asher knob(19). And connect sensor plug (14) and sensor plug (77) ,then insert the sensor plug(77) into the sensor joint of computer.
-
Page 10: Display Functions
DISPLAY FUNCTIONS ITEM DESCRIPTION TIME .Workout time displayed during exercise. .Range 0:00 ~ 99:59 SPEED .Workout speed displayed during exercise. .Range 0.0 ~ 99.9 DISTANCE .Workout distance displayed during exercise. .Range 0.0 ~ 99.9 CALORIES .Burned calories during workout display. .Range 0 ~ 999 PULSE .Pulse bpm displayed during exercise. -
Page 11: Workout Selection
OPERATION: POWER ON Plug in power supply, computer will power on and display all segments on LCD for 2 seconds. After 4 minutes without pedaling or pulse input, console will enter into power saving mode. Press any key may wake the console up. WORKOUT SELECTION Press UP and Down to select workout Manual à... - Page 12 Sporty Mode 1. Press UP or DOWN to select workout program, choose Sporty mode and press Mode to enter. 2. Press UP or DOWN to preset TIME. 3. Press START/STOP key to start workout. Press UP or DOWN to adjust load level. 4.
- Page 13 3. During measuring, users have to hold both hands on the hand grips. And the LCD will display “-- ”“ --“for 8 seconds until computer finish measuring. (see below pictures) 4. LCD will display BODY FAT advice symbol, BODY FAT percentage, BMI for 30 seconds. 5.
- Page 14 GARLANDO SPA Via Regione Piemonte, 32 - Zona Industriale D1 15068 - Pozzolo Formigaro (AL) - Italy www.toorx.it - info@toorx.it...


Need help?
Do you have a question about the SRX300 and is the answer not in the manual?
Questions and answers