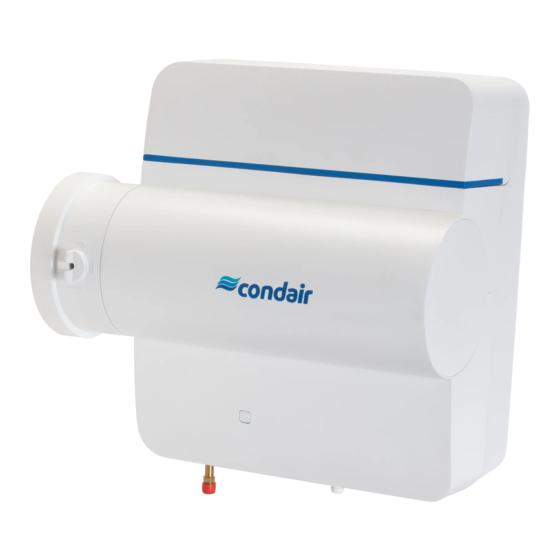
Condair HumiLife RE Series Quick Start Manual
Hide thumbs
Also See for HumiLife RE Series:
- Homeowner's manual (19 pages) ,
- Installation manual (26 pages)
Subscribe to Our Youtube Channel
Summary of Contents for Condair HumiLife RE Series
- Page 1 READ AND SAVE THESE INSTRUCTIONS Quick Start Guide Condair HumiLife – The economic solution for forced air heating Condair RE Humidification and Evaporative Cooling...
-
Page 2: Cautions And Warnings
Disconnect power before any servicing. Saddle valve Electrical compartment contains high voltage components. Inlet hose Condair does not accept any liability for installations of humidity equipment Drain hose installed by unqualified personnel, or the use of parts, components, or Clip for drain hose equipment that are not authorized or approved by Condair. -
Page 3: Product Overview
Product Overview Hose Ceramic media LEDs Control board Top cover Damper Damper switch Bottom cover Solenoid valve Water supply Drain 2598380_B_EN_2005_Condair-RE_SIOM... -
Page 4: Installation Overview
Installation Overview Air duct Condair HumiLife RE Bypass duct Water supply Power supply 24 VDC Furnace Humidity sensor Drain 2598380_B_EN_2005_Condair-RE_SIOM... - Page 5 Clearances & Mounting Location 9.45 in 240 mm Mounting Considerations ENSURE ARROW UP Ø 6 in The unit may be installed on the return or the 152 mm supply duct. ADHERE TEMPLATE TO DESIRED POSITION ON DUCT. 12 in Mounting holes are 11.4 in (290 mm) apart. CUT METAL DUCT ALONG OUTLINE.
- Page 6 Mounting Your Humidifier 9.45 in 240 mm Ø 6 in 152 mm 12 in 305 mm 1. Use the templates (supplied) to cut holes in the ducts. Refer to the installation manual for more information. a. Cut a rectangle into the air duct (return or supply). This hole will be for the humidifier body. b.
- Page 7 Tapping into an Existing Water Line You may need to tap into your existing water line to supply water to your humidifier. A saddle valve is supplied with the unit and will allow you to do this easily. Some installations may require alternative means to divert your water supply (ex.
-
Page 8: Connecting The Water Supply
Connecting the Water Supply Water inlet hose diameter (via Ø 0.25 in (6.35 saddle valve): Temperature: 34-140 °F (1-60 °C) Pressure: 14-87 PSI (97-600 kPa) Quality: Potable 1. Remove the protective sleeve on the inlet valve and install the white quick connector over the inlet valve. 2. - Page 9 Installing the Power Connection and Controls Bu on WiFi Signal Sensors 1 and 2 Signal 24VDC 24VDC Power Safety 24VDC Chain Inlet Valve 0-10 V / 0-20 mA Controls IMPORTANT! Unit accepts 24 VDC only. Adhere to all local and regional electrical codes. 1.
- Page 10 Use your phone's camera or QR scanner to go to Google Play (Android) or the App Store (iOS). Google Play (Android) App Store (iOS) Connecting to the Condair HumiLife App Press and hold the power button on the humidifier for 5 Download the Condair HumiLife app from seconds (the WiFi LED will start flashing).
- Page 11 Disclaimer This Quick Start Guide (the “QSG”) provides basic product and installation overview of the Condair Humilife Humidifier (the “Humilife Humidifier”) and is for general information purposes only. The general installation guidelines contained herein do not purport to cover all details of the Humilife Humidifier nor do they provide for every contingency met in connection with installation.
-
Page 12: Warranty
Warranty Condair Inc. and/or Condair Ltd.(hereinafter collectively referred to as THE COMPANY), warrant for a period of five years from the date of purchase by the customer, that THE COMPANY’s manufactured and assembled products, not otherwise expressly warranted, are free from defects in material and workmanship. No warranty is made against corrosion, deterioration, or suitability of substituted materials used as a result of compliance with government regulations.


Need help?
Do you have a question about the HumiLife RE Series and is the answer not in the manual?
Questions and answers