
Related Manuals for ApexDesk Flex Series


Summary of Contents for ApexDesk Flex Series
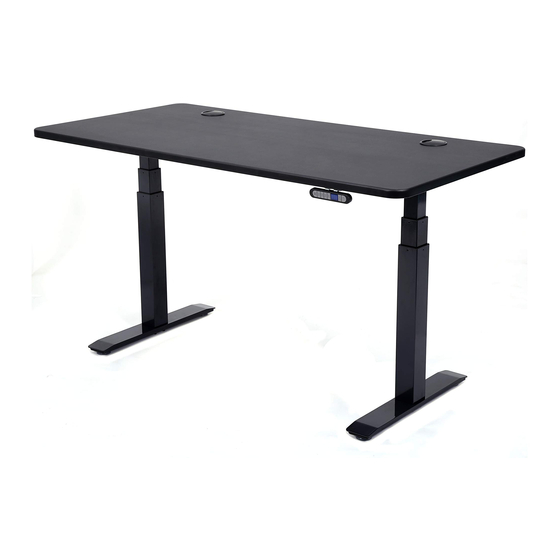
- Page 1 ELECTRIC HEIGHT-ADJUSTED SIT TO STAND DESK ApexDesk Flex Series Electric Height Adjustable Desk Assembly Guide 9-2018...
-
Page 2: Table Of Contents
1) UNFOLD FRAME & INSTALL DESK SUPPORT BRACKET ................6 2) ALIGN/EXTEND DESK FRAME & MOUNT DESKTOP ................. 8 2A) Mounting the ApexDesk Elite 60” Top ....................8 2B) Mounting the ApexDesk Vortex 60” Top ................... 11 2C) Mounting Non-ApexDesk Tabletops ....................12 3) INSTALL DESK FEET .......................... -
Page 3: Caution, Use & Liability
CAUTION, USE & LIABILITY CAUTION Make sure no obstacles are in the desk’s path. Make sure the desk top is not touching any walls. Make sure all cords are of appropriate lengths to accommodate the change in desk height. Read and understand this manual before attempting to install or operate . This product is not intended for use by young children or for those who require supervision Do not sit or stand on the desk. -
Page 4: Parts / Component Diagrams
PARTS / COMPONENT DIAGRAMS M8x25 Screw & Bolt Sleeve (A) Pre-installed ST5x12mm Hexagon Washer Screw (F) Support M8x25 Screw & Bracket (#4) Bolt Sleeve (A) Pre-installed M8x25 Screw & Bolt Sleeve (A) M8x25 Screw & Support Bolt Sleeve (A) Bracket (#4) M6x6 Screws (D) Pre-installed Desk Leg (#3) -
Page 5: Parts / Component List
PARTS / COMPONENT LIST NOTE: Please verify that you have all the parts on below list. If you are missing or have damaged parts, please contact customer support at support@apexdesk.com. PARTS / COMPONENT LIST PICTURE Desk top (optional) Foot Desk Leg / Lifting Column (Pre-installed) -
Page 6: Tools & Hardware List
TOOLS & HARDWARE LIST NOTE: Please verify that you have all the parts on below list. If you are missing or have damaged parts, please contact customer support at support@apexdesk.com for faster service. HARDWARE LIST PICTURE / QTY M8x25mm Hexagon Screw & Bolt Sleeves... -
Page 7: Assembly Instructions
ASSEMBLY INSTRUCTIONS BEFORE YOU BEGIN 1. Lay out all components and hardware to ensure that you have everything listed on Page 4 & 5. 2. The desk weighs over 100 lbs. Two people are needed to turn or move desktop and some components. When turning or moving the assembled desk, grab it by SUPPORT BRACKETS (not the desk top). - Page 8 3) Insert Bolt Sleeves through holes on the Crossbeam (#5) and Leg (#3). 4) Insert M8x25 Screws (A) into sleeves and tighten with 6mm Allen Wrench (J). 5) Tighten two pre-installed M8x25 Screws with 6mm Allen Wrench (J).
-
Page 9: Align/Extend Desk Frame & Mount Desktop
2) ALIGN/EXTEND DESK FRAME & MOUNT DESKTOP 2A) Mounting the ApexDesk Elite 60” Top 1) Place desktop on a flat and non-abrasive surface with screw holes facing up. With two people, carefully place assembled frame onto the desk top. The frame is heavy. Two people are needed to move it and to turn the desk over after it is fully assembled. - Page 10 3) Loosen 8 pre-installed M6x6 Hexagon Screws (D) as shown in the diagram below with 3mm Allen Wrench (H). This unlocks connecting inner bars in the middle section of the crossbeam and allows the crossbeam to be extended or retracted to accommodate different top widths. 4) Grab the right lifting column, pull/ push to align the right Support Bracket (#4) with the pre-installed anchors on the top.
- Page 11 For those who do, they rarely use all eight screws. Please note pilot holes are not pre- drilled on the ApexDesk Elite and Vortex tops. The Washer Screws are self-drilling. Use a power tool to install.
-
Page 12: Mounting The Apexdesk Vortex 60" Top
2B) Mounting the ApexDesk Vortex 60” Top Follow the same basic steps from 2A-1 thru 2A-5. The only difference is that Vortex top requires four screws on each side. Optional: Use 8pcs of ST5x12 Hexagon Washer Screw (F) to secure Crossbeam... -
Page 13: Mounting Non-Apexdesk Tabletops
2C) Mounting Non-ApexDesk Tabletops If you are using your own top, we recommend that you use a top between 48” to 78” in width and 28” to 38” in depth. Top can be installed either with anchor/screw or wood screws. Please make sure the lenth of screw does not exceed the thickness of your top when wood screws are used. -
Page 14: Install Desk Feet
3) INSTALL DESK FEET Attach each foot to each Desk Leg (#3) with four M6x40 screws (C). Use 5mm Allen Wrench (I) to tighten screws. -
Page 15: Connecting Cables
4) CONNECTING CABLES 1. Connect memory controller (#7) cable to the left plug on control box (#6). 2. Connect motor cables to control box (#6) by threading them thru the cable guards. Motor cables can be connected to either port and interchangeably. Switching cables from one port to another may be needed when troubleshooting. -
Page 16: Initializing Desk & Setting Height Positions
INITIALIZING DESK & SETTING HEIGHT POSITIONS LED DISPLAY Preset Memory Preset Options UP / DOWN ‘M’ Button 1 / 2 / 3 / 4 Buttons DESK MUST BE INITIALIZED BEFORE FIRST USE To Initialize or Reset Press and hold UP and DOWN arrow buttons until three blinking zeros (“000”) appear on the display, then release the buttons. -
Page 17: Troubleshooting
TROUBLESHOOTING Issues Solution Desk does not go up or down. The Check all connections. Make sure power cord is plugged into the memory controller does not illuminate control box and a power outlet. Press any button on the when any button is pressed. controller and make sure it illuminates. -
Page 18: Error Codes
ERROR CODES Error Code Solution Not initialized. Initialize desk. Press/hold up and down buttons at same time and release both when 000 appears on the panel. Control system malfunction. Contact dealer. Voltage irregularity. Contact dealer. Over-load protection activated. Reduce load on the desk. Over-heat or power supply failure. -
Page 19: Warranty Information
ApexDesk’s obligation under this warranty is limited to the repair or replacement, at ApexDesk’s sole option, of the parts or products the defect of which are reported to ApexDesk within the applicable warranty period and which, upon examination by ApexDesk, prove to be defective.
Need help?
Do you have a question about the Flex Series and is the answer not in the manual?
Questions and answers