
Subscribe to Our Youtube Channel
Related Manuals for ApexDesk Little Soleil DX


Summary of Contents for ApexDesk Little Soleil DX
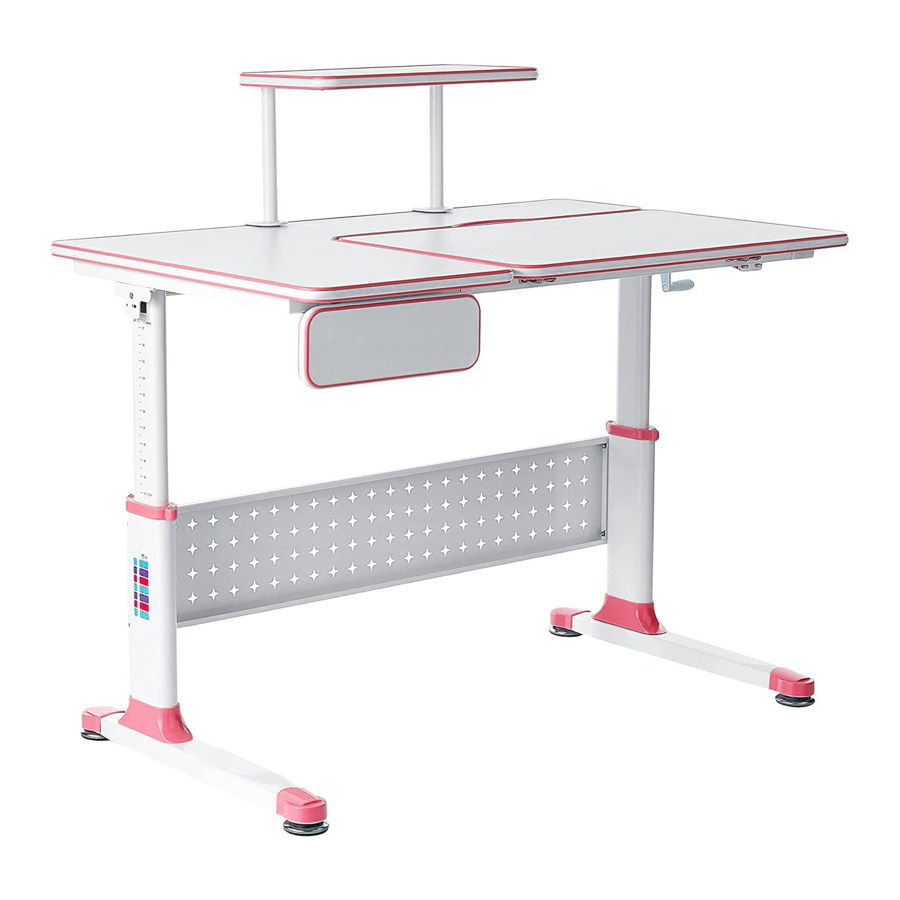
- Page 1 AFFORDABLE ADJUSTABLE DESKS FOR EVERYONE Little Soleil DX Children’s Adjustable Desk Assembly Guide REV-1609A...
-
Page 2: Table Of Contents
Table of Contents CAUTION, USE& LIABILITY.............................3 PARTS & COMPONENTS LIST...........................4 ASSEMBLY INSTRUCTIONS............................5 CARE INSTRUCTIONS..............................10 TECHNICAL SPECIFICATIONS..........................10 WARRANTY INFORMATION........................... 11 CONTACT INFORMATION............................11... -
Page 3: Caution, Use& Liability
CAUTION, USE& LIABILITY CAUTION Keeps small items away from small children. Keep hands off pinch points. Do not sit or stand on the desk. Do not crawl or lie under the desk. USE & LIABILITY This children’s adjustable desk is designed for use in an indoor environment and dry work area only .The desk height is adjustable so that it can be positioned at the most suitable height for your growing child. -
Page 4: Parts & Components List
PARTS & COMPONENTS LIST COMPONENT LIST Crossbar Crank Spindle Drawer Drawer panel Shelf Shelf holder Phillips screwdriver Screw A Allen wrench Screw B... -
Page 5: Assembly Instructions
ASSEMBLY INSTRUCTIONS BEFORE YOU BEGIN Lay out all components and hardware to ensure that you have all the parts listed on the parts page. Contact manufacturer on Page 11 for missing parts and components. Assemble on soft and non-abrasive surface to avoid scratch or damage to the top. ... - Page 6 STEP 2 Crank can be installed on either side. Take note of the spindle’s both ends. One end has hexagon rod and the other end has tube with a small opening. Insert hexagon end to the side that crank will NOT be installed. STEP 3 Thread crank thru the leg and into the “tube”...
- Page 7 STEP 4 Use Screw A to secure crank to the spindle. Half-tighten the crank and make sure it turns freely before tightening the screws fully. Slide the crank to the left or right to make adjustment if needed. STEP 5 Secure crossbar with Screw B, two on each side.
- Page 8 STEP 6 Follow pre-drilled holes and assemble the drawer. STEP 7 Follow pre-drilled holes and secure drawer to the back of the top.
- Page 9 STEP 8 Follow pre-drilled holes to secure shelf to the holders STEP 9 Clamp the shelf onto the rear edge of the desk...
-
Page 10: Care Instructions
STEP 10 Adjust leveling studs if needed. CARE INSTRUCTIONS Recommend checking the screws and bolts several times a year to ensure they stay tight. Desk is intended for use in dry, indoor areas. Avoid extended exposure to direct sunlight. For all surfaces: wipe clean with a damp cloth and a weak cleaning solution, and then dry with a clean and dry cloth. -
Page 11: Warranty Information
ApexDesk’s obligation under this warranty is limited to the repair or replacement, at ApexDesk’s sole option, of the parts or products the defect of which are reported to ApexDesk within the applicable warranty period and which upon examination by ApexDesk prove to be defective .
Need help?
Do you have a question about the Little Soleil DX and is the answer not in the manual?
Questions and answers