Table of Contents
Advertisement
Quick Links
1
PRODUCT AND INSTALLATION MANUAL
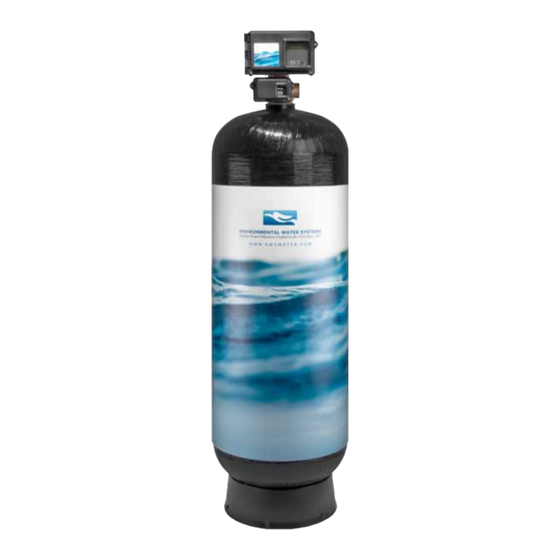
Estate Home and Commercial
Water Filtration Systems
for 2.0" incoming line size
Model NuMbers:
Home and Commercial Water Filtration & Conditioning systems:
eWs-1665-2, eWs-CC-2472-2
Home and Commercial Water Filtration systems:
CWl-1665-2, CWl-CC-2472-2
Retain this Product & Installation Manual
for Helpful Information
Please Register Your System
Revised 12/01/2017 V: N.1.0
Advertisement
Table of Contents

Subscribe to Our Youtube Channel
Related Manuals for Environmental Water Systems EWS-1665-2


Summary of Contents for Environmental Water Systems EWS-1665-2
- Page 1 Estate Home and Commercial Water Filtration Systems for 2.0” incoming line size Model NuMbers: Home and Commercial Water Filtration & Conditioning systems: eWs-1665-2, eWs-CC-2472-2 Home and Commercial Water Filtration systems: CWl-1665-2, CWl-CC-2472-2 Retain this Product & Installation Manual for Helpful Information Please Register Your System Revised 12/01/2017 V: N.1.0...
-
Page 2: Simple Steps For A Correct Installation And Happy Customer
If you don’t read this service guide at least read these 7 simple steps SIMPLE STEPS FOR A CORRECT INSTALLATION AND A HAPPY CUSTOMER set up system and install it on the main water supply coming into the home or facility Page 7-8 outlet inlet... -
Page 3: Table Of Contents
table of contents SIMPLE STEPS FOR A CORRECT INSTALLATION AND HAPPY CUSTOMER ........INSTALLATION DIMENSIONS FOR 1665-2 AND 2472-2 SYSTEMS ..........ASSEMbLY INSTRUCTIONS ........................ IMPORTANT SAFETY INFORMATION – All Systems Instructions before Using ......................LOCATION AND SETUP - All Systems ....................... Unpacking and Inspection Where to Install the system drain location... -
Page 4: Installation Dimensions For 1665-2 And 2472-2 Systems
- Model #’s eWs-1665-2, CWl-1665-2, eWs-CC-2472-2, CWl-CC-2472-2 For Illustration Purposes Only: On-Site Assembly Required due to shipping weight for all larger systems, tank, all tank contents and valve must be assembled on site. Please review the simple steps for proper assembly. -
Page 5: Assembly Instructions
CHECk TO SEE IF YOU HAVE ALL THE bOxES bEFORE ASSEMbLY - bELOW IS THE bOx COUNT FOR EACH SYSTEM Model #’s EWS-1665-2 and CWL-1665-2 should have 7 boxes. ______________________________________________________ 1 Box - Tall with 16” x 65” Tank with a Capped 1-1/2” Riser Tube (or ICN (3) Riser Manifold - EWS Series only) inside and Tank Wrap ... -
Page 6: Important Safety Information - All Systems
IMPORTANT SAFETY INFORMATION - ALL SYSTEMS CAUTION: Read and follow the information in this manual to minimize the risk of electric shock or personal injury. IMPORTANT! If you are unsure about the installation of your system, contact eWs customer service or consult a professional plumber. IMPORTANT! This system must be installed in compliance with applicable state and local codes, law, and regulations. -
Page 7: Location And Setup - All Systems
location and setup UNPACkING AND INSPECTION - Check the system components for damage or missing parts. WHERE TO INSTALL THE SYSTEM Place system on the main water supply in order to supply filtered water to the entire home or facility. ... -
Page 8: Installation Instructions - All Systems
installation Instructions - all systems - plumbing connections - bypass INSTALLATION Turn off gas or electric supply to the water heater(s). Turn off the main water supply. open a hot and cold faucet to drain house water pipes. NOTE: Keep those hot and cold faucets open until these instructions tell you to close. Move the assembled system into installation position and check that Valve is securely fastened to the Tank. - Page 9 valve - big picture of flow direction in & out Valve Back View - Outlet Side drain line Inlet Outlet incoming outgoing raw water filtered water from supply to the home or facility A flexible capability will assist with the installation where the rough plumbing and finish measurements are slightly off. WARNING: all threaded connections: do not use pipe joint compound or pipe dope.
- Page 10 bypass - big picture with some great information FOR ILLUSTRATION PURPOSES ONLY: This is an example of 3 valve bypass using corrugated flexible stainless to make the final connections with the valve. Configuration may vary RECOMMENDATION leT’s buIld THe byPass agaINsT THe Wall, use less space and make the correct connections: 1.
-
Page 11: Drain Line
installation Instructions - all systems - drain connections A word about the proper installtion of a drain line. It appears simple, however if simple mistakes are made it can create many problems associated with this or any system. Please read the instructions below to avoid any issues. Plumb rigid tubing only (PVC recommended if code applicable) directly to the 3/4”... -
Page 12: Electrical Connection
installation Instructions - all systems - electrical connection INSTALL ELECTRICAL CONNECTION Connect electrical power by plugging the system nto a standard grounded and unswitched 110/115/120v electrical outlet. If outlet is over 16 feet away use 18 gauge extension cord to connect up to 100 feet away. Do not exceed 100 feet. do not cut or splice original equipment. -
Page 13: Set The Time Of Day
installation Instructions - all systems - set the clock SET THE TIME OF DAY SET TIME OF DAY: a. Press and Hold the up or down button for 2 seconds. 10:29PM Time of day screen will appear b. Press the shift button to select what digit you want to change Note: The hour or minutes you are changing will be __ underlined. -
Page 14: Flushing The System Procedure
flush the system and what the system is doing START UP TO FLUSH THE SYSTEM NoTe: day & Time are the only changes needed. Press the Extra Cycle button Extra system does not need any Cycle additional programming. button Please follow the instructions and allow system to run through CYCLE 1 00:09:59 screen will change to Cycle 1... -
Page 15: Last Steps Before Leaving The System
check the drain water and put system in service CYCLE 3 00:09:59 Observe the drain water during Cycle 3. Rapid Rinse RAPID RINSE If the water is running clear - proceed to Step #16. If the water remains grey - go back to Step #13 on Page 14. look for clear minimum water coming... -
Page 16: System Ready For Use
go through home/facility checklist and check your work System is ready for use. Turn on gas or electric supply to the water heater(s). To ready facility for filtered water, please flush all the water throughout the home. open as many hot and cold faucets through out the home as possible, remove the aerators or any restriction at the end of the faucets, run tubs (if applicable), flush toilets,... -
Page 17: Product Blow-Out (For Illustration Purposes)
50 lbs. for all systems riser with lower screen and ICN Manifold for Conditioning. eWs-1665-2 system - 3 ICN’s eWs-CC-2472-2 system - 6 ICN’s CauTIoN: If installing other equipment in addition to this system - Contact customer service for proper order of installation... -
Page 19: Warranty
Warranty Notification - As Published and Available Online Notification: This warranty is referenced by eWs, Inc. in all literature, addressed in general Terms and standard Conditions of sale, and is published in its entirety in all eWs, Inc. product manuals, websites, and in all service guides supplied with all product. Limited Warranty: EWS, Inc., a Nevada corporation, hereby warrants all products to the original consumer purchaser to be free from defects in material and workmanship as stated in the following paragraphs:... -
Page 20: Back Cover With Ews Contact Information
Digestive: Crohn’s & Colitis • • • • • • • oceans Inland Water Ways Wetlands Forestry soil ALL FILTRATION PRODUCT PROUDLY MADE & ASSEMBLED IN THE USA EWS Logo and Environmental Water Systems are Registered Trademarks and the Property of EWS, Inc.
Need help?
Do you have a question about the EWS-1665-2 and is the answer not in the manual?
Questions and answers