Sign In
Upload
Download
Table of Contents
Contents
Add to my manuals
Delete from my manuals
Share
URL of this page:
HTML Link:
Bookmark this page
Add
Manual will be automatically added to "My Manuals"
Print this page
×
Bookmark added
×
Added to my manuals
Manuals
Brands
Gorenje Manuals
Kitchen Appliances
K52CLI
Detailed instructions for use
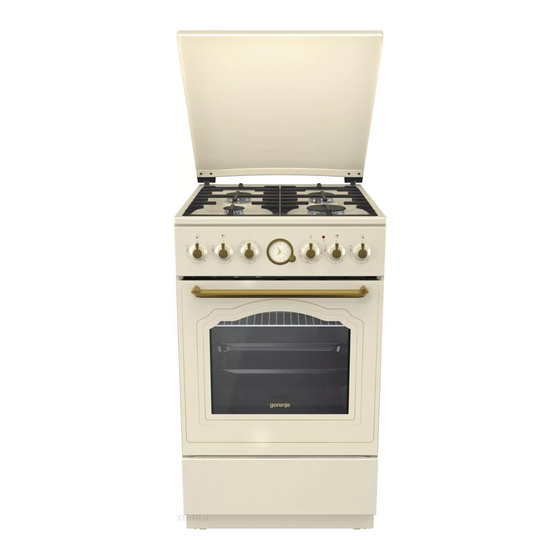
Gorenje K52CLI Detailed Instructions For Use
Combined free standing cooker
Hide thumbs
1
2
3
4
5
6
7
8
9
10
11
12
13
14
15
16
17
18
19
20
21
22
23
24
25
26
27
28
Table Of Contents
29
page
of
29
Go
/
29
Contents
Table of Contents
Bookmarks
Table of Contents
Important Safety Instructions
Before Connecting the Appliance
Control Unit
Using the Appliance
Cooking Hob
Energy Saving Tips
Rapid Preheating
Maintenance and Cleaning
Cleaning the Cooking Hobs
Gas Burner
Removing and Inserting the Oven Door Glass Pane
Installation and Connection Instructions
Appliance Placement
Clamp Protection
Connecting to Gas Supply
Cooking Test
Nozzle Table
Advertisement
Quick Links
Download this manual
EN
DETAILED INSTRUCTIONS
FOR USE OF A COMBINED
FREE STANDING COOKER
gorenje
www.gorenje.com
K52CLI
K52CLB
Table of
Contents
Previous
Page
Next
Page
1
2
3
4
5
Advertisement
Table of Contents
Need help?
Do you have a question about the K52CLI and is the answer not in the manual?
Ask a question
Questions and answers
Related Manuals for Gorenje K52CLI
Kitchen Appliances Gorenje K637E14WKE Detailed Instructions
Combined free standing cooker (64 pages)
Kitchen Appliances Gorenje K52CLB Detailed Instructions For Use
Combined free standing cooker (29 pages)
Kitchen Appliances Gorenje HBX884QE Instructions For Use Manual
(55 pages)
Kitchen Appliances Gorenje E52103AW User Manual
Electric cooker (14 pages)
Kitchen Appliances Gorenje BG6xA User Manual
(24 pages)
Kitchen Appliances Gorenje FDK 24 DW Instruction Manual
(63 pages)
Kitchen Appliances Gorenje MC6MBK Instruction Manual
(49 pages)
Kitchen Appliances Gorenje BM 900 WII Instruction Manual
Bread baker and jam maker (148 pages)
Kitchen Appliances Gorenje MO4250CLI Manual
(196 pages)
Kitchen Appliances Gorenje FDK500DE Instruction Manual
(69 pages)
Kitchen Appliances Gorenje MG 1000 B Instruction Manual
(26 pages)
Kitchen Appliances Gorenje SB 1000 B Instruction Manual
(104 pages)
Kitchen Appliances Gorenje FDK500GCW Instruction Manual
(74 pages)
Kitchen Appliances Gorenje FG6A Series Detailed Instructions
Gas free standing cooker (49 pages)
Kitchen Appliances Gorenje VS 120 E Instruction Manual
(182 pages)
Kitchen Appliances Gorenje VS 110 W Instruction Manual
(65 pages)
This manual is also suitable for:
K52clb
Table of Contents
Print
Rename the bookmark
Delete bookmark?
Delete from my manuals?
Login
Sign In
OR
Sign in with Facebook
Sign in with Google
Upload manual
Upload from disk
Upload from URL


Need help?
Do you have a question about the K52CLI and is the answer not in the manual?
Questions and answers