Table of Contents
Advertisement
Quick Links
Advertisement
Table of Contents

Subscribe to Our Youtube Channel
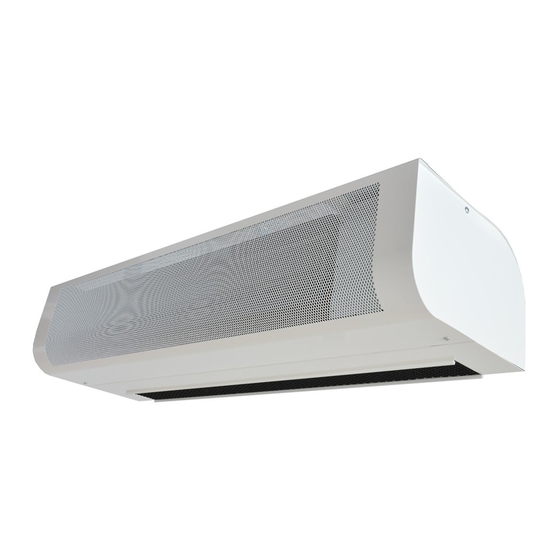
Summary of Contents for 2VV Essensse Neo VCES2-B Series
- Page 1 ESSENSSE NEO EN INSTALLATION VCES2-B-xx, VCES2-C-xx 4-118-0246 P01-0215-0517-00...
-
Page 2: Before You Begin
The manufacturer reserves the right to change, including the technical documentation, without prior notice. Keep the manual for future use. The instructions herein are part of the product Declaration of conformity Details can be found at www.2VV.cz... -
Page 3: Main Components
2. UNPACKING 2.1 CONTROL DE DELIVERY 2.2 CONTENTS PLEASE NOTE Check the product for damages immediately after delivery. In case of damage to the packaging, contact the carrier. Claims not filed in due time will be disregarded. Check that it corresponds to the type of product ordered. •... - Page 4 4. DIMENSIONS TYPE (mm) (mm) (mm) (mm) (mm) (mm) (mm) (mm) (mm) (mm) VCES2B-100 1190 3/4" VCES2C-100 1190 3/4" VCES2B-150 1321 1600 3/4" VCES2C-150 1321 1600 3/4" VCES2B-200 1822 2100 3/4" VCES2C-200 1822 2100 3/4" VCES2B-250 2232 2510 3/4" VCES2C-250 2232 2510 3/4"...
-
Page 5: Technical Parameters
5. TECHNICAL PARAMETERS Heater output Motor [kW]* Total consumption Supply frequency Type [Hz] Current Tension Power (W) 1st step 2nd step VCES2B-100-E0 13,8 50/60 VCES2B-150-E0 11,9 50/60 VCES2B-200-E0 15,4 50/60 VCES2B-250-E0 12,2 19,4 50/60 VCES2B-100-E1 13,8 50/60 VCES2B-150-E1 21,8 50/60 VCES2B-200-E1 12,6 27,5... -
Page 6: Installation
6. INSTALLATION 6.1 OPERATIONAL CONDITIONS: 6.3 SUSPENSION: The air curtain is designed to be used in an indoor, dry envi- ronment, with ambient temperatures between 5°C to +40°C, a maximum relative humidity of 80%, and to transport air free of coarse dust, grease, chemical fumes and other contamina- tion. - Page 7 6. INSTALLATION Before installing, check that the ceiling can bear the weight of the unit. Install according to the following figures. Installation with threaded rods 1. Fastening to the ceiling YOU WILL NEED 10mm 4 6mm anchors (not included) 30mm 4 M6 threaded rods (not included) 8 M6 nuts (not included) M10 spanner (not included)
-
Page 8: Installing The Control Module
6. INSTALLATION 6.4 Installing the control module (detailed Tighten the terminal box with the help of the tool instructions can be found in the respective manual) The following procedure requires the removal of the suction cover 6.4.1. remove the design sideboard fas- tened with two M5 screws on the side of the motor 6.4.2... - Page 9 6. INSTALLATION 6.5 Connecting the water heater 2) Insert and fasten the regulator’s terminal box to the cur- tain’s terminal box with the supplied tool or with Siko pliers. (only for the curtain with LPHW ) 3) Tighten all the screws of the module. 4) Fasten the regulator with a screw, see figure below flexible hoses are recommended to connect the water •...
- Page 10 7. COMMISSIONING CAUTION! Before starting up the unit check that: No tools or other objects that may damage the unit have • been left inside. The power and heating water supply are well connected. • The unit is properly covered. •...
-
Page 11: Cleaning And Maintenance
CLEANING AND MAINTENANCE 8.1 CLEANING ATTENTION! Before carrying out any work inside the air curtain, the main power input must be disconnected. The air curtain must be allowed to cool down! It is forbidden to use compressed air, aggressive chemicals, solvents or water for cleaning. •... -
Page 12: Wiring Diagram
10. WIRING DIAGRAM VSES2B100-E1AC-ZP-xxx VSES2B100-V1,S0AC-ZP-xxx... -
Page 13: Wiring Diagrams
10. WIRING DIAGRAMS VSES2B150-E1AC-ZP-xxx VSES2B150-V1,S0AC-ZP-xxx... - Page 14 10. WIRING DIAGRAM VSES2B200-E1AC-ZP-xxx VSES2B200-V1,S0AC-ZP-xxx...
- Page 15 10. WIRING DIAGRAMS VSES2B250-E1AC-ZP-xxx VSES2B250-V1,S0AC-ZP-xxx...
- Page 16 10. WIRING DIAGRAM VSES2C100-E1AC-ZP-xxx VSES2C100-V1,S0AC-ZP-xxx...
- Page 17 10. WIRING DIAGRAMS VSES2C150-E1AC-ZP-xxx VSES2C150-V1,S0AC-ZP-xxx...
- Page 18 10. WIRING DIAGRAM VSES2C200-E1AC-ZP-xxx VSES2C200-V1,S0AC-ZP-xxx...
- Page 19 10. WIRING DIAGRAMS VSES2C250-E1AC-ZP-xxx VSES2C250-V1,S0AC-ZP-xxx...
- Page 20 After installing the air curtain, read carefully the Manual for the appropriate regulator. In case of any doubt or query, do not hesitate to contact our sales or technical support departments. CONTACT Address: 2VV, s.r.o., Poděbradská 289, 530 09 Pardubice, Česká republika Internet: http://www.2vv.cz/...


Need help?
Do you have a question about the Essensse Neo VCES2-B Series and is the answer not in the manual?
Questions and answers