Table of Contents
Advertisement
Quick Links
AUTOMOTIVE PRODUCTS,
ITEM
QUANTITY
1,2
2
3
2
4
2
5
2
6
12
7
12
8
12
9
12
10
12
11
12
12
6
13
12
14
24
15
12
ANTI-SEIZE LUBRICANT MUST BE USED ON ALL STAINLESS STEEL FASTENERS TO PREVENT THREAD DAMAGE AND GALLING
ITEM 3
1. Remove contents from box, verify if all parts listed are present and free from damage.
Carefully read and understand all instructions before attempting installation.
Failure to identify damage before installation could lead to a rejection of any claim.
2. Start installation on the driver's side. On the rocker panel, find locations of factory bolts. Remove factory hardware and
discard. Note: Brackets will be installed in these locations with provided hardware. See Figures 1 & 2.
3. Locate Front, Middle, and Rear Mounting Brackets (Items 3, 4, 5). Using the supplied M8 hardware, loosely install the
brackets to the rocker panel. See Figures 3, 4, & 5. Note: Item 5 has a notch to differentiate from Item 4. See image
Westin Automotive Products, Inc.
320 W. Covina Blvd
San Dimas, Ca. 91773
P.N.: 75-1132-RevB
ECO #: W17-0019
INSTALLATION INSTRUCTIONS
Pro-Traxx 5 WTW
APPLICATION:
2007-2017 Toyota Tundra D-Cab 6.5 ft. Bed
PART NUMBER:
21-534170, 21-534175
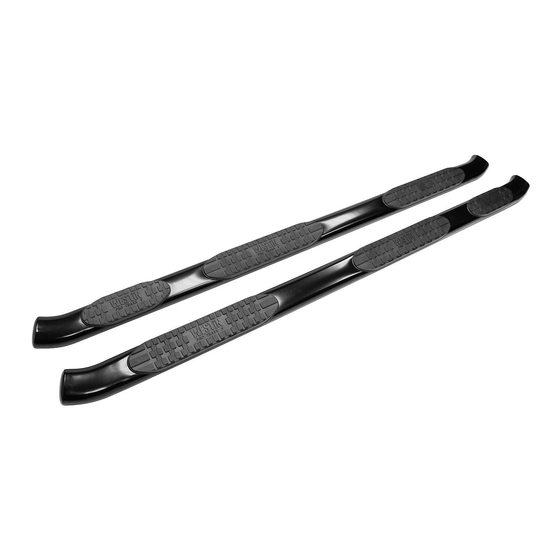
STEP BAR ASSEMBLY, DRIVER (1) AND PASSENGER (2)
FRONT MOUNTING BRACKET
MIDDLE MOUNTING BRACKET
REAR MOUNTING BRACKET
M8 HEX HEAD CAP SCREW (YELLOW ZINC)
M8 FLAT WASHER (YELLOW ZINC)
M8 SPRING LOCK WASHER (YELLOW ZINC)
M10 HEX BUTTON HEAD SOCKET CAP SCREW (BLACK ZINC)
M10 FLAT WASHER (BLACK ZINC)
M10 INTERNAL TOOTHED LOCK WASHER (BLACK ZINC)
PLASTIC BRACKET COVER
M6 HEX HEAD CAP SCREW (YELLOW ZINC)
M6 FLAT WASHER (YELLOW ZINC)
M6 NYLOCK NUT (YELLOW ZINC)
ITEM 4
PROCEDURE
DESCRIPTION
ITEM 5
Thank you for choosing Westin products
for additional installation assistance please call
1
TOOLS NEEDED
13MM SOCKET
HEX KEY
RATCHET
TORQUE WRENCH
ITEM 12
Customer Service (800) 793-7846
www.westinautomotive.com
DATE: 3/20/17
Advertisement
Table of Contents

Subscribe to Our Youtube Channel
Related Manuals for Westin Pro-Traxx 5 WTW


Summary of Contents for Westin Pro-Traxx 5 WTW
- Page 1 See Figures 3, 4, & 5. Note: Item 5 has a notch to differentiate from Item 4. See image Westin Automotive Products, Inc. Thank you for choosing Westin products 320 W. Covina Blvd for additional installation assistance please call San Dimas, Ca.
- Page 2 5. Locate the Driver Step Bar Assembly (Item 1) and align it with the brackets. See Figure 7. 6. Loosely install the Driver Step Bar Assembly using supplied M10 hardware. See Figure 8. Westin Automotive Products, Inc. Thank you for choosing Westin products 320 W. Covina Blvd for additional installation assistance please call San Dimas, Ca.
- Page 3 STAINLESS STEEL PRODUCTS CAN BE CLEANED WITH MILD SOAP AND WATER. STAINLESS STEEL POLISH SHOULD BE USED TO POLISH SMALL SCRATCHES. GLOSS BLACK FINISHES SHOULD BE CLEANED WITH MILD SOAP AND WATER. Westin Automotive Products, Inc. Thank you for choosing Westin products 320 W. Covina Blvd for additional installation assistance please call San Dimas, Ca. 91773 Customer Service (800) 793-7846 www.westinautomotive.com...
- Page 4 AND SAFETY. DRILLING: Most Westin products do not require drilling for installation. If drilling is defined as required, use caution when drilling a vehicle. FAILURE TO REVIEW AN AREA TO BE DRILLED MAY RESULT IN PERSONAL INJURY AND/OR INJURY TO OTHERS AS WELL AS VEHICLE DAMAGE.
Need help?
Do you have a question about the Pro-Traxx 5 WTW and is the answer not in the manual?
Questions and answers