Advertisement
Quick Links
DO
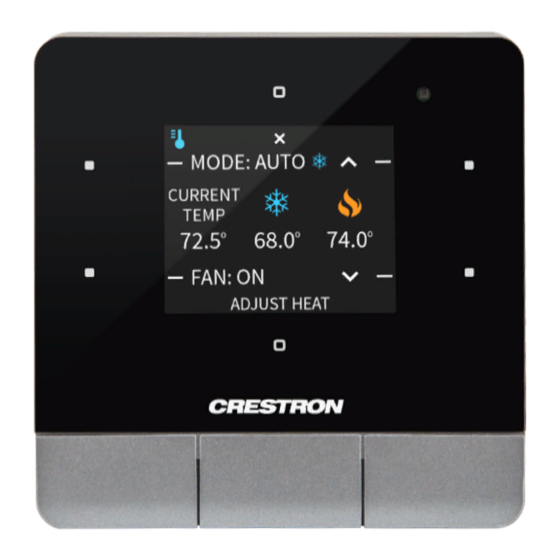
C2N-LCDB3
Multipurpose LCD Keypad
DO
Install the Device
The Crestron
®
C2N-LCDB3 is mounted to a 35 mm UK square electrical box.
1. Using the two included screws, secure the metal mounting plate to the electrical box.
2. Place the C2N-LCDB3 on the mounting plate. The magnetic base of the device securely holds
the keypad to the mounting plate.
DO
Connect the Device
Make the Cresnet
connection, and, optionally, the remote temperature sensor connection.
®
NOTE:
The C2N-LCDB3 is supported only by 3-Series Control System
To Computer
To Control System
From Temperature
Sensor
GUIDE
processors.
®
DO
Check the Box
QTY PRODUCT
1
Connector, 2-Pin
1
Connector, 4-Pin
1
Plate, Metal, Mounting, 3.2" x 3.20" x 0.47"
2
Screw, 4B x 3/4", Flat Head, Phillips
DO
Configure the Device
The setup screens enable basic configuration prior to regular operation of the C2N-LCDB3. Access
the setup screens by tapping buttons 1, 2, 5, and 6 in sequence, twice (tap 1, 2, 5, 6, 1, 2, 5, 6)
within a 5-second period. Refer to the illustration below for button information.
Button 1
Button 2
Button 3
DO
Change Button Assembly
To remove the button assembly, insert a mini flat-blade screwdriver into the slot on the left side of the
keypad and pry the button assembly up. Once the side of the button assembly is elevated, pull up on
the assembly to remove it.
Insert a mini flat-blade
screwdriver into the slot
and pry up to remove
the button assembly.
To install the new button assembly, place it on the keypad and press it into place from right to left. All
three sections of the button assembly should snap into place. Do not snap the two ends in first.
PART NUM.
2003574
2003576
2045388
2019088
Button 4
Button 5
Button 6
Advertisement

Subscribe to Our Youtube Channel
Related Manuals for Crestron C2N-LCDB3


Summary of Contents for Crestron C2N-LCDB3
- Page 1 1, 2, 5, and 6 in sequence, twice (tap 1, 2, 5, 6, 1, 2, 5, 6) 2. Place the C2N-LCDB3 on the mounting plate. The magnetic base of the device securely holds within a 5-second period. Refer to the illustration below for button information.
- Page 2 However, there is no guarantee that interference will not trade names may be used in this document to refer to either the entities claiming the marks and names or their products. Crestron disclaims any proprietary interest in the marks and names of occur in a particular installation.
Need help?
Do you have a question about the C2N-LCDB3 and is the answer not in the manual?
Questions and answers