
Related Manuals for Flashforge ADVENTURER 3 V2


Summary of Contents for Flashforge ADVENTURER 3 V2
- Page 1 ADVENTURER 3 V2 Quick Start Guide This guide is only applicable to FLASHFORGE Adventurer3 V2 3D printer...
- Page 2 Unpacking 1 . Open the box. 2. Remove wrapping paper box on the top, there is a Quick start, an after-sales service, an accessory kit, a power cable and a roll of material on the plastic box. 3 . Take out the printer of the carton, 4 .
- Page 3 7. Turn on the power switch. 8. Open the front door. Build Network Preheat Language Status Tools Setting About Calibration Home Filament < < 1/ 3 9. Tap [Tools]-[Setting] on the touch screen as the Move Camera picture showed above, tap [Move]. FilamentCheck <...
- Page 4 X: 20.00 Y: 45.00 Z: 36.00 10. Tap the upper arrow in the moving page to make the extruder raises for removing the paper box on the bottom easier. 11. Squeeze wrapping paper box to the 12. Unboxing completed! Recommended that middle slighly and take it out.
-
Page 5: Kit Contents
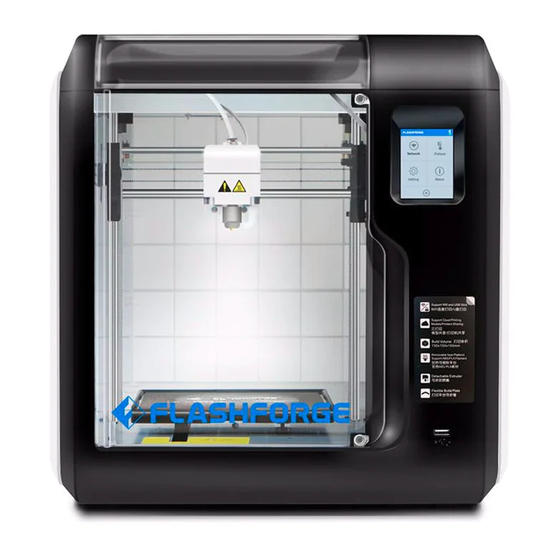
Kit Contents 3D Printer Filament Power Cable Flexible Build Plate Nozzle Quick Start Guide Screwdriver ℃ ℃ High Temperature Nozzle Unclogging Pin Tool Allen Wrench Grease... - Page 6 Getting to know your Adventurer 3 V2 1. Filament guide tube 2. Filament guide tube joint 3. Extruder base 4.Cooling Fan 5. Removable nozzle 6. Extruder cables 7. Clip 8. Led light 9. Turbo Fan Ba e 10. Front door 11.Y-Axis sliding slot...
-
Page 7: First Print
First Print /235℃ Build Load Heating extruder... Tools Change Filament Cancel 1. Tap [Filament], tap [Load], after load completed, tap [OK]. 2. As shown on the left, loading starts when the extruder heated to target temperature. /235℃ 3. Open the filament cover, insert the filament into the filament intake, push filament into the feeding wheel Preheat completed, until some resistance is sensed. - Page 8 Mind the loading direction of filament, make sure to be clockwise as the picture showed. /235℃ 4. Load completed when you see filament come out of extruder, tap [OK]. Put the spool of filament on the spool holder, close the filament cover. Press ok when new color appears...
- Page 9 Model Print 1. Tap [Build], choose the file path: Print from local memory card. 2. Locate the model file in the model list, on its right to start printing; or tap model file picture or file name to enter model details page, tap to start printing.
- Page 10 Model Remove As showed in picture, press down dotted line area and draw out the removable build plate. Notices When printing completed, extruder and build plate may still hot, please start operating after cooling down! 2 . Bend the build plate, the plate will produce certain deformation, seperating the plate away from the bottom of model (Please use a scraper to assist removing when model is too small or big).
-
Page 11: Change Filament
Change Filament 1 . Tap [Filament], tap [Change], extruder starts 2 . Open the filament cover. preheating. 3 . Pull out the filament as the picture 4 . Insert new filament into the filament showed above. intake and push the filament into the feeding wheel until resistance is sensed. - Page 12 Email: supports@flashforge-usa.com Tel: (626)322-3855 Web: https://flashforge-usa.com/ Add: 17747 Railroad Street, City of Industry, CA 91748.
Need help?
Do you have a question about the ADVENTURER 3 V2 and is the answer not in the manual?
Questions and answers