Advertisement
Quick Links
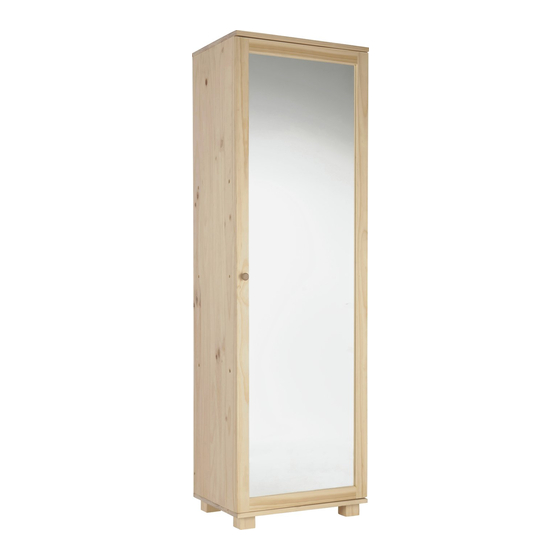
Solid Pine Shoe Rack And Mirror
Assembly Instructions
- Please keep for future reference
Dimensions
Width - 50cm
Depth - 37cm
Height - 161cm
Important -
Please read these instructions fully before starting assembly
If you need help or have damaged or missing parts, call the Customer Helpline:
Argos = 0345 6400800
Issue 1 - 25/10/14
Advertisement

Related Manuals for Argos 346/0348


Summary of Contents for Argos 346/0348
- Page 1 Width - 50cm Depth - 37cm Height - 161cm Important - Please read these instructions fully before starting assembly If you need help or have damaged or missing parts, call the Customer Helpline: Argos = 0345 6400800 Issue 1 - 25/10/14...
- Page 2 Manufacture date: manufacturing specification and Retailer: Argos shape for replacement mirror glass quoting the model number, stop using the product and replace with mirror of the type and batch number or date of described on this label.
- Page 3 If you have damaged or missing components,call Components - Panels the Customer Helpline: Argos = 0345 6400800 Please check you have all the panels listed below 4 Back panel Right side panel 3 Door panel 2 Left side panel (153 x 50cm) (140.5 x 47.8cm)
- Page 4 Components - Fittings Please check you have all the fittings listed below Note: The quantities below are the correct amount to complete the assembly. In some cases more fittings may be supplied than are required. Knob bolt x 1 Wooden knob x 1 Door hinge x 4 32mm Assembly Screw x 26 12mm Screw x 20...
- Page 5 Assembly Instructions Step 1 Fixing magnetic catch and door hinge Fit the magnetic catch onto the left side panel with screw Fit the door hinge onto the right side panel with screw as shown in the figure. Step 2 Fitting wooden dowel Insert wooden dowel into shelves...
- Page 6 Assembly Instructions Step 3 Attaching shelves Attach the shelves to the left side panel with wooden dowel , then use assembly screw tight the shelf Step 4 Attaching right side panel Attach the right side panel to the assmebled unit with wooden dowel , then use assembly screw...
- Page 7 Assembly Instructions Step 5 Attaching lower back panel Slide the lower back panel into the unit through the grooves of the side panels using assembly screw to tight. Step 6 Attaching the foot Attach the foot to the bottom panel with large wooden dowel assembly screw...
- Page 8 Assembly Instructions Step 7 Attaching bottom part Attach the bottom part to the assembled unit with small wooden dowel assembly screw Step 8 Attaching back panel Attach the back panel into the unit by sliding into the grooves of the side panels.
- Page 9 Assembly Instructions Step 9 Attaching top panel Attach the top panel the assembled unit with small wooden dowel assembly screw Step 10 Fitting magnetic plate and door knob Fit the megatic plate the door panel with screw Fit the door knob to the door with knob bolt...
- Page 10 Assembly Instructions Step 11 Two persons are required here Fitting door hinge Fit the another half of door hinge to the door with screw Fitting adjustable shelf Insert the shelf support into the holes of side panels. Then put the adjustable shelves onto supports.
- Page 11 Position the unit close up to the wall, then insert the wall screw through the bracket and wall strap into the wall plug If you need help or have damaged or missing parts, call the Customer Helpline: Argos = 0345 6400800...
-
Page 12: A Guide To - Wall Mounting & Fixings
A Guide to - Wall Mounting & Fixings Important: When drilling into walls always Important note: check that there are no hidden wires or pipes etc. If plastic wall plugs Make sure that the screws and wall plugs being used are supplied with your are suitable for supporting your unit.
Need help?
Do you have a question about the 346/0348 and is the answer not in the manual?
Questions and answers