Table of Contents
Advertisement
Quick Links
Advertisement
Table of Contents

Related Manuals for Ronix 2702V


Summary of Contents for Ronix 2702V
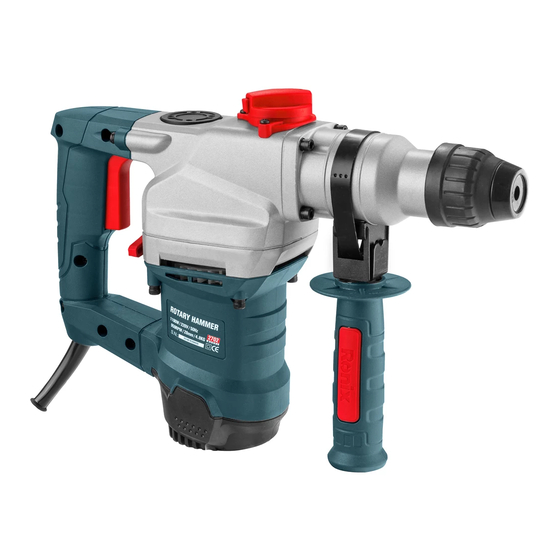
- Page 1 ROTARY HAMMER 2702V...
-
Page 2: Specifications
SPECIFICATIONS Model 2702V Frequency 50Hz Hex chuck 28mm Voltage 220V Reversible Input power 1100 w(approx.) Impact hammer action 850r/min(approx.) Weight 4.6kgs(approx.) PART LIST Oil Gauge SDS chunch Trigger Motor Housing Carbon Brush WARNING! The electric hammer chisel power tool noise output may exceed 85dB(A) at the workplace. -
Page 3: Power Tool Safety
Wear safety shoes Wear hard hat Save these instructions for reference SAVE THESE INSTRUCTIONS FOR REFERENCE POWER TOOL SAFETY GENERAL SAFETY RULES WARNING! Read all instructions Failure to follow all instructions listed below may result in electric shock, fire and/or serious injury. The term “power tool”... -
Page 4: Personal Safety
radiators, ranges and refrigerators. There is an increased risk of electric shock if your body is earthed or grounded. Do not expose power tools to rain or wet conditions. Water entering the power tool will increase the risk of electric shock. Do not abuse the cord. - Page 5 devices can reduce dust related hazards. POWER TOOL USE AND CARE Do not force the power tool. Use the correct power tool for your application. The correct power tool will do the job better and safer at the rate for which it was designed. Do not use the tool if the switch does not turn it ON or OFF.
-
Page 6: Specific Safety Rules
When servicing a tool, use only identical replacement parts. Follow instructions in the Maintenance section of this manual. Use of unauthorized parts or failure to follow Maintenance instructions may create a risk of electric shock or injury. SPECIFIC SAFETY RULES WARNING! For your safety, do not plug in your Power tool until you have read and understood this Owner’s Manual. - Page 7 with the correct slots for this chuck. - BEFORE STARTING the operation, jog the chisel switch to make sure the chisel bit does not wobble or vibrate. - DO NOT USE fly cutters or multiple-part hole cutters, as they can come apart or become unbalanced in use.
-
Page 8: Available Accessories
./min or minˉ¹ Revolutions or reciprocations per minute direct current alternating current two-phase alternating current ² two-phase alternating current with neutral three-phase alternating current three-phase alternating current with neutral Rated current of the appropriate fuse-link in amperes Time-lag miniature fuselink where X is the symbol for the time/current characteristic, as given in EN 60127 protective earthing at earthing terminal, Class I tools Diameter... -
Page 9: Carton Contents
cordless drill. Do not use any accessory unless you have completely read the instructions or Owner’s Manual for that accessory. - Various chisels CARTON CONTENTS WARNING! If any part is missing or damaged, do not plug the chisel into the power source until the missing or damaged part is replaced. -
Page 10: Assembly And Operation
ASSEMBLY & OPERATION WARNING! Always make sure the power tool is isolated from the power supply before fitting any attachment Handle. See Always make sure the fixed handle is secure before any job takes place as a loose handle could invite injuries. - Page 11 WARNING! The electric hammer chisel continues for a few second after the trigger has been release, be careful when putting it down. Fitting a chisel bit into the Hex housing. Put the bit into the hex housing and clamp the bit by turning the stop lever half a turn anti clockwise.
- Page 12 PRECAUTIONS ON USING ELECTRIC HAMMER CHISEL 1) Before using the electric hammer chisel always make sure the oil supply is to the full level and the screw is tight. 2) This electric hammer chisel has a fixed handle always make sure the screws holding the handle are secure before operation takes place.
- Page 13 receptacle, the green (or green and yellow) conductor in the cord is the grounding wire. Never connect the green (or green and yellow) wire to a live or neutral terminal. 3) Power switch Ensure that the power switch is in the off position before any work is carried out on the chisel.
-
Page 14: Maintenance
CAUTION: Sometimes the tool does not begin the striking stroke even when the motor rotates this may be because the oil has become thick Due to low temperature or has been standing idle for long period. Run the chisel for approx 5 minutes to bring the oil temperature up. MAINTENANCE OIL FEEDING CAUTION:... -
Page 15: Maintenance And Inspection
MAINTENANCE AND INSPECTION 1) Inspecting the tool When using dull tool bits this can cause motor malfunction and degraded efficiency. Always replace dull bits with new ones without delay when abrasion is noted. 2) Inspecting the mounting screws Regularly inspect all mounting screws and ensure that they are properly tightened. -
Page 16: Installing Bits
The carbon brush can be removed by removing the cap cover (9), cap rubber and brush cap in that order at the interior To replace carbon brush reverse order of removal. brush carton INSTALLING BITS Never hold the chuck body with one hand and use the chisel power to the chisel body to loosen or tighten bits. -
Page 17: Parts List
rotation and could cause loss of control when breaking through material as you complete chiseling the hole. If you are not prepared, this loss of control can result in possible serious injury. GENERAL When servicing, use only identical replacement parts. Use of any other part may create a hazard or cause product damage. - Page 18 SPARE PARTS LIST Ring 35 Gear 27 teeth Big Washer 45*54.5*1 Springw7.8*1.2*33 Bearing61907-RZ Pin 5*5*21.5 Inner Hexogon Screw M5*22 Spring Washer 5 Needle Bearing HK1210 Washer 5 Stell Sleeve 22*26*9 Stell Ball 7.14 Inner Cover Telefiex Fan Guide X-ring Bearing 6001 O-ring 11*2 Rotor Punch Hammer...
Need help?
Do you have a question about the 2702V and is the answer not in the manual?
Questions and answers