Table of Contents
Advertisement
Quick Links
INSTALLATION GUIDE
AND USERS MANUAL
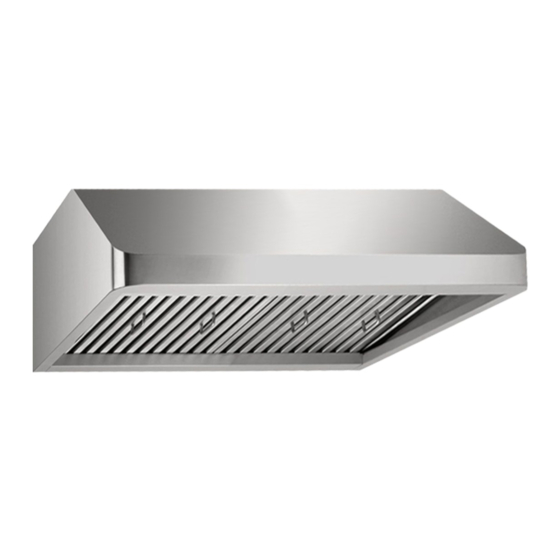
VERONA
ELITE
Professional Under Cabinet Range Hood
Model Name:
Available Sizes:
VERONA / ELITE*
30", 36", 42", 48", 60"
*Elite only 30", 36"
NOTICE:
For residential use only.
Installer:
Leave this guide with
the homeowner.
Homeowner:
Keep this guide for
future reference.
Rev. 3062u.3a
Advertisement
Table of Contents


Need help?
Do you have a question about the VERONA and is the answer not in the manual?
Questions and answers