Advertisement
Quick Links
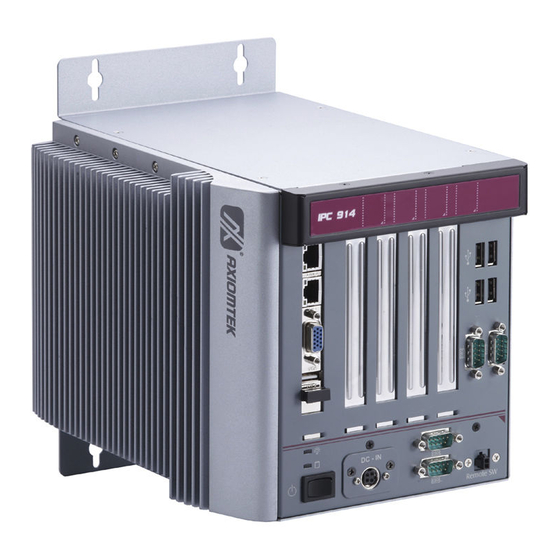
IPC914-213-FL Series Quick Installation Guide
Step 3
Locate the Hard Disk Drive from the side. Use
assembly parts to fix HDD with the bracket.
Step 4
Install and fix the HDD with the side cover and then
connect the power cable and SATA cable.
4
©
Copyright 2012 Axiomtek Co., Ltd.
Version A1 December 2012
Printed in Taiwan
9416G914030E
IPC914-213-FL Series Quick Installation Guide
I.
Packing List
IPC914-213-FL Series Finless
System Unit x 1
Wall Mount Bracket x 2
19V 150W Adapter x1(for AC
Version)
Food Pad x 4
Do not try to apply power to the system if any
damaged components.
II.
Installing the CPU
Step 1
Turn off the system, and disconnect the power
connector.
Step 2
Loosen screws to remove the top and right side
cover from the chassis.
Step 3
Loosen the CPU Card screws from the left side
Heatsink and then remove the left side heatsink
cover from the chassis.
Step 4
Align pins of the CPU with pin holes of the socket.
Be careful of the CPU's orientation that you need to
align the arrow mark on the CPU with the arrow key
on the socket. Place the CPU into the socket, and
use a screwdriver to lock it on to the socket and
stick the thermal grease on CPU.
©
Copyright 2012 Axiomtek Co., Ltd.
Version A1 December 2012
Printed in Taiwan
9416G914030E
Driver CD x 1
Quick Manual x 1
Screw Pack x 1
Thermal Pad for RAM x 1
1
Advertisement

Related Manuals for AXIOMTEK IPC914-213-FL Series


Summary of Contents for AXIOMTEK IPC914-213-FL Series
- Page 1 IPC914-213-FL Series Quick Installation Guide IPC914-213-FL Series Quick Installation Guide Packing List Step 3 Locate the Hard Disk Drive from the side. Use assembly parts to fix HDD with the bracket. Driver CD x 1 IPC914-213-FL Series Finless System Unit x 1...
- Page 2 IPC914-213-FL Series Quick Installation Guide IPC914-213-FL Series Quick Installation Guide Step 3 Please follow steps below to install the memory module: Please attach the thermal pad (1pcs) on the memory socket before install the memory. Align the memory module with the socket that notches of memory module must match the socket keys for a correct installation.
Need help?
Do you have a question about the IPC914-213-FL Series and is the answer not in the manual?
Questions and answers