Advertisement
Quick Links
ETHERNET (TCP)
SET UP GUIDE V 1.0
INSTRUCTION MANUAL
Ethernet Guide
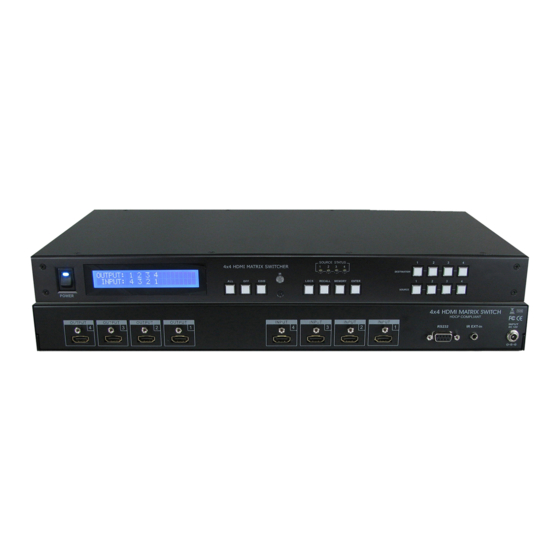
This document only applies to A-Neuvideo products that have a built-in Ethernet Port.
Thank you for purchasing the A-Neuvideo product. You will fi nd this unit easy to install and highly reliable. It is essential
that you read this manual thoroughly before attempting to use it.
A-NeuVideo.com | Frisco, Texas 75034
|
(317) 456-2461
Advertisement

Related Manuals for A-Neuvideo HD-44G


Summary of Contents for A-Neuvideo HD-44G
- Page 1 This document only applies to A-Neuvideo products that have a built-in Ethernet Port. Thank you for purchasing the A-Neuvideo product. You will fi nd this unit easy to install and highly reliable. It is essential that you read this manual thoroughly before attempting to use it.
- Page 2 IP address of the unit and then restore your computer’s IP address. A-Neuvideo products with Ethernet port are designed for remote control on a network using our included GUI software. The Ethernet port is not a web server for direct access via a web browser.
-
Page 3: Setup The Network
SETUP THE NETWORK (1) STEP 1. NETWORK THE UNIT (1-1) Set up the network of the unit. (1-1.1) Plug the unit into a power outlet. (1-1.2) Plug the Ethernet cable to the unit and the other end to an open port on your hub. (1-1.3) Turn the unit on. - Page 4 STEP 2. CHANGE THE IP ADDRESS OF THE UNIT (2-1) Open the A-Neuvideo AP and enter fi nd Ethernet Settings fi nd Setting. Click Search to detect the presence of the unit. Click on the detected IP of the unit. If the unit is not detected, return to Step 1 and reset the IP address of your computer.
- Page 5 SETUP THE NETWORK (3) (4) STEP 3. RETURN TO THE ORIGINAL IP ADDRESS (3-1) Repeat Step 1 to reset the network of your computer. Let all the numbers of the IP address and the Default gateway match those noted in step 1.2-5. This step shall bring your computer to the original network. STEP 4.
- Page 6 AP OPERATION (5) AP OPERATION STEP 5. START USING THE AP Interface Introduction: The left side shows the 7 input signals and the right shows the 5 resolution options. Use POWER to turn on and off the unit. Use STATUS to see the current input and output status. Use ENTER to confi...
Need help?
Do you have a question about the HD-44G and is the answer not in the manual?
Questions and answers