Advertisement
Advertisement
Table of Contents

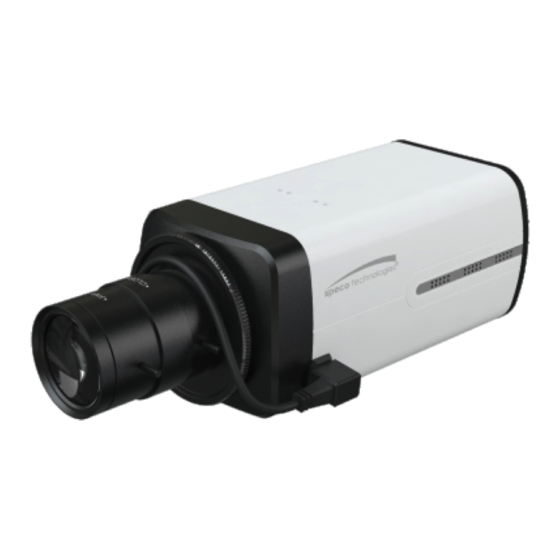
Summary of Contents for Speco O4T8
- Page 1 Quick Start Guide O4T8...
- Page 2 Warning and Caution ■ If the product does not work properly, please contact your dealer or the nearest service center. Never attempt to disassemble the camera yourself. Any unauthorized changes or modifications could void the warranty. ■ Do not allow water or liquid intrusion into the camera. ■...
- Page 3 Camera Quick start guide 4 tapping screws Mounting block Terminal block for power Screwdriver Overview Overview Side Panel Instruction Damp - Damp + Driver + Driver - Focus Adjusting Iris Lens Plug Focus Adjusting: When it still fails to realize focusing after having confirmed the correct installation of lens, the back focus adjustment may be required .
- Page 4 Iris Lens Plug: The camera provides an iris lens plug in negative pattern with four square holes and the definition of pins is shown above. The interface of DC drive auto iris adopts four pins: Damp+, Drive+, Damp- and Drive-. Rear Panel Connection AUDIO IN AUDIO OUT...
- Page 5 Installation * Before you start, please make sure that the wall is strong enough to withstand three times the weight of the camera. ① Rotate the lens clockwise onto the lens mount of the camera. ② Plug the wire of auto iris lens to the auto iris interface of the camera.
- Page 6 ⑤ Attach the camera to the bracket with the mounting block and tighten the screws to fix. Web Operation and Login IP Scanner can search for the device on the local network. ● Operation ① Make sure that the camera and the PC are connected to the same local network.
- Page 7 04T8 ③ In the device list, you can view the IP address, model number, and MAC address of each device. Select the applicable device and double click to open up the web viewer. You can also manually enter the IP address in the address bar of the web browser.


Need help?
Do you have a question about the O4T8 and is the answer not in the manual?
Questions and answers