Advertisement
Advertisement
Table of Contents

Subscribe to Our Youtube Channel
Related Manuals for Speco VLD1A


Summary of Contents for Speco VLD1A
-
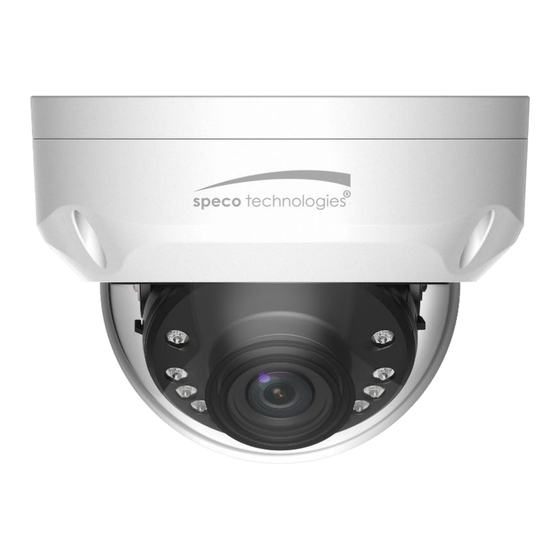
Page 1: User Manual
User Manual All- In- One Camera VLD1A Version 1.0.1... - Page 2 Table of Contents 1 General Introduction ..............1 1.1 Features ................1 2 Device Framework ..............2 3 Installation .................3...
- Page 3 Welcome Thank you for purchasing our All in One camera! This user’s manual is designed to be a reference tool for your system. Please read the following safeguard and warnings carefully before you use this product! Please keep this user manual for future reference! Important Safeguards and Warnings 1.Electrical safety All installation and operation here should conform to your local electrical safety...
- Page 4 Please do not allow water and other liquid falling into the camera in case that the internal components are damaged. Please do not allow rain or damp to the indoor device in case fire or lightning may occur. Please keep the sound ventilation in case of heat accumulation. Please pack the device with standard factory packaging or material with same quality when transporting the device.
- Page 5 There may be deviation between the actual value of some data and the value provided in the manual due to the reasons such as the real environment is not stable and so on. Speco Technologies is not liable for any loss caused by the operation which is not followed by the manual.
-
Page 6: General Introduction
1 General Introduction 1.1 Features High-performance CMOS image sensor, megapixel definition. Support HD video, control signal coaxial transmission. Support HDTVI/AHD/CVI/CVBS output. Support OSD menu adjustment parameters. Support smart IR function. Support DWDR function. Support High speed, long distance real-time transmission. ... -
Page 7: Device Framework
2 Device Framework See Figure 2-1 for the dimension. Figure 2-1 See Figure 2-2 for the structure components. Figure 2-2... -
Page 8: Installation
3 Installation Dome camera mainly uses ceiling installation; installation surface includes ceiling and wall. Attention: Please install the device in time after it is taken apart, which is to avoid the camera module being exposed to damp environment for too long. ... - Page 9 Step 2 Confirm the installation location and dig holes on the installation surface. Step 3 Use tools to put the expansion bolts into the installation holes and fix them firmly. Step 4 Adjust the location of the device installation pedestal; pull the cable through the hole on the installation surface.
- Page 10 Note This manual is for reference only. Slight difference may be found in the user interface. All the designs and software here are subject to change without prior written notice. All trademarks and registered trademarks mentioned are properties of their respective owners.
Need help?
Do you have a question about the VLD1A and is the answer not in the manual?
Questions and answers