
Related Manuals for Yeastar Technology Yeastar TA400


Summary of Contents for Yeastar Technology Yeastar TA400
- Page 1 Installation Guide TA400/800 Yeastar TA400/800 FXS VoIP Gateway December 10, 2019...
-
Page 2: Table Of Contents
Contents Safety Disclaimers and Installation Warnings....................... 3 Packing List................................4 Hardware Overview..............................5 TA400 Hardware Overview..........................5 TA800 Hardware Overview..........................6 Connect Yeastar TA Gateway..........................8 Install Yeastar TA Gateway (Wall Mount)....................... 9... -
Page 3: Safety Disclaimers And Installation Warnings
Safety Disclaimers and Installation Warnings To avoid unexpected accident, personal injury or device damage, read the safety disclaimers and installation warnings. Power • Use only the power adapter provided with the Yeastar TA device. • Keep the power off during the installation. •... -
Page 4: Packing List
Packing List Upon receiving Yeastar TA 400/800 gateway, you can open the package and check if all the items are supplied as per packing list. Note: If there are any problems, contact your provider. Table 2: TA400/800 packing list Item Unit Description TA400/TA800... -
Page 5: Hardware Overview
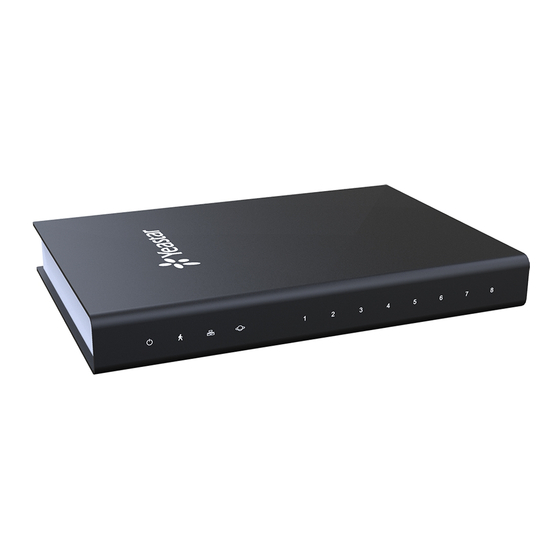
Hardware Overview TA400 Hardware Overview TA400 front panel Table 3: Feature Description Power Indicator ① Indicates the power status. Run Indicator Indicates the system status. ② • Blinking: The system is working properly. • Not Blinking/Off: The system goes wrong. LAN Status Indicator Indicates the LAN status. -
Page 6: Ta800 Hardware Overview
TA400/800 Installation Guide | 3 - Hardware Overview | 6 Table 4: Feature Description Power inlet For connection to power supply. ⑥ Reset button ⑦ Press and hold for 7 seconds to reset to factory defaults. Note: Do NOT press this button for a long time, or the system would break down. - Page 7 TA400/800 Installation Guide | 3 - Hardware Overview | 7 Feature Description FXS Ports Status Indicator Indicates the FXS ports status. ⑤ • Solid green: The port is idle or no line is connected to the port. • Green light blinking: There is a call reaches the port or the port is busy in a call.
-
Page 8: Connect Yeastar Ta Gateway
Connect Yeastar TA Gateway Follow the steps to connect Yeastar TA400/800 FXS VoIP gateway. 1. Connect TA gateway to the Internet LAN port can be connected to router or PBX. 2. Connect TA gateway to analog phones FXS ports can be connected to analog phones. -
Page 9: Install Yeastar Ta Gateway (Wall Mount)
Yeastar TA 400/800 gateway can not only be placed on a desk, but also be mounted to the wall, which saves space on your desk and presents an organized look. Follow the instructions to mount Yeastar TA400/800 gateway to the wall by stand. - Page 10 TA400/800 Installation Guide | 5 - Install Yeastar TA Gateway (Wall Mount) | 10...
Need help?
Do you have a question about the Yeastar TA400 and is the answer not in the manual?
Questions and answers