
Related Manuals for VersaTables PowerLift L-Shaped Standing Desk


Summary of Contents for VersaTables PowerLift L-Shaped Standing Desk
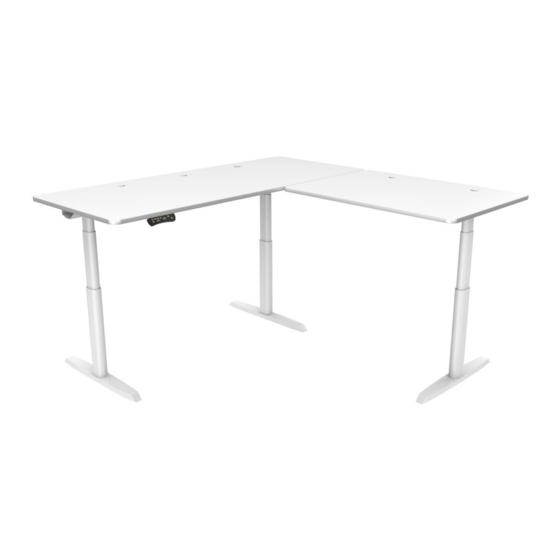
- Page 1 PowerLift L-Shaped Standing Desk - Assembly and Use Instructions 14105 Avalon Boulevard, Los Angeles, CA 90061 Tel 310-353-7100 Fax 310-353-7109 www.VersaTables.com...
- Page 2 Foot Side bracket Top frames + control box Controller Link Bracket Cable Tray 2-Piece Desktop M5x20 Wood Screw 1/4-20 Phillips Bolt Power cord M6x14 Machine screw M6x10 Machine screw M5x16 Wood Screw Cable clip DIN6 cable 14105 Avalon Boulevard, Los Angeles, CA 90061 Tel 310-353-7100 Fax 310-353-7109 www.VersaTables.com...
- Page 3 Using the supplied Allen wrench, rotate each screw just a few times. M6x14 Machine screw After both screws are inserted, tighten both. Repeat this step for the other two leg/frame assembly. 14105 Avalon Boulevard, Los Angeles, CA 90061 Tel 310-353-7100 Fax 310-353-7109 www.VersaTables.com...
- Page 4 Attach the desk base to desktop with twelve (12) 1/4-20 Phillips Bolts for the side bracket holes going into the inserts. Use five (5) M5x20 Wood Screws for the end frame holes going into the desktop. 14105 Avalon Boulevard, Los Angeles, CA 90061 Tel 310-353-7100 Fax 310-353-7109 www.VersaTables.com...
- Page 5 M5x16 Wood Screw Step 9 M6x10 Machine screw Lock the position of the center rails using sixteen (16) M6x10 machine screws, ensuring the screws come in contact with the center rails by sliding them as needed. 14105 Avalon Boulevard, Los Angeles, CA 90061 Tel 310-353-7100 Fax 310-353-7109 www.VersaTables.com...
- Page 6 D Tighten M6x10 Machine screw Step 11 Slide the control box back onto the corner end frame. There are two place- ment options, we suggest placing it on the side closest to your controller. 14105 Avalon Boulevard, Los Angeles, CA 90061 Tel 310-353-7100 Fax 310-353-7109 www.VersaTables.com...
- Page 7 Double check to ensure you don’t have extra ‘add-on’ parts to install before proceeding. With at least two people, grab the DESK BASE (NOT the desktop) and turn right-side up. Adjust pre-installed glides on the feet as needed. Plug the power cord into a 110V outlet. 14105 Avalon Boulevard, Los Angeles, CA 90061 Tel 310-353-7100 Fax 310-353-7109 www.VersaTables.com...
- Page 8 Use the lateral slots to adjust, if necessary. Tighten both bolts ensuring the tray is secured. Ensure your tray is placed correctly (fig.c) before tightening the bolts. fig. C 14105 Avalon Boulevard, Los Angeles, CA 90061 Tel 310-353-7100 Fax 310-353-7109 www.VersaTables.com...
- Page 9 Locate the four pre-installed inserts and align them with the holes in the brackets of the keyboard tray assembly. Using four (4) 1/4-20 Phillips Bolts, attach the Keyboard tray to the underside of the desktop. 1/4-20 Phillips Bolt 14105 Avalon Boulevard, Los Angeles, CA 90061 Tel 310-353-7100 Fax 310-353-7109 www.VersaTables.com...
- Page 10 Bolts, on the side of the desk you would like the CPU holder to be on. 1/4-20 Phillips Bolt Step 2 Using four (4) 1/4-20 Phillips Bolts, attach the slide bracket onto the two brackets from the previous step. 1/4-20 Phillips Bolt 14105 Avalon Boulevard, Los Angeles, CA 90061 Tel 310-353-7100 Fax 310-353-7109 www.VersaTables.com...
- Page 11 Use the Thumb Nuts to adjust the CPU Holder to the desired size. Carriage Screw Washer Thumb Nut Step 4 Slide the CPU holder into the Slide Bracket. Step 5 Pass the lock pins through the Slide Bracket holes. 14105 Avalon Boulevard, Los Angeles, CA 90061 Tel 310-353-7100 Fax 310-353-7109 www.VersaTables.com...
- Page 12 (DO NOT tighten all the way yet) 1/4-20 Phillips Bolt Step 2 Slide the Power Bar in by aligning the slots on the bottom of the power bar with the 3 bolts inserted in the previous step. inserted in the previous step. 14105 Avalon Boulevard, Los Angeles, CA 90061 Tel 310-353-7100 Fax 310-353-7109 www.VersaTables.com...
- Page 13 Let go slowly yo ensure the bolts are holding the tray up. Step 5 Now tighten the 3 previously installed bolts with the provided Phillips screw-driver through holes on the cable management tray. 14105 Avalon Boulevard, Los Angeles, CA 90061 Tel 310-353-7100 Fax 310-353-7109 www.VersaTables.com...
- Page 14 14105 Avalon Boulevard, Los Angeles, CA 90061 Tel 310-353-7100 Fax 310-353-7109 www.VersaTables.com...
- Page 15 Add-on: Privacy Panel Assembly Step 3 Tighten the 3 bolts from ‘Step 1’ using the allen key. Insert and tighten three (3) more 20mm furniture bolts into the upper set of threaded inserts. 20mm furniture bolts 14105 Avalon Boulevard, Los Angeles, CA 90061 Tel 310-353-7100 Fax 310-353-7109 www.VersaTables.com...
-
Page 16: Troubleshooting
If the error message persists after the reset procedure contact Versa Tables. If the height difference between the legs exceeds 1.5 inches, stop the reset procedure and contact Versa Tables immediatly. If the controller displays “HOT”, allow the components to cool down for 20 minutes. 14105 Avalon Boulevard, Los Angeles, CA 90061 Tel 310-353-7100 Fax 310-353-7109 www.VersaTables.com... -
Page 17: Technical Specifications
To set new minimum and maximum height settings outside of the current settings, you will need to first remove the current minimum and maximum settings. 14105 Avalon Boulevard, Los Angeles, CA 90061 Tel 310-353-7100 Fax 310-353-7109 www.VersaTables.com... -
Page 18: Controller Lock
5 seconds for the display to return to “ASR”. Press the DOWN button until the desktop lowers slightly, then rises slightly and the display changes back to the numeric height setting. 14105 Avalon Boulevard, Los Angeles, CA 90061 Tel 310-353-7100 Fax 310-353-7109 www.VersaTables.com...
Need help?
Do you have a question about the PowerLift L-Shaped Standing Desk and is the answer not in the manual?
Questions and answers