Advertisement
:
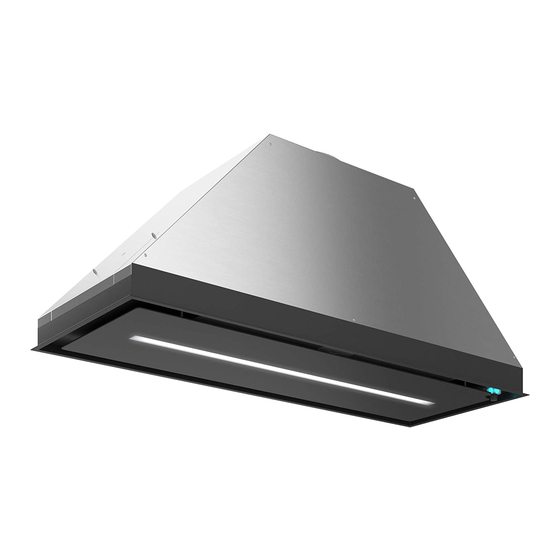
MODEL
30"
K
I
ELVIN
NSERT
1
Recommended
Installation
Height
3
Install
the
range
hood
in
cabinet,
then
install
the
hood+cabinet
assembly.
NOTE:
Dimensions
are
provided
as
a
general
reference.
The
manufacturer
strongly
recommends
measuring
the
actual
range
hood
unit
onsite,
and
to
avoid
making
any
commitments
to
cutting
or
customizing
cabinetry
until
these
measurements
are
made.
26"
28"
from
cooktop
to
bottom
of
hood
INSTALLATION
MANUAL
as
well
as
connect
it
to
power
supply
2
For
easier
installation,
remove
the
cabinet
NOTE:
PRIOR
TO
INSTALLATION
Please
inspect
range
hood
visually,
and
test
its
operation.
Advertisement
Table of Contents

Related Manuals for Futuro Futuro 30″ KELVIN INSERT


Summary of Contents for Futuro Futuro 30″ KELVIN INSERT
- Page 1 INSTALLATION MANUAL : NOTE: PRIOR TO INSTALLATION MODEL 30″ K I Please inspect range hood visually, ELVIN NSERT as well as connect it to power supply and test its operation. For easier installation, Recommended remove the cabinet Installation Height 26” 28” from cooktop to bottom of hood 3 Install the range hood in cabinet, then install the hood+cabinet assembly. NOTE: Dimensions are provided as a general reference. The manufacturer strongly recommends measuring the actual range hood unit onsite, and to avoid making any commitments to cutting or customizing cabinetry until these measurements are made.
- Page 2 Insert hood into cabinet, and secure with screws. Adjust & level as necessary. Note: you may also use filler panels / transoms, as needed. Feature: rear exhaust (throughwall venting) This model can exhaust through the top, or the rear. To exhaust through the rear (through wall): 1.) Remove 8 screws & lift out blower module (as shown); 2.) Disconnect the power plug (not pictured). 3.) Turn the blower module & reinsert into hood; 4.) Reconnect the power plug & replace 8 screws.
Need help?
Do you have a question about the 30″ KELVIN INSERT and is the answer not in the manual?
Questions and answers