
Subscribe to Our Youtube Channel
Related Manuals for Futuro Futuro 69 STREAMLINE ISLAND


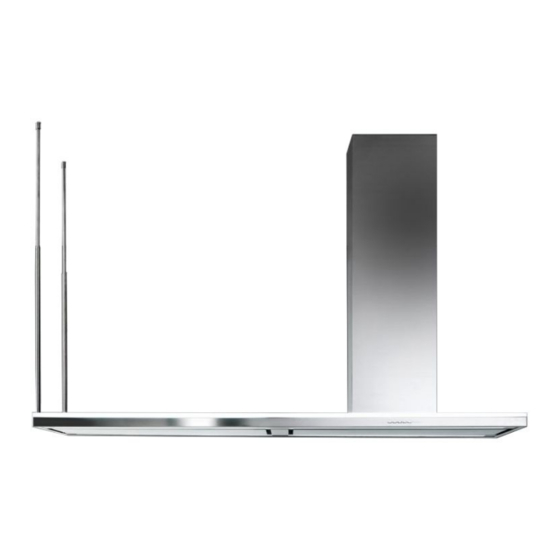
Summary of Contents for Futuro Futuro 69 STREAMLINE ISLAND
- Page 1 Futuro Futuro Futuro Futuro RANGE HOOD INSTALLATION MANUAL MODEL: 69” STREAMLINE ISLAND www.FuturoFuturo.com...
- Page 2 1750 ø8 mm STREAMLINE ISLAND 69”: ~100 LBS...
- Page 3 316 mm 285 mm Ø6 ø 1 IT - Uscita laterale utilizzabile solo con con- trosoitto. US - Side outlet which can only be used with false ceiling. DE - Seitlicher Abzug nur mit Zwischen- decke verwendbar. ø 1 FR - Sortie latérale utilisable uniquement avec faux-plafond.
- Page 4 IT - Installazione a soitto (1), installazione a controsoitto (2). Operazioni preliminari: separare traliccio superiore da traliccio infe- riore (3). US - Ceiling installation (1), false ceiling installation (2). Preliminary operations: separate upper trellis from lower trellis (3). DE - Deckeninstallation (1), Zwischendeckeninstallation (2). CEILING Vorbereitende Vorgänge: die obere Strebe von der unteren Strebe SOFFITTO...
- Page 5 IT - installazione su soitto con/senza controsoitto (4) Fissaggio supporti per tiranti (5). US - Installation on ceiling with/without false ceiling (4). Secure tie rod supports (5). DE - Deckeninstallation mit/ohne Zwischendecke (4). Befestigung Halterungen für Zugstange (5). FR - Installation au plafond avec/sans faux-plafond (4). Fixation des supports pour tirants (5).
- Page 6 IT - Installazione valvola di non ritorno (6). Montaggio tubo aspi- razione (7). Assemblaggio camino ed estensione (8). US - Check valve installation (6). Assemble exhaust pipe (7). Assembly chimney and extension (8). DE - Installation des Rückschlagventils (6). Montage Ansaugrohr (7). Zusammenbau Kamin und Verlängerung (8).
- Page 7 IT - Montaggio camino a soitto (9). US - Mount chimney on ceiling (9). DE - Kaminmontage an der Decke (9). FR - Montage de la cheminée au plafond (9). ES - Montaje de chimenea en techo (9). RU - Монтаж дымохода на потолок (9). PL - Montaż...
- Page 8 IT - Togliere pannello (11) e iltri metallici (12). US - Remove panel (11) and metal filters (12). DE - Platte (11) und Metallilter (12) entfernen. FR - Retirer le panneau (11) et les iltres métalliques (12). ES - Quitar el panel (11) y los iltros metálicos (12). RU - Снимите...
- Page 9 IT - Montaggio camera motore (13) e tiranti (14). IT - Montaggio camera motore (13) e tiranti (14). US - Mount motor chamber (13) and tie rods (14). US - Mount motor chamber (13) and tie rods (14). DE - Montage Motorkammer (13) und Zugstange (14). DE - Montage Motorkammer (13) und Zugstange (14).
- Page 10 IT - Collegamento elettrico (15) e issaggio camino (16). US - Electrical connections (15) and chimney installation (16). DE - Elektroanschluss (15) und Abluftkaminbefestigung (16). FR - Raccord électrique (15) et ixation de la cheminée (16). ES - Conexión eléctrica (15) y ijación de la chimenea (16). (x4) RU - Электрическое...
- Page 11 IT - Montaggio iltro opzionale (17), (18). US - Assembly of optional filter (17), (18). DE - Montage des optionalen Filters (17), (18). FR - Montage du iltre en option (17), (18). ES - Montaje del iltro opcional (17), (18). RU - Монтаж...
-
Page 12: Safety Instructions
SAFETY INSTRUCTIONS If the equipment is sold or transferred to another person, make sure that the booklet is also supplied so that the new user can be made aware of the hood's operation and relative AND WARNINGS warnings. After the stainless steel hood has been installed, it will need to be cleaned to remove any residues remaining from the protection adhesive as well as any grease and oil stains which, if Installation operations are to be carried out by skilled and qualiied in- not removed, can cause irreversible damage to the hood surface. -
Page 13: Electrical Connection
ELECTRICAL CONNECTION OPERATION (only intended for qualiied personnel) WHEN TO TURN ON THE HOOD? Switch on the hood at least one minute before starting to cook to direct fumes and vapours Disconnect the equipment from electrical mains power supply before carry- towards the suction surface. -
Page 14: Maintenance
MAINTENANCE DISPOSAL AFTER END OF USEFUL LIFE Before cleaning or carrying out maintenance operations, disconnect the The crossed-out trash or refuse bin symbol on the appliance means that the equipment by removing the plug or switching o‰ the main switch. product is WEEE , i.e.
Need help?
Do you have a question about the 69 STREAMLINE ISLAND and is the answer not in the manual?
Questions and answers