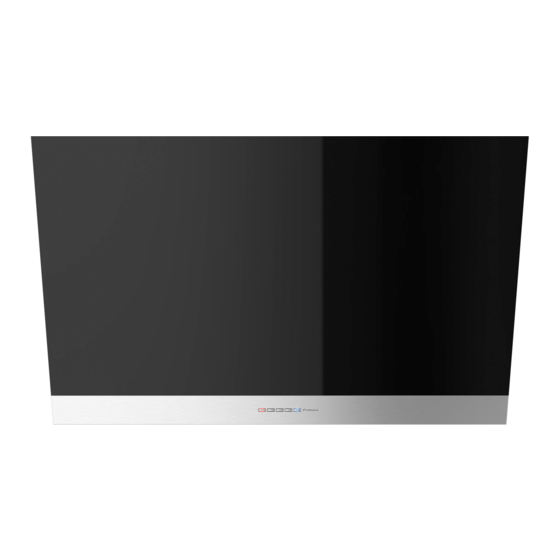
Summary of Contents for Futuro Futuro Transition
- Page 1 Designer Range Hood Installation & User’s Manual Futuro Futuro model: Transition www.futurofuturo.com...
-
Page 2: Overall Dimensions
Overall Dimensions 15” 8” 9 1/2” 35 1/4” 19 1/2” 29 1/2” Weight: 66 lbs. (30 kg) Must be attached to load-bearing component (joist/frame/plywood), NOT to bare sheetrock. Stand by... - Page 3 General Components Location ø 6 ” 5/8” 5/8” ø 6 ”...
- Page 4 Ducted installation - vertical blower output Mounting, Part I: It is recommended for the center of the range hood to be approximately 26” - 28” above the cooktop, for best capture performance. 1.) Measure 20 1/2” from the cooktop to the bottom of the hood.
- Page 5 Backdraft Damper Installation A backdraft damper is supplied with the range hood. For DUCTED installation, it’s strongly recommended to DISCARD this damper, and use a damper built into the end-cap (wall or roof cap). For DUCTLESS installation: insert the damper as shown into the blower output collar , open the blades, and secure the damper with the provided screw Attach the bracket to the wall.
- Page 6 Ducted installation - rear (horizontal) blower output Mounting, Part I: It is recommended for the center of the range hood to be approximately 26” - 28” above the cooktop, for best capture performance. 1.) Measure 20 1/2” from the cooktop to the bottom of the hood.
- Page 7 Ducted installation - rear (horizontal) blower output Blower Motor Repositioning Remove the blower, remove the knock-out plate (1), and re -install the blower in new direction, repeating the steps described on the previous page in reverse. Connettore comandi Panel co ntrol connec tor Cavo alimentazione Power cable...
- Page 8 Metal Mesh Filters For ducted AND ductless installation Carbon (charcoal) Filters ONLY for DUCTLESS installation...
- Page 9 The electric circuit to which the hood is to be connected must be: * In compliance with local electrical standards, * Properly grounded, * Dedicated, not shared with other appliances or dimmable lights.
- Page 10 The duct (air pipe) must have: * A diameter of 6” throughout its entire run, including the end-cap (roof or wall cap). * A slight slope downward in horizontal sections - to prevent condensation from dripping back into the blower motor. * Minimum number of angles &...


Need help?
Do you have a question about the Transition and is the answer not in the manual?
Questions and answers