Advertisement
Quick Links
Advertisement

Subscribe to Our Youtube Channel
Related Manuals for Hayward OmniLogic HTG-OL150c


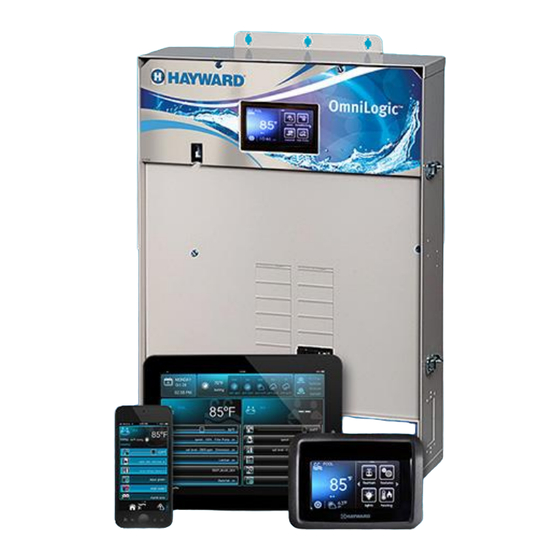
Summary of Contents for Hayward OmniLogic HTG-OL150c
- Page 1 OmniLogic® How To Guide HTG-OL150c Copyright 2016 Hayward Industries Inc.
- Page 2 How To: Back-Up Configuration Use the steps provided to backup a configuration. These steps aid firmware upgrades, MSP changes, and corrupted configurations. Step 1 Step 2 On the right of the dashboard locate and tap Select the “backup config” option (third down the “config”...
- Page 3 How To: Restore a Configuration Use these steps to load a previously saved configuration: Step 1 Step 2 On the right of the dashboard locate and tap Select the “restore config” option (fourth the “config” icon. down on the left most column). Step 3 Step 4 Select where the file is stored, in this case...
- Page 4 How To: Download Config. from Web Use the steps provided to download a configuration file from the Web. Step 1 Step 2 Log into the registered web account via: On the top right, select profile>msp www.haywardomnilogic.com configuration. Step 3 Step 4 Select “Download”.
- Page 5 How To: Download Config. from Web (cont.) Once config. is copied AND USB is ejected, go to the next section to load web config. Step 5 Step 6 Right click on the downloaded file and copy it. Insert USB drive into the PC & launch folder. Step 7 Step 8 Paste downloaded file onto the USB drive,...
- Page 6 How To: Load a Config. Downloaded from Web Use these steps to load a Configuration that has been downloaded from the web. Step 1 Step 2 On the right of the dashboard locate and tap Select the “restore config” option (fourth the “config”...
- Page 7 How To: Download Firmware To download the latest firmware to a USB drive go to www.hayward.com Support Center> Automation > OmniLogic > Firmware Updates Step 1: Right click on the link of the file Step 1-3 you wish to download.
-
Page 8: How To: Upgrade Firmware
How To: Upgrade Firmware Insert the USB drive into the side of the MSP and follow the steps provided below: Step 1 Step 2 Press the power button. Select “service mode”. Step 3 Step 4 Tap the “Upgrade” icon. Tap device to upgrade then check mark. - Page 9 How To: Upgrade Firmware (cont.) NOTE: Make sure all devices are up to the latest firmware revision. Step 5 Step 6 Select storage method (USB). Select latest file (downloaded from web). Step 7 Step 8 Press check mark to start the upgrade process Press check mark when complete (100%), (DO NOT power off while in process).
- Page 10 How To: Clear MSP Calibration Use the steps provided to clear the MSP calibration file. This process is recommended if icon or text box selection is difficult. Step 1 Step 2 On the right of the dashboard locate and tap Once in config, press the right arrow once and the “config”...
- Page 11 How To: Clear MSP Calibration (cont.) NOTE: It is important to select the center of each box that appears (step 6), as this will have a significant impact on how well the screen is calibrated. Step 5 Step 6 Confirmation is required to continue with A series of five boxes will appear, touch the calibration, press the check mark to continue.
- Page 12 How To: Clear DDT The DDT (device discovery table) holds a list of all the smart devices the MSP talks to. Sometimes this table needs to be removed to refresh communications. Step 1 Step 2 On the right of the dashboard locate and tap Once in config, press the right arrow once and the “config”...
- Page 13 How To: Clear DDT – Post Action After removing a DDT it may be necessary to reassign HUAs when multiple smart components of the same type are being used (for example multiple EcoStar pumps). Step 1 Step 2 Power up smart components and record HUAs On the right of the dashboard locate and tap for each (with descriptions).
- Page 14 How To: Clear DDT – Post Action (cont.) The MSP ID is not only used to register the OmniLogic through the web but it is also required to modify an existing configuration. Step 5 Step 6 Enter recorded “msp id” number and press the Tap on “config wizard”, select edit>quick (if check mark.
- Page 15 How To: Clear DDT – Post Action (cont.) How To: Clear DDT – Post Action (cont.) Repeat steps 6 – 10 for all smart devices that are not already captured in the system configuration. Once complete, save the configuration (Step 11). Step 9 Step 10 Select the appropriate HUA and press the...
-
Page 16: How To: Connect To Wi-Fi
How To: Connect to Wi-Fi The following identifies how to connect to a Wi-Fi signal. Only follow these steps if using an HLWLAN (Wi-Fi) antenna. Step 1 Step 2 On the right of the dashboard locate and tap Press the “wifi bridge” option on the right side the “config”... - Page 17 How To: Verify Web Server Information The following identifies how to access Web Server information. If the IP addresses and Port #s are incorrect, registration and/or remote operation will not be possible. Step 1 Step 2 On the right of the dashboard locate and tap Press the “web server”...
- Page 18 How To: Enter Service Mode & Test Relays The following steps outline how to enter service mode and test individual relays. Step 1 Step 2 Press the power button (it does not matter Select “service mode” and select “timed”. what screen is showing at the time). Confirm by pressing the check mark.
- Page 19 How To: Enter Service Mode & Test Relays The following steps outline how to enter service mode and test individual relays. Step 5 Step 6 Toggle relays on and off by selecting each to Once complete, press the back arrow to return verify they are all working.
Need help?
Do you have a question about the OmniLogic HTG-OL150c and is the answer not in the manual?
Questions and answers