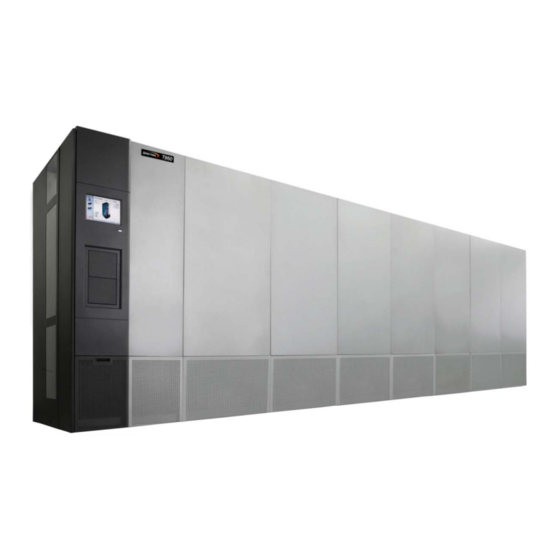
Spectra Logic T950 Instructions Manual
Library
Hide thumbs
Also See for T950:
- Release note (222 pages) ,
- User manual (222 pages) ,
- Supplementary manual (29 pages)
Advertisement
Quick Links
Advertisement

Summary of Contents for Spectra Logic T950
- Page 1 Spectra T950 Library VAX Bumper Replacement SpectraLogic.com...
- Page 2 THE IMPLIED WARRANTIES OF MERCHANTABILITY OR FITNESS FOR A PARTICULAR PURPOSE, BOTH OF WHICH ARE EXPRESSLY DISCLAIMED. In no event shall Spectra Logic be liable for any loss of profits, loss of business, loss of use or data, interruption of business, or for indirect, special, incidental or consequential damages of any kind, even if Spectra Logic has been advised of the possibility of such damages arising from any defect or error.
-
Page 3: Gather Required Tools
X-acto knife or similar tool Replacement VAX Bumper FRU (PN 90949258), which includes: (2) VAX bumpers (PN 90940201) Alcohol wipe ® Loctite 380 Black Max adhesive Figure 1 Replacement VAX Bumper FRU from Spectra Logic. -
Page 4: Ensure Esd Protection
3. Pause PostScan, if it is running, as described in your library User Guide. Any tapes currently being scanned are returned to their storage locations. Note: PostScan will only be paused for one hour. VAX Bumper Replacement—Spectra T950 Library June 2013... - Page 5 9. Click Run Utility. A progress screen displays. When the operation is complete, a Utility Results screen displays. The VAX column is now parked in an accessible position on the right-hand side of the library. VAX Bumper Replacement—Spectra T950 Library June 2013...
- Page 6 Figure 3 Remove the screw at the Figure 4 Slide the panel Figure 5 Lift the panel out bottom of the window panel. up to disengage the hangers. and away from the frame. VAX Bumper Replacement—Spectra T950 Library June 2013...
- Page 7 The VAX belt is the long belt located on the left side of the VAX Note: column, as viewed from the front of the transporter. VAX column VAX belt Figure 6 Clamp the VAX belt to secure the transporter. VAX Bumper Replacement—Spectra T950 Library June 2013...
- Page 8 Adjust the bumper if necessary, until it is correctly centered. e. Apply firm pressure to the VAX bumpers for two minutes. f. Using the X-acto knife, remove any glue that spread past the edges of the hard stop. VAX Bumper Replacement—Spectra T950 Library June 2013...
- Page 9 VAX linear rail ~1 inch of grease applied to VAX linear rail Bearing groove Figure 9 Apply four, 1-inch strips of VAX grease in the bearing groove along each side of the VAX linear rail. VAX Bumper Replacement—Spectra T950 Library June 2013...
- Page 10 Note: As you move the transporter, listen for any abnormal sounds (for example, metal-on-metal grinding or screeching). Contact Spectra Logic Technical Support if you hear any any abnormal sounds (see Contacting Spectra Logic on page 5. Use a lint-free cleaning cloth to wipe away any excess grease that collects at the top and bottom ends of the VAX linear rail.
-
Page 11: Verify Operations
3. Select Maintenance > Diagnostics. The Diagnostics screen displays. 4. Select All Motion Basic Tests. The screen refreshes to display information about the selected diagnostic. Figure 12 The All Motion Basic Tests Diagnostics screen. VAX Bumper Replacement—Spectra T950 Library June 2013... -
Page 12: Restart Backups
9. Repeat the All Basic Motion Tests described in this section. 10. If any of the tests still do not complete successfully, copy the information on the Diagnostic Results detail screen to a text file and contact Spectra Logic Technical Support for assistance (see Contacting Spectra Logic on page...


Need help?
Do you have a question about the T950 and is the answer not in the manual?
Questions and answers