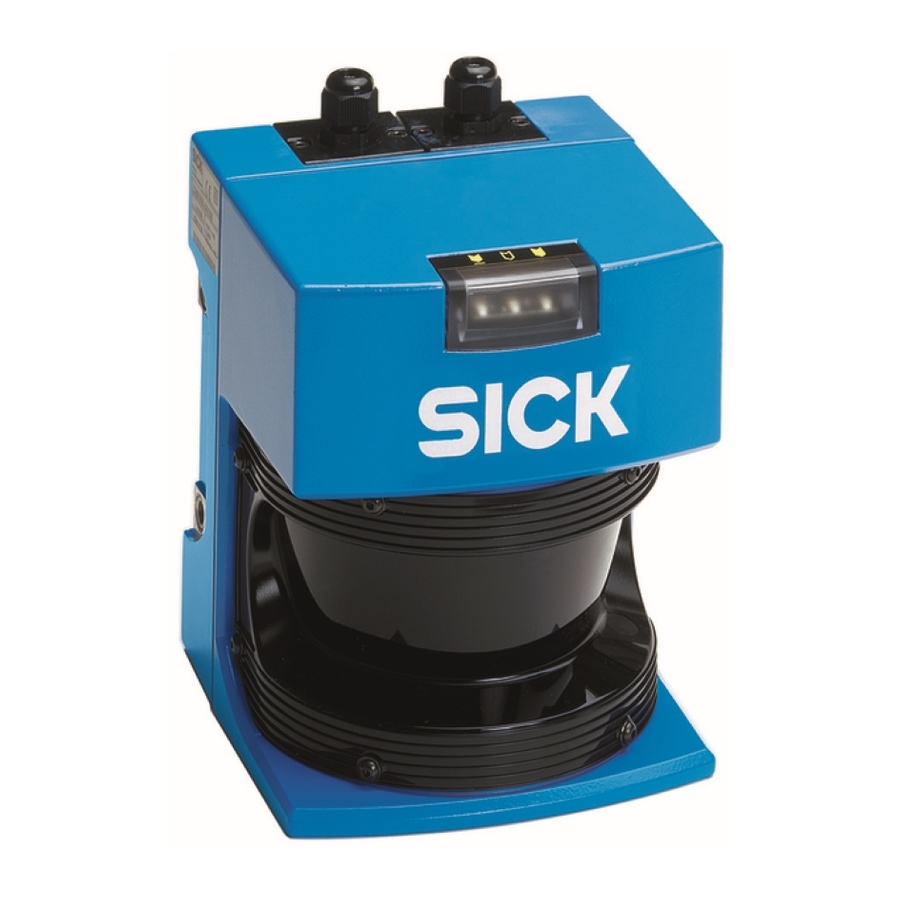
Summary of Contents for SICK LMS 200
- Page 1 Quick Manual MST DEMO setup Quick Manual for MST Demo setup Software setup and configuration Version 1.0 August 2002 (HW/MV) - 1 - © SICK AG · Auto Ident · Germany · All rights reserved...
-
Page 2: Table Of Contents
2. Further information and documentation ! This is a quick start manual. For extended information please refer to the documents listed in section D.4. ! - 2 - © SICK AG · Auto Ident · Germany · All rights reserved... -
Page 3: Introduction
Checking overhang/area monitoring in automated multi-storey car parks • Determining the volumes or contours of bulk materials • Monitoring open spaces for building security (facades, grounds, shafts) • ... and many more - 3 - © SICK AG · Auto Ident · Germany · All rights reserved... -
Page 4: Hardware Setup
RS422 interface (up to 1200 m cable length) (special interface card required) In case a high-speed data transmission is required, SICK offers special interface boards for 500 kBaud transmission rate. For details and information please refer to section D.2. - 4 -... -
Page 5: Power Supply
(for field detection) Note: Minimum connections marked in bold PIN 5 / 8 / 9 cannot be used for data processing purposes with the LMS sensor - 5 - © SICK AG · Auto Ident · Germany · All rights reserved... - Page 6 (for field detection) 15 Restart 16 VCC_EXT for electronics Supply Note: Minimum connections marked in bold Use separate cables for connecting the scanner electronics and the heating. - 6 - © SICK AG · Auto Ident · Germany · All rights reserved...
-
Page 7: Serial Interface For Data Exchange
2. For LMS 211 / LMS 220 / LMS 221 Fig.3: Wiring of the RS232 for LMS211/LMS220/LMS221 Note: The connector at the PC side is a 9 pin DSub - 7 - © SICK AG · Auto Ident · Germany · All rights reserved... - Page 8 PINs 2 and 3 are crossed in the cable, PINs 1 and 4 are crossed in the cable. It is recommended to use twisted pair cables for RS422 connections. - 8 - © SICK AG · Auto Ident · Germany · All rights reserved...
-
Page 9: Communication Via Mst Demo
After unpacking the ZIP file into the home directory, you get the following file structure. By starting MSTDemo.exe you will get the MST start screen with an active menu (Start | Options). - 9 - © SICK AG · Auto Ident · Germany · All rights reserved... -
Page 10: Communication Lms To Pc With Mst
In this quick start manual the application Record LMS scan data and Play back LMS scan data are discussed. The other applications follow the same idea by principle. - 10 - © SICK AG · Auto Ident · Germany · All rights reserved... -
Page 11: Record Lms Scan Data
Stop record Button Zoom By pressing the stop record button the recording will stop. Note: By default the data file is limited to 500 Kbyte. - 11 - © SICK AG · Auto Ident · Germany · All rights reserved... -
Page 12: Re-Play The Stored Data
Remember, if this is the first time you start the player it will create a new configuration file for the player. In this case you will see: - 12 - © SICK AG · Auto Ident · Germany · All rights reserved... -
Page 13: Editing The Configuration File Of The Recorder
0.25° Home directory/LMS_8_M/LMS_025_100 0° .. 180° 0.25° Home directory/LMS_8_M/LMS_025_180 0° .. 180° 1° 32 m Home directory/LMS_32_M/LMS_100_100 0° .. 180° 0.5° 32 m Home directory/LMS_32_M/LMS_050_100 - 13 - © SICK AG · Auto Ident · Germany · All rights reserved... -
Page 14: Transferring The File Lmsdata.dat To A Lmsdata.txt File
Close all open applications and select the LMS Recorder file conversion function in the Options menu. Press the “Find” button and select the LMSdata.dat file. - 14 - © SICK AG · Auto Ident · Germany · All rights reserved... - Page 15 (if the displayed path is correct for your conversion file) The next window shows the parameters for the conversion: If you use the standard configuration you don’t have to change anything. - 15 - © SICK AG · Auto Ident · Germany · All rights reserved...
- Page 16 0,5° shot . E6 shows the 1° shot and so on. The row 5 shows the next scan. The following table shows the number of distance values you receive per scan. - 16 - © SICK AG · Auto Ident · Germany · All rights reserved...
- Page 17 It is possible that MS Excel does not allow you to open more than 255 columns per file. In this case use the configuration above (0.25°,180°). - 17 - © SICK AG · Auto Ident · Germany · All rights reserved...
-
Page 18: Appendices
Connection to the LMS data interface cable: Both PC cards have 9 pin connectors to connect a data interface cable. However different pinnings apply for the MOXA and the Quatech cards! - 18 - © SICK AG · Auto Ident · Germany · All rights reserved... - Page 19 Fig.: Pinning of the data interface MOXA card à LMS Note: !! PIN 7 and PIN 8 need to bee linked together in SICK Connector!! ! RS 422 can only be used if the pinning fits to the PC side! b.
-
Page 20: Further Information And Documentation
• MST Demo Manual and Software (only on request) In case of questions or orders, please do not hesitate to contact your local SICK representative. - 20 - © SICK AG · Auto Ident · Germany · All rights reserved...


Need help?
Do you have a question about the LMS 200 and is the answer not in the manual?
Questions and answers