Advertisement
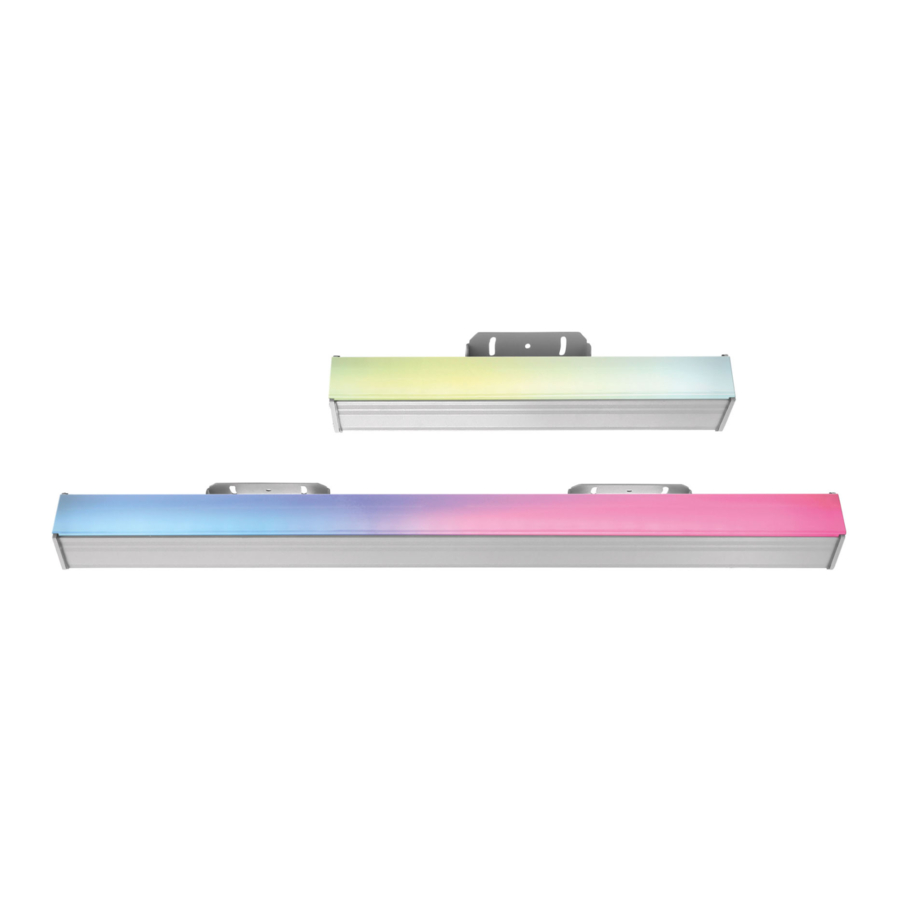
Parade Graphic
Weight / Peso
Housing / Corpo proiettore
IK rating / classe IK
IP rating / grado IP
Ambient temp./ Temperatura ambientale
Power supply / Alimentazione
Inrush current / Corrente di spunto
Power / Potenza massima
Nominal current / Corrente nominale
Power factor / Rifasamento
AL4073:
Thermal protection / Protezione termica
Electrical class / Classe elettrica
Cable / Cavo
Control / Sistema di controllo
Channels / Canali
Color range / Colori
Optics/ Ottiche
Size
AL4071:
AL4073:
AL4071:
Griven S.r.l. - Via Bulgaria, 16
46042 Castel Goffredo
Mantova - Italy
-40°C to 50°C ( -40°F to122°F)
1016mm
40,83in
40 High brightness RGB full color LEDS
700mm
27,56in
520mm
20,47in
210mm
8,27in
1016mm
40,83in
700mm
27,56in
520mm
20,47in
Tel. +39.0376.779483
© Copyright Griven 2018 - Griven reserves the right to make
changes to this product and related instructions at any time
Fax +39.0376.779682
without prior notice and such changes shall be effective
E-mail: sales@griven.com
immediatly
Web: www.griven.com
210mm
8,27in
User Manual
Rev. 1.00
Date: 20/11/2018
AL4073
6,5 Kg (14.33 Lbs)
Iron/Alluminum, scratch resistant paint
100~277 VAC / 50/60Hz
15A @ 230VAC cold start
20W
0,1A @ 230VAC
200 + 200 mm
USITT DMX-512 - Self addressing
125mm
6 to 120
4,92in
120 ° Direct view opaline
125mm
4,92in
125mm
4,92in
125mm
.
4,92in
551071
AL4071
4 Kg ( 8.8 Lbs)
IK09
IP67
-30°C to 45°C ( -22°F to 113°F)
0,05A @ 230VAC
cos.φ=0.94
Electronic
I
3 to 60
20 High brighrtness RGB full color LEDS
10 W
page 1 of 8
Advertisement
Table of Contents

Subscribe to Our Youtube Channel
Related Manuals for Griven Parade Graphic


Summary of Contents for Griven Parade Graphic
- Page 1 AL4071: 20,47in Griven S.r.l. - Via Bulgaria, 16 Tel. +39.0376.779483 © Copyright Griven 2018 - Griven reserves the right to make changes to this product and related instructions at any time 46042 Castel Goffredo Fax +39.0376.779682 without prior notice and such changes shall be effective Mantova - Italy E-mail: sales@griven.com...
- Page 2 - Fix the projector by using screws, hooks or other adequate supports that can bear its weight. Fissare il proiettore con viti, ganci o altri supporti in grado di sostenerne il peso. page 2 of 8 Parade Graphic - Rev. 1.00 551071...
- Page 3 ATTENZIONE ! Assicurarsi che l’alimentazione sia disattivata prima di collegare o scollegare i proiettori! Installation directions 176÷530mm 15,75 CAUTION: The luminaire should be positioned so that prolonged staring into the luminaire is not expected. page 3 of 8 Parade Graphic - Rev. 1.00 551071...
- Page 4 Non utilizzare nessun’altro attrezzo. proiettori. Do not leave the connectors unprotected or disconnected NON-WATERPROOF WATERPROOF for a long time. page 4 of 8 Parade Graphic - Rev. 1.00 551071...
- Page 5 DMX OUT DMX OUT DMX OUT Projector n°4 Projector n°6 address:181 address:301 Projector n°7 address:361 DMX IN DMX OUT For further details consult the configuration schemes available on our website. page 5 of 8 Parade Graphic - Rev. 1.00 551071...
- Page 6 DMX addressing Parade Graphic is provided with DMX autoaddressing feature: this means that it is not required the addressing of each single fixture but it is the fixture itself that automatically increments the DMX address of the following connected fixture. DMX address must be set only on the first fixture of the daisy chain by using the optional Weezerd 1 AL2660.
- Page 7 7 of 8 Parade Graphic - Rev. 1.00 551071...
- Page 8 8 of 8 Parade Graphic - Rev. 1.00 551071...
Need help?
Do you have a question about the Parade Graphic and is the answer not in the manual?
Questions and answers