Advertisement
Quick Links
Advertisement

Related Manuals for KEENCUT ARTIST


Summary of Contents for KEENCUT ARTIST
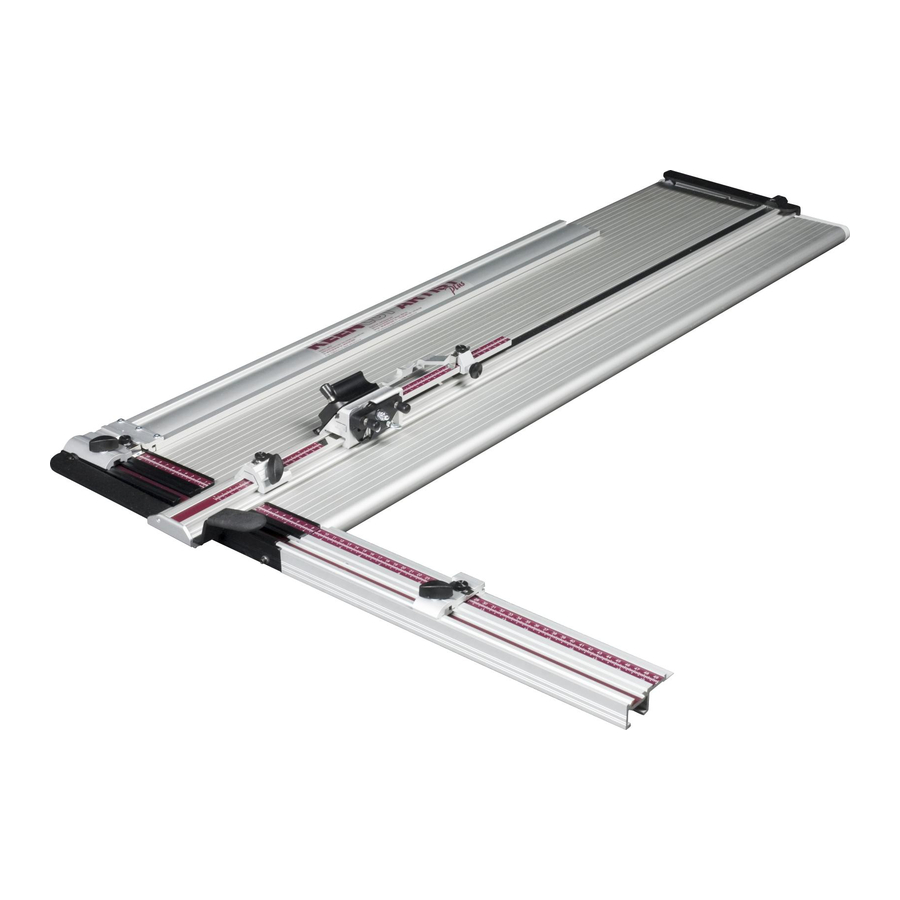
- Page 1 ARTIST MAT CUTTER INSTRUCTION MANUAL THE WORLD’S FINEST CUTTING MACHINES...
- Page 3 User Instructions Contents Know your ‘ARTIST’ Mat Cutter Getting Started The Slipmat & Blade Information Bevel Cutting Setting the Blade Cutting a Simple Mat 1 Cutting a Simple Mat 2 Calibration Squaring 1 Maintenance Squaring 2 The Slide Bearings, Lubrication &...
- Page 4 User Instructions Know your ARTIST Mat Cutter Thank you for choosing a Keencut Artist Mat Cutter. Every effort has been made to bring you a superbly built product with the promise of Blade many years of good service. Please read these...
- Page 5 Please note: When using the Tech S.012 blades you can only use the one tip as indicated on the blade. If you require sample blades contact Keencut direct and a small quantity will be sent F.O.C We would be pleased to know your results! BLADE DEPTH is critical when bevel cutting.
- Page 6 Blade Clamping Screw and check the blade depth. NOTE: Change your blade regularly. The cost The Artist has been tested and adjusted to give of half a blade (two cutting tips per blade) accurate results on a standard matboard. You compared to matboard is negligible.
- Page 7 Do not rely on full size sheets of Mat Board being square and always check the squareness of pre- cut blanks. The Artist Matcutter is not fitted with a vertical cutter (for cutting the outside of the mat) as standard, it is available as an option.
- Page 8 User Instructions Bevel Cutting - Cutting a Simple Mat 2 1mm (1/16”) READJUST THE MATGUIDE The blade cuts about 1mm (1/16”) to the left of THE START the Cutter Bar, move the Matguide to the left POSITION by that amount and when cutting the blade will Bring the Cutter Head cut down the pencil line.
- Page 9 User Instructions Bevel Cutting - Calibration Firstly, measure the border width on the coloured face of the mat. If the border width is not accurate, say it measures 3.1cm (3 1/16”) release the Adjustment Screw (A) and slide the Mat Guide Adjuster (B) so it reads what you have measured—...
- Page 10 User Instructions Maintenance - Squaring 1 YOU SHOULD NOT NEED TO ADJUST THE SQUARING OF THE MACHINE! SQUARING THE CUTTER BAR AND END PLATE is carried out in our factory before despatch on all new machines. Therefore adjustment should never be necessary. SETTING THE END PLATE SQUARE WITH THE CUTTER BAR The best method of squaring the End...
- Page 11 User Instructions Maintenance - Squaring 2 CONTINUED IF THERE IS A GAP between Rotate the mat a quarter of a turn the matboard and the Cutter Bar, counter-clockwise but this time place the then machine requires bottom edge on the Measuring Arm/End adjustment this Plate and slide it to the left until it comes...
- Page 12 SLIDE BEARINGS The bearings which control the sliding motion of the Artist cutting head are machined from a remarkable material called Ultra High Molecular Weight Polyfine and they will never wear out. As the bearings settle into position you may wish to adjust them to eliminate...
- Page 13 User Instructions Optional Accessories - Vertical Cutting Attachment & Squaring Arm PLEASE ASK YOUR KEENCUT SUPPLIER FOR:- KX36 VERTICAL CUTTING ATTACHMENT & 46cm - 18” SQUARING ARM FITTING THE VERTICAL CUTTING ATTACHMENT (OPTIONAL EXTRA) Locate the fixing hole (E) on the side of the Screw the attachment firmly in place.
- Page 14 Optional Accessories - Fitting the Twin Production Stops OPTIONAL PRODUCTION STOPS These are available as an option to help speed up PLEASE ASK YOUR KEENCUT SUPPLIER volume mat production. By marking out the first mat FOR:- KX37 TWIN PRODUCTION STOPS the stops can be set therefore removing the need to mark out the remainder.
- Page 15 User Instructions Optional Accessories - Using the Twin Production Stops When Bevel Cutting with the Optional Production Stops the first mat is marked out with a pencil in the normal way, which enables the position of the stops to be set for cutting the subsequent mats. First, all the short cuts are made, then the Start of Cut Stop is reset to then cut all the long cuts.
- Page 16 Optional Accessories - The “Plus Pack” PLEASE ASK YOUR KEENCUT SUPPLIER FOR:- KX38 - ARTIST “PLUS PACK” The Atrist ‘Plus Pack’ includes everything required to upgrade your Artist mat cutter to an ‘Artist plus’. The pack includes:- • Professional cutter head with Bevel & Vertical Blade Holders and Start of Cut Gauge.
- Page 17 User Instructions Cutting Techniques - Cutting Unequal Margins & Offset Corner Mats UNEQUAL MARGINS Unequal Margin mats are often used to overcome the optical illusion of a picture appearing to be set too low in the frame. Cutting a mat with Unequal Margins is as simple as cutting a standard mat, increase the setting of the Matguide when marking out the bottom edge of the mat and cut to the pencil lines in the normal way.
- Page 18 User Instructions Cutting Techniques - Cutting a V-groove CUTTING A V-GROOVE Lightly mark the back of the mat board with a pencil and then cut a mat. Remove the mat and fallout and retain both. Remove slip mat. Pencil mark Set the Mat Guide forward so it is approximately 2mm (1/16”) away from the Cutter Bar.
- Page 19 User Instructions Cutting Techniques - Cutting Multiple Openings & Title Boxes CUTTING MULTIPLE OPENINGS AND TITLE BOXES Pencil mark the back of the mat board with the required layout and place an 'x' in each aperture to be cut. If the 'x' of the aperture to be cut is under or to the right of the Cutter Bar then the bevel will not be accidentally cut in the wrong direction.
- Page 20 KEENCUT INC. (North American Sales) KEENCUT LIMITED #366 - 3560 Pine Grove Ave., Port Huron, MI 48060, USA Weldon South Ind. Estate, Corby, Northants England NN18 8AZ. Toll Free: 1 800 240 5336 Tel: 1 (519) 652 0970 Fax: 1 (519) 652 0396...
Need help?
Do you have a question about the ARTIST and is the answer not in the manual?
Questions and answers