Advertisement
Quick Links
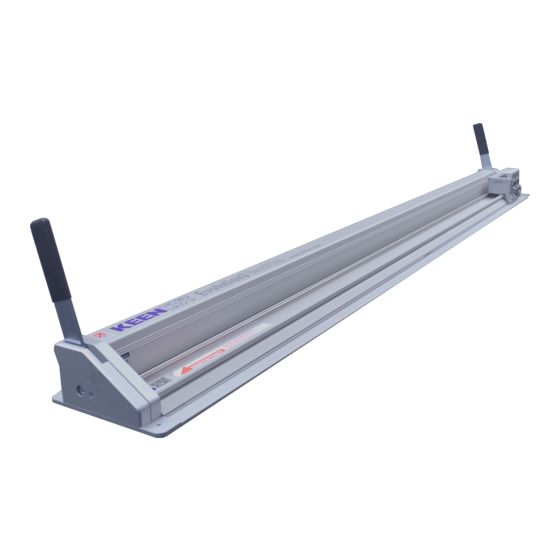
Evolution Bench
Inspired Design – Precision Engineering
ASSEMBLY INSTRUCTIONS
Thank you for choosing the Keencut Evolution Bench. Every effort
has been made to bring you a precision engineered product
with the promise of many years of valuable service. In order to
obtain maximum benefit from your machine please read these
instructions carefully. For advice and assistance or replacement
parts please contact your distributor or Keencut.
Keencut Limited, Baird Road, Willowbrook Industrial Estate, Corby, Northants, ENGLAND NN17 5ZA.
Telephone: 01536 263158 Fax: 01536 204227 E-mail: info@keencut.co.uk
www.keencut.co.uk
Advertisement

Related Manuals for KEENCUT Evolution Bench


Summary of Contents for KEENCUT Evolution Bench
- Page 1 For advice and assistance or replacement parts please contact your distributor or Keencut. Keencut Limited, Baird Road, Willowbrook Industrial Estate, Corby, Northants, ENGLAND NN17 5ZA. Telephone: 01536 263158 Fax: 01536 204227 E-mail: info@keencut.co.uk www.keencut.co.uk...
-
Page 2: Packing List
Packing List You should have; Quantity x Size in Cm EB160 EB210 EB260 EB310 EB360 ITEM Beam A (Front to back) 4x125 6x125 6x125 8x125 8x125 Beam B (Side to side) 3x182 6x114 6x139 9x10⁸ 9x125 4 x 87 6 x 87 6 x 87 8 x 87 8 x 87 Bench Edge Extrusion 1x182 2x114 2x139 3x10⁸ 3x125 LH Bracket... -
Page 3: Order Of Assembly
The Order of assembly is important – the following diagrams are for quick reference only and are to enable the reader to familiarise themselves with the general assembly of the Evolution Bench, the detailed assembly is described in 4 stages. Stage 1 Fix the brackets to the legs. - Page 4 Assembly NOTE: The following instructions will assume the Evolution Bench has six legs. If you are constructing a 160 Evolution Bench please omit the middle frame. Stage 1 Put a grub screw backwards into each of the joining brackets – do not place screws in the other holes.
- Page 5 Assembly Put grub screws in each of Fix the height adjusters into the two large holes of the the bottom of each leg. bracket, only screw them in Position the adjuster in one of 2 or 3 turns. the internal grooves of the leg (ie.
- Page 6 Assembly NOTE: Once the frames have been assembled check that all the brackets are in the correct position and facing the correct way (i.e. flat face to the inside of the bench as shown in Stage 1, part2) continue to Stage 3. This part of the assembly is carried out by constructing the bench upside down, check you have enough space and manpower to turn the bench over when complete.
- Page 7 Joining Brackets but do not tighten the bracket screws at this stage. If you are assembling a 160 Evolution bench go straight to instruction10. Align the Centre Frame as shown. Place the Centre Frame in the Centre Bracket and push the tongue into the hollow in the Bench Edge Extrusion.
- Page 8 Assembly Place the second Bench Edge Extrusion into position and tighten both Screws Position the remaining three Beams on their Brackets but do not tighten the screws. If a 310 or a 360 bench is being constructed, repeat steps 6 to 8 to install the second centre frame.
- Page 9 Assembly Stage 4 Now refer to your Evolution Instruction Manual to fit the cutter onto the bench. Set the Table in its working position and use the Height Adjustable feet to get the table to within 3mm of flat (as explained in the Evolution Manual).
- Page 10 Worktop sizes are listed below, they must be 18mm ( ”) thick for the top surface to be level with the base of the cutter Evolution Bench Size One piece worktop cms (in.) Multi-piece worktop cm. (in.) 194 x 120 (76 ”...
Need help?
Do you have a question about the Evolution Bench and is the answer not in the manual?
Questions and answers