Table of Contents
Advertisement
Quick Links
Advertisement
Table of Contents

Related Manuals for Seers Medical Clinnova NV2550


Summary of Contents for Seers Medical Clinnova NV2550
- Page 1 CLINICAL RANGE OPERATING INSTRUCTIONS DOC No. 03-201-UM-UK ISSUE 2...
- Page 2 WARNING To avoid injury, always read this Instructions for Use and accompanied documents before using the product. Mandatory to read the Operating Instruction 03-201-UM-UK ISSUE 3...
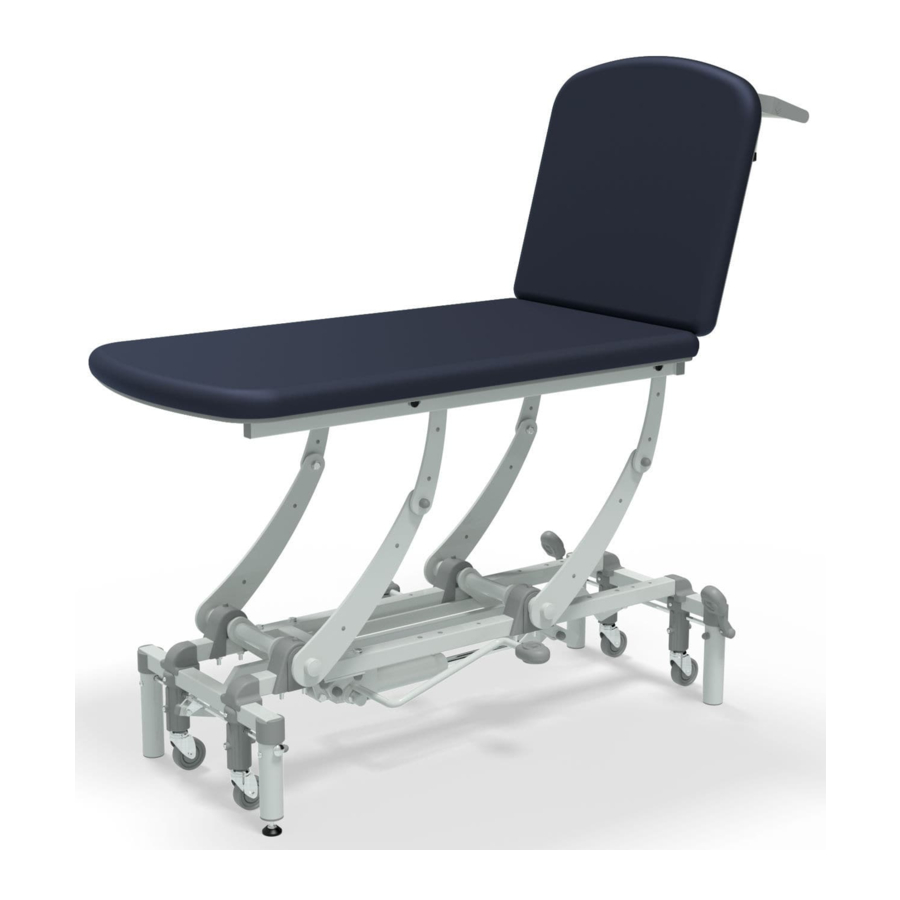
- Page 3 This User Manual applies to the following Couches in the SEERS Medical CLINNOVA™ Clinical Product Range. CLINNOVA™ Clinical 2 Section Couches NV2550, NV2560, NV2570 CLINNOVA™ Clinical 3 Section Couches NV3550, NV3560, NV3570 CLINNOVA™ Clinical Mobile Treatment Couches NV2450, NV2460, NV 2470,NV3450, NV3460,NV3470 NV2650, NV2660, NV2670, NV3650, NV3660, NV3670 CLINNOVA™...
- Page 4 INDEX 1. GENERAL INFORMATION – INTENDED OF USE, WARNINGS & CAUTIONS 2. HOW TO USE – a. WHEEL SYSTEM - RETRACTABLE b. ADJUSTABLE FOOT LEVELLING c. WHEEL SYSTEM - LARGE MOBILE WHEEL DESIGN d. WHEEL SYSTEM - INDEPENDENT BRAKED CASTORS e.
-
Page 5: General Information
1. GENERAL INFORMATION. CONGRATULATIONS on the purchase of your new CLINNOVA™ Couch from SEERS MEDICAL. If these operating instructions are adhered too, this product will provide many years of safe use. IF THESE OPERATING INSTRUCTIONS ARE NOT FOLLOWED - YOUR WARRANTY COULD BE INVALID! Always keep these Operating Instructions available for reference. -
Page 6: How To Use
CAUTIONS! Cautions identify circumstances which if not followed correctly, could result in failure or damage of the equipment! Attention refer to these Operating Instructions for further information 2. HOW TO USE. WHEEL SYSTEM (RETRACTABLE) Lever UP Lever DOWN Lever LOCKED DOWN Wheels RETRACTED and OFF Wheels ENGAGED and ON Wheels LOCKED and ON... -
Page 7: Adjustable Foot
ADJUSTABLE FOOT CAUTION! Ensure Wheels are retracted before adjusting the adjustable foot. Ensure the wheels are retracted and off. Adjust the foot by turning clockwise or anti - clockwise until the couch is stable on all legs. Secure the foot by tightening the nut until it locks against the threaded cap. - Page 8 ADJUSTING THE HEIGHT OF THE COUCH Hydraulic Elevation (manually adjustable height couches) To elevate the couch, push the pedal downwards with your foot. Repeat until correct height is achieved. To lower couch, raise the pedal upwards, by putting your toe underneath the lever, lifting the lever upwards until the couch reaches the desired height...
- Page 9 ALTERING THE BACK REST & FOOT SECTION ANGLES ON MANUAL COUCHES To raise the backrest, simply grasp the release lever towards the upholstery and adjust the backrest to the angle desired. Releasing the lever automatically locks the section at that angle. To lower, grasp the lever again, and lower the backrest to the required angle.
- Page 10 EXTENDING/RETRACTING THE LEG RESTS (models Orthopaedic and Dual Foot Rest Multi Couches) To extend or retract the leg rest, undo the locking knob on the underside of the upholstery until the section can be moved easily. Adjust the leg rest to the desired position.
- Page 11 ARM LOOPS 1. Locate Arm Loop into Holder Bracket on side of couch, and secure with indexed lever. 2. To gain more movement on the lever, depress button in centre of the lever, and pull out lever and move lever to opposite direction.
- Page 12 CAUTION! The Fold Down Leg Extension is NOT designed to be used as a seat. Patient weight should not be concentrated on the end of the couch. The Leg Extension is to support lower limbs during supine or prone treatments when a L.
- Page 13 To Lower the side support rail, simply lift out To Raise the side support rail, simply lift and of socket and rotate down 180 degrees to rotate 180 degrees, and then engage fully disengaged position. into socket. PAPER TOWEL HOLDER To fit and change the paper towel, simply spring the frame outwards, and remove the tube.
- Page 14 UPPER LIMB SUPPORT 1. To adjust position of Arm Support Pad, undo the locking clamp on underside of pad anticlockwise. 2. Once loosened, move pad to desired position and re-tighten locking clamp to secure. 3. If height adjustment is required, undo the locking clamp on the vertical stem.
- Page 15 DOUBLE OR TRIPLE FOOTSWITCH CONTROL To adjust couch, press the relevant button to adjust height, tilt or backrest angle up or down. 03-201-UM-UK ISSUE 3...
-
Page 16: Cleaning Instructions
3. CLEANING INSTRUCTIONS WARNING! Disconnect the couch from the mains power supply prior to carrying out any cleaning or decontaminating. DO NOT SATURATE PRODUCT IF PRODUCT GETS SATURATED DURING CLEANING, THIS COULD ACCELERATE CORROSION, REDUCING PRODUCTS LENGTH OF SERVICE. Recommended Cleaning Method – SEERS Anti-Bacterial Cleaning Wipes The perfect solution for cleaning SEERS Examination Couches. - Page 17 Coffee, tea etc spills: Use an absorbent white cloth or piece of paper. DO NOT RUB. Allow the stain to be absorbed and removed from the material surface. Then rub gently with white tissue paper in circular movements to remove any remaining dampness and residue. Ink, Ball point pen, Denim, hard stains: Rub the stain by means of gentle circular movements with tissue dampened with 96°alcohol and water (1:1) After this rub the surface with gentle circular movement with tissue paper to dry it.
-
Page 18: Maintenance
Remember if you are not sure contact you customer representative before proceeding. MAINTENANCE WARNING! Disconnect the couch from the mains power supply prior to carrying out any maintenance. All electrical maintenance should be performed by a suitably qualified person. BLUE or BROWN wires must not be connected to any earth terminal. Actions to be done by clinician Daily Weekly... - Page 19 Actions to be done by qualified personnel Once a year ✓ Carry out a full test of all electrical couch positioning functions (backrest, height, etc.) ✓ Check operation of the manual backrest/footrest, Check gas struts operate smoothly and correctly throughout all ranges of movement. The upholstered section should lock once the release lever is no longer operated.
- Page 20 W: www.seersmedical.com © SEERS MEDICAL Limited 2020 Manufactured in the UK by SEERS MEDICAL Limited. As part of our ongoing development programme SEERS MEDICAL Limited reserves the right to modify specifications and materials of this couch without prior notice. Product lifetime: The lifetime of this equipment is typically 12 years from the manufacturing date.
-
Page 21: Troubleshooting
TROUBLESHOOTING Fault Possible Cause Solution Electrical functions not Mains cable has become disconnected, Locate control box and see whether the power light working correctly either from the wall socket or the control is illuminated and that the lead is connected at both ends. - Page 22 TECHNICAL DATA – CLINNOVA™ 2 Section & Mobile Treatment Couches Index / Model NV2550 NV2560 NV2570 NV2450 NV2460 NV2470 NV2650 NV2660 NV2670 Configuration Elevation Control Hydraulic Electric Electric Hydraulic Electric Electric Hydraulic Electric Electric with with with with with with with with with...
- Page 23 TECHNICAL DATA – CLINNOVA™ 3 Section & Mobile Treatment Couches Index / Model No. NV3550 NV3560 NV3570 NV3450 NV3460 NV3470 NV3650 NV3660 NV3670 Configuration Elevation Control Hydraulic Electric Electric Hydraulic Electric Electric Hydraulic Electric Electric with with with with with with with with...
- Page 24 TECHNICAL DATA – CLINNOVA™ Multi Couches (non Tilt – Split leg rests) Index / Model No. NV0555 NV0565 NV0575 NV0455 NV0465 NV0475 NV0655 NV0666 NV0675 Configuration Elevation Control Hydraulic Electric Electric Hydraulic Electric Electric Hydraulic Electric Electric with with with with with with...
- Page 25 ELECTRICAL TECHNICAL DATA Electrical Data Linak Timotion Control Box 100 - 240V, 50/60Hz 100 - 240VAC, 50/60Hz, 2500mA Output 120W 32V, 128VA, Standby power 0.5W Duty Cycle 10% max, 2 min ON / 18 min OFF Mains Plug Fuse Rt 5.0A x 1 (UK) IP RATING...
- Page 26 Symbols Safe working load Double Insulated (Class II) Alternating current (a.c.) Manufacturer Total weight of the equipment Manufacturing date including its safe working load Complies with the European Caution/Warning Regulatory affair Refer to instructions For Use Serial number Type B applied part. Model number Do not sit on the edge marked in Waste Electrical and Electronic...
- Page 27 03-201-UM-UK ISSUE 3...
- Page 28 IP14 6LA UNITED KINGDOM t: +44 (0)1728 861590 f: +44 (0)1728 861868 info@seersmedical.com w: www.seersmedical.com © SEERS MEDICAL Limited 2020 Importer & Dealer in Finland: Camp Scandinavia OY / Camp Mobility Patamäenkatu 5 33900 Tampere t: +358 (0)9 350 76 310 e: info@campmobility.fi...
Need help?
Do you have a question about the Clinnova NV2550 and is the answer not in the manual?
Questions and answers
Is there a way to lower the electronically controlled bed model NV3670 if there is no power to the system?