
Related Manuals for Schuchmann MALTE Series


Summary of Contents for Schuchmann MALTE Series
- Page 1 Assembly instructions Handle holder replacement: mAlte (size 2-4) / mAlte outdoor (size 2+3) / mArcy (size 2+3)
- Page 2 Assembly instructions MALTE ............................... 3 Assembly instructions MARCY .............................. 4 Assembly instructions MALTE with parking brake ......................5-9 Assembly instructions MALTE Outdoor .......................... 10-11 Handle holder Bowden cable Hexagon socket screws End caps www.schuchmann-reha.de · info@schuchmann-reha.de...
- Page 3 (F) back on. Now take the supplied the hexagon socket screw (long) and tighten it. Now the handle tube (E) can be pushed back into the mount on MALTE. Please carry out these assembly steps on both handle tubes. www.schuchmann-reha.de · info@schuchmann-reha.de...
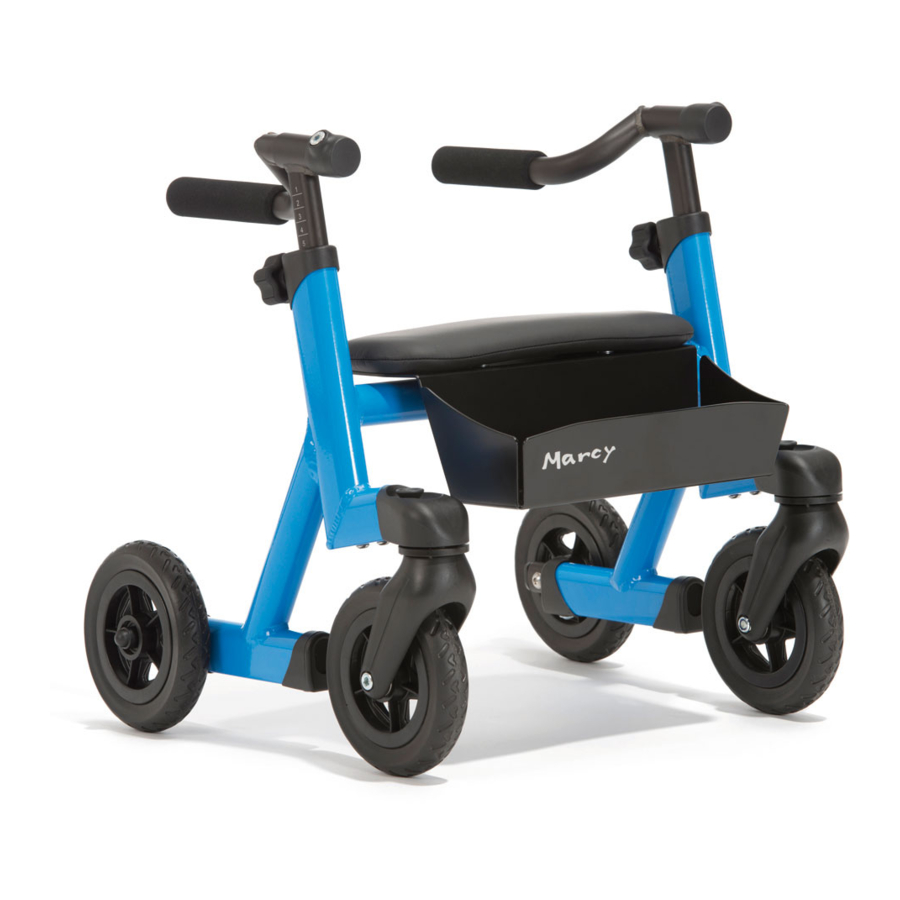
- Page 4 Now the handle tube (E) can be pushed back into the mount on MARCY. Please carry out these assembly steps on both handle tubes. replacement can be undertaken for the mArcy with parking bra- ke precisely as described here. www.schuchmann-reha.de · info@schuchmann-reha.de...
- Page 5 Handle holder Bowden cable Hexagon socket screws End caps mAlte with parking brake Step 1: Release the clamp screw (A) at the bottom of the Bowden cable with a 3 mm Allen key. www.schuchmann-reha.de · info@schuchmann-reha.de...
- Page 6 (B). Step 4: Remove the clip (E) out of the handle tube (F) and pull the handle tube (F) out of the handle holder (G). www.schuchmann-reha.de · info@schuchmann-reha.de...
- Page 7 Step 6: Now guide the new Bowden cable through the brake handle (C) then slide this back into the outer sleeve (D). Step 7: Then pull the Bowden cable through the mount on the new handle holder (E) then also insert the entire handle tube (F). www.schuchmann-reha.de · info@schuchmann-reha.de...
- Page 8 Step 10: Now you can slide the Bowden cable back through the brake (D) at the bottom and pull spring (E) onto the Bowden cable. www.schuchmann-reha.de · info@schuchmann-reha.de...
- Page 9 (D) back onto the clamp nipple. Step 13: To finish, please tighten the clamp clip (E) for the Bowden cable again with a 3 mm Allen key. Please carry out these assembly steps on both handle tubes. www.schuchmann-reha.de · info@schuchmann-reha.de...
- Page 10 3-9. Step 10: Push the Bowden cable back into the outer sleeve and slide the Bowden cable through the drum brake adjuster (D). www.schuchmann-reha.de · info@schuchmann-reha.de...
- Page 11 Please carry out these assembly steps on both handle tubes. Please feel free to contact us at any time if you have further questions. Our field and office staff have been designated as your contact persons. Please contact Mr. Torsten Schuchmann to coordinate the replacement process: •...
- Page 12 Sale of products by renowned manufacturers ■ Individual manufacture and adaptation ■ New and further development Schuchmann GmbH & Co. KG Dütestraße 3 · 49205 Hasbergen Tel. 0 54 05 909 - 0 · Fax 0 54 05 909 - 109 www.schuchmann-reha.de www.facebook.com/schuchmannreha...
Need help?
Do you have a question about the MALTE Series and is the answer not in the manual?
Questions and answers