Advertisement
Quick Links
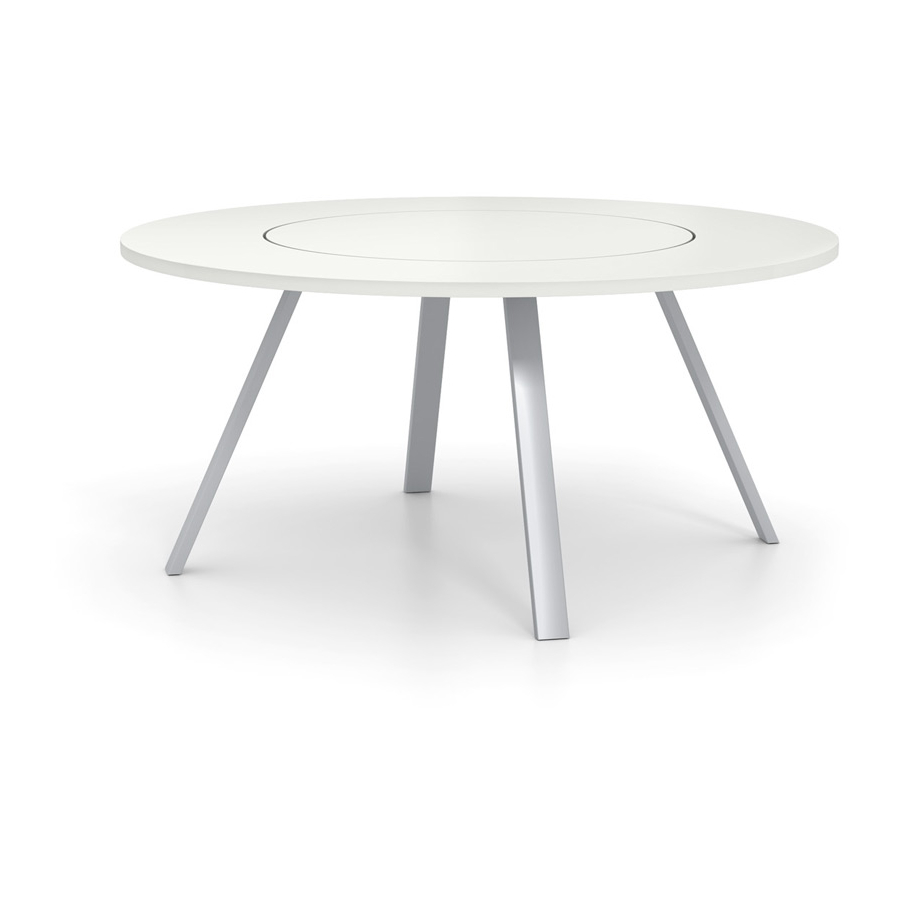
Tonic Inno Table
Tools Required
Cordless drill, magnetic insert-bit holder, 8" or longer driver extension, #2 insert or Pozidriv bit
ITEM NO.
COMPONENT
A
ROTATING TOP ASSEMBLY
B
OUTER TABLE TOP RING
C
LEG
#10 x 1" CROSS DRIVE, PAN HEAD SCREWS
D
Step 1 – Position top components
Place the rotating top assembly (A) top-side down on a flat floor. Place the outer table top ring (B), top-side down, over the
rotating top assembly. Rotate the sub top so that the groups of 5 pilot holes are roughly aligned with the groups of 3 pilot
holes in the outer table top ring.
NOTE: Be sure the floor is cleaned of any debris that might scratch the table top surfaces.
A
B
Assembly Instructions
Figure 1
26246 Twelve Trees Lane NW, Poulsbo, WA 98370 | 800.426.1202 | www.watsonfurniture.com
Pg. 1 of 2
QTY
1
1
4
32
INS-TNC TWTRC
Advertisement

Related Manuals for WATSON Tonic


Summary of Contents for WATSON Tonic
- Page 1 Tonic Inno Table Assembly Instructions Tools Required Cordless drill, magnetic insert-bit holder, 8” or longer driver extension, #2 insert or Pozidriv bit ITEM NO. COMPONENT ROTATING TOP ASSEMBLY OUTER TABLE TOP RING #10 x 1” CROSS DRIVE, PAN HEAD SCREWS Step 1 –...
- Page 2 Tonic Inno Table Assembly Instructions Step 2 – Attach legs Place a leg onto the tops so that the holes in the bracket align with those in the rotating top assembly. Drive five screws through the holes in the bracket which surround the leg into the sub top. A driver extension will be required to reach the screws nearest the edge of the sub top.