Advertisement
22000 Suite 250 Industrial Blvd, Rogers, MN 55374 / 1-866-527-7637
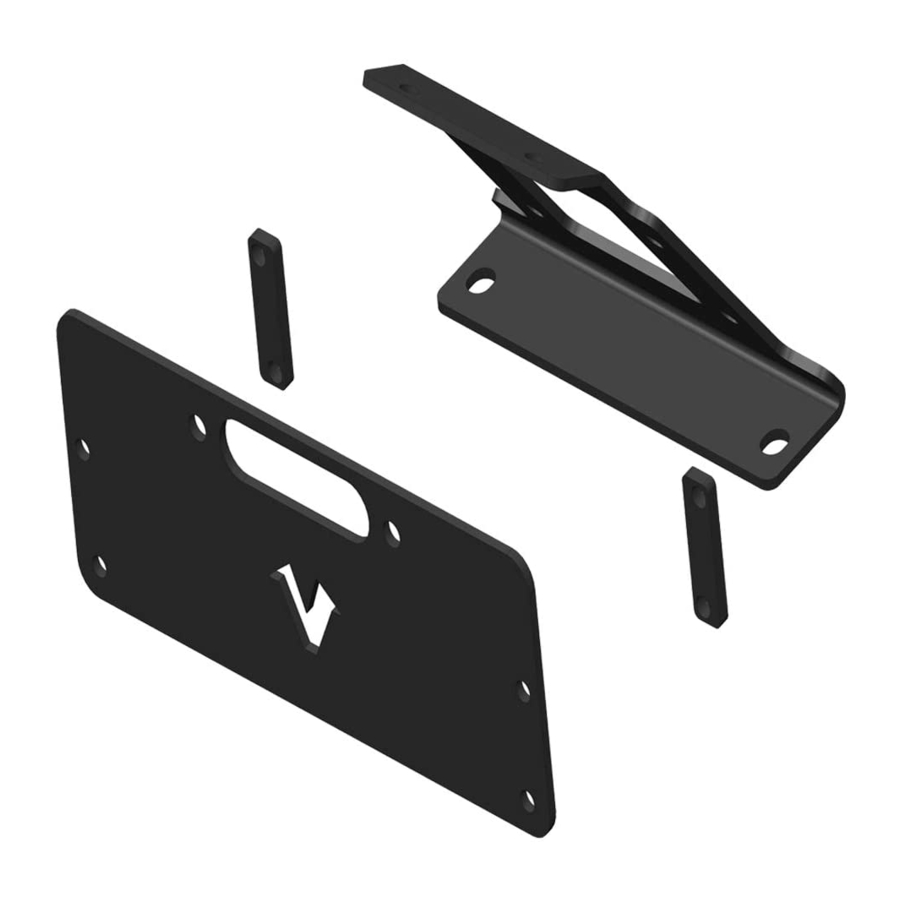
Yamaha YXZ Winch Mount
Thank you for purchasing our VIPER winch mount. You now own a premium custom
winch mount which allows you to use your winch with your UTV / SxS. Please note the
following instructions and heed all warnings.
• Please use common sense when operating your UTV / SxS
• Read your Winch Operators Manual and all other operator manuals, including
warning labels, before operating your UTV / SxS
• Be observant of moving parts causing entanglement, use extreme caution!
SEVERE INJURY OR DEATH MAY RESULT IF YOU ARE NEGLIGENT.
866.527.7637
www.motoalliance.com
VIPER Winch Mount
MA11922
1
motoinfo@motoalliance.com
Advertisement
Table of Contents

Related Manuals for Motoalliance VIPER MA11922


Summary of Contents for Motoalliance VIPER MA11922
- Page 1 22000 Suite 250 Industrial Blvd, Rogers, MN 55374 / 1-866-527-7637 www.motoalliance.com VIPER Winch Mount MA11922 Yamaha YXZ Winch Mount Thank you for purchasing our VIPER winch mount. You now own a premium custom winch mount which allows you to use your winch with your UTV / SxS. Please note the following instructions and heed all warnings.
- Page 2 MA11922-2 Spacer 5/16"-18 x 2.5" Serrate Flange Bolt 5/16"-18 x1.25" Serrated Flange Bolt 5/16"-18 Serrated Flange Nut 3/8"-16 Serrate Flange Nut 3/8"-16 x 1" Serrated Flange Bolt 5/16"-18 Hex Nut 5/16"-18 x 1" Serrate Flange Bolt Figure 1 866.527.7637 Motoinfo@motoalliance.com...
- Page 3 Note: It may be easier to remove the entire front hood, but it is not necessary if you are just doing the winch install. Figure 2 2. Put the MA11922-1 Main Mount Plate through the opening and down into place. Rotate the mount 90 degrees to fit it through the opening. Figure 3 866.527.7637 Motoinfo@motoalliance.com...
- Page 4 5/16”x1” Serrated Flange Bolts and Nuts to secure the top of the mount to the frame. Verify that the mount is sitting flush to the frame and tighten down all hardware. Figure 4 4. Install the fairlead that came with your winch to the MA11922-3 Fairlead Plate. Figure 5 866.527.7637 Motoinfo@motoalliance.com...
- Page 5 Note: If possible, have a helper for this section to help hold the plate and hardware in place while it is being secured. If a helper is unavailable, use clamps or tape to hold the bracket and hardware into place while you work. Figure 7 866.527.7637 Motoinfo@motoalliance.com...
- Page 6 8. Remove one of the bottom 5/16”x1.25” bolts. Slide the nut up into place inside the frame until it is aligned with the hole. Place the bolt back in to the hole and screw it into the nut. Repeat this process on the other side. As shown in Figure 9. Figure 9 866.527.7637 Motoinfo@motoalliance.com...
- Page 7 As shown in Figure 10. Figure 10 9. Verify that the Fairlead Mount Plate is square with your machine and tighten down at this time. 866.527.7637 Motoinfo@motoalliance.com...
- Page 8 15. Recheck and tighten down all hardware after the first couple times driving your machine and before every winching season as the frame may have flexed causing the hardware to loosen. 866.527.7637 Motoinfo@motoalliance.com...
Need help?
Do you have a question about the VIPER MA11922 and is the answer not in the manual?
Questions and answers