Table of Contents
Advertisement
Available languages
Available languages
Quick Links
Advertisement
Table of Contents

Subscribe to Our Youtube Channel
Related Manuals for BWT AQA Detector


Summary of Contents for BWT AQA Detector
- Page 1 QUICK GUIDE EN/DE/DK Guide to installation of BWT AQA Detector...
-
Page 2: Table Of Contents
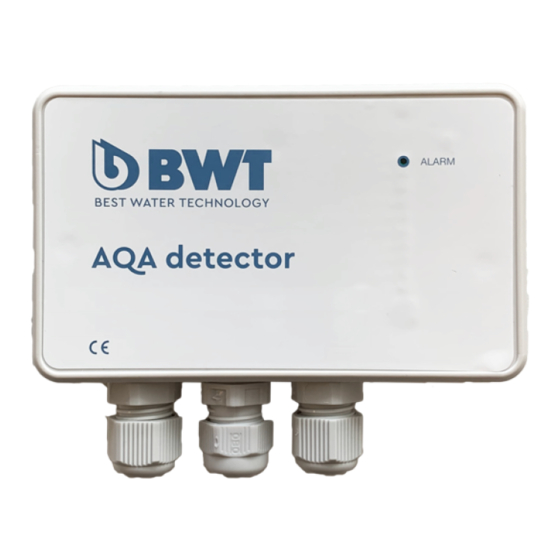
BWT AQA Detector: Quick guide Contents / Inhaltsverzeichnis / Indholdsfortegnelse Installation of the AQA Detector (EN) ................4 The AQA Detector box must be taken apart – remove the back...... 4 Connect 12V power supply ................4 Connect the solenoid Valve ................4 Connect the AQA Stop Floor Sensor ............... - Page 3 BWT AQA Detector: Quick guide Im Falle einer Wasserschadens ..............9 Montering af AQA detector (DK) .................. 10 AQA detector boksen skilles ad - afmonter bagsiden ........10 Forbind 12V strømforsyning ................10 Forbind magnetventil ..................10 Forbind AQA Stop floor sensor ..............10 Fastgørelse af boks ..................
-
Page 4: Installation Of The Aqa Detector (En)
BWT AQA Detector: Quick guide Installation of the AQA Detector (EN) 1. The AQA Detector box must be taken apart – remove the back. Use the part with the PCB. 2. Connect 12V power supply Do not connect the power a. -
Page 5: Fastening The Box
When the Alarm lamp has switched off (it takes approx. 15 seconds), switch the power back on. h. The solenoid valve opens and the Alarm lamp now shines green. The testing is completed. BWT Danmark A/S, Geminivej 24, 2670 Greve, Tlf.: 43 600 500 5 / 12... -
Page 6: Mode Of Operation And Function (En)
Find the reason for the leakage and repair it c. Wipe off the AQA Stop Floor Sensor. d. Switch off the power to the AQA Detector in order to reset the water alarm. e. When the Alarm lamp has switched off (this takes approx. 15 seconds), switch on the power to the AQA Detector. -
Page 7: Montage Des Aqa Detectors (De)
BWT AQA Detector: Quick guide Montage des AQA Detectors (DE) 1. Das AQA Detector Gehäuse demontieren – die Hinterseite abnehmen Der Teil mit der Platine benutzen. 2. Die 12V Stromversorgung anschliessen Der Strom darf nicht verbundet werden a. Die 12 V-Stromversorgung an den Klemmen mit der Kennzeichnung POWER im AQA Detector Gehäuse anschließen... -
Page 8: Befestigung Des Gehäuses
Sobald die Alarmlampe nicht mehr leuchtet (es dauert normalerweise ca. 15 Sekunden), den Strom wieder einschalten. h. Das Magnetventil öffnet sich und die Alarmlampe leuchtet grün. i. Die kontrolle ist erledigt. BWT Danmark A/S, Geminivej 24, 2670 Greve, Tlf.: 43 600 500 8 / 12... -
Page 9: Betrieb Und Funktion (De)
Betrieb und Funktion (DE) 1. Wenn alles in Ordnung ist Die Alarmlampe am AQA Detector leuchtet grün wenn alles in Ordnung ist. 2. Im Falle einer Leckage a. Wenn der AQA Stop Floor Sensor nass wird, schließt sich das Magnetventil und die Alarmlampe wechselt zu rot. -
Page 10: Montering Af Aqa Detector (Dk)
”0” og den brune ledning monteres i ”C”. Se side 3. 4. Forbind AQA Stop floor sensor a. Forbind AQA Stop floor sensor til klemmerne mrk. SENSOR i AQA detector boksen. b. Kabel føres gennem kabelforskruningen til venstre. -
Page 11: Tænd For Strømforsyningen
Sluk for strømmen for at nulstille vandalarmen. g. Når Alarm-lampen er slukket (det tager ca. 15 sec.) tændes strømmen igen. h. Magnetventilen åbner og Alarm lampen lyser grønt. Kontrollen er færdig. BWT Danmark A/S, Geminivej 24, 2670 Greve, Tlf.: 43 600 500 11 / 12... -
Page 12: Drift Og Funktion (Dk)
Find årsag til lækagen og udbedr det. c. Aftør AQA Stop floor sensor. d. Sluk for strømmen til AQA detector for at nulstille vandalarmen. e. Når Alarm-lampen er slukket (det tager ca. 15 sec.) tændes for strømmen til AQA detector.
Need help?
Do you have a question about the AQA Detector and is the answer not in the manual?
Questions and answers