Advertisement
Quick Links
Advertisement

Summary of Contents for Speco O2BLP1M
- Page 1 Quick Start Guide O2BLP1M...
- Page 2 Warning and Caution Package...
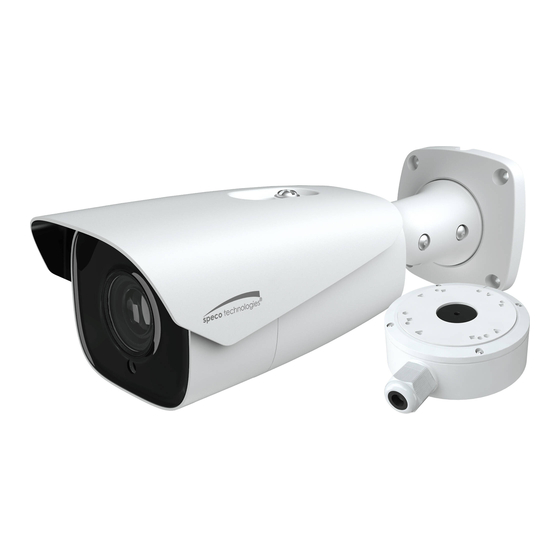
- Page 3 4 tapping screws Camera Quick start guide 1 machine screw Drill template ×4 Plastic plug Screwdriver Junction box Overview Overview Ethernet Connector MIC-Audio Input HP-Audio Output Alarm Output/Input Power Connector * Micro SD Card Slot Zoom +* Zoom -* CVBS output (unavailable) 10 Reset It is recommended to install the security cap for outdoor installation.
-
Page 4: Connecting Network Cable
1--ALM-COM 2--ALM-OPEN 3--ALM-INA 4--ALM-GND DC12V * 1 It is recommended to install the security cap for outdoor installations. * 2 DC 12V power supply is not required if a PoE switch or injector is used to power the camera. ► Connecting Network Cable ①... -
Page 5: Installation
Installation SD Card Installation Open the cover of the camera as shown in the following figure and then insert a micro SD card. After that, install the cover back to the camera (Note that the cover shouldn’t be installed unevenly). Insert a micro SD card Cover... - Page 6 ③ Fix the mounting base of the camera to the upper cover of the junction box. ④ Route the cables through the cable hole and connect the camera. Then install the camera onto the mounting base of the junction box. ⑤...
- Page 7 Fixed screws Pan 360° Tilt 90° Rotate 360° Configuration requirements of camera and surrounding area Note: The following installation requirements are based on optimum conditions, your license capture rate may vary depending on speed, lighting, position, license plate designs and other factors. The monitoring image shall try to cover the lane, entering/exiting vehicles and these vehicles' plate number shall be always seen in the video.
- Page 8 15~20feet <40MPH 50~82 feet 50~65 feet The depression angle of the camera shall range from 10° to 15°. If the camera is installed on the side of the road, the pan angle of the camera shall range from 0° to 20°. If the camera is installed right above the middle of the road, the pan angle of the camera shall range from -10°...
- Page 9 The depression angle of the camera shall range from 0° to 5°. The pan angle of the camera shall range from 5° to 20°. The tilt angle of the license plate After the camera is installed, you can log in the web client and view whether the license plate tilts in the video.
- Page 10 O2BLP1M 192.168.17.251 C:F2:07: 4:68:9A ③ In the device list, you can view the IP address, model number, and MAC address of each device. Select the applicable device and double click to open up the web viewer. You can also manually enter the IP address in the address bar of the web browser.


Need help?
Do you have a question about the O2BLP1M and is the answer not in the manual?
Questions and answers