Advertisement
Quick Links
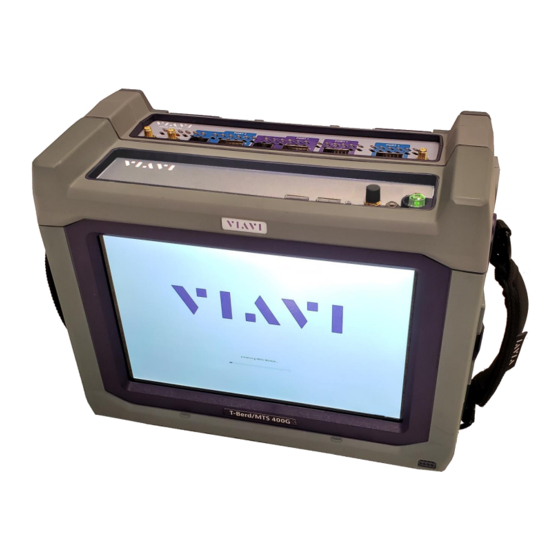
Viavi OneAdvisor ONA-1000 400G
Software Update Instructions
Table of Contents
Scope ................................................................................................................................................................ 2
1.
Network Upgrade ..................................................................................................................................... 2
2.
USB Upgrade ........................................................................................................................................... 8
3.
StrataSync ............................................................................................................................................... 12
Technical Support
April 29, 2020
tac@viavisolutions.com
Page 1 of 14
1-844-468-4284 option 3, 1, 1
Advertisement

Subscribe to Our Youtube Channel
Related Manuals for Viavi OneAdvisor ONA-1000 400G


Summary of Contents for Viavi OneAdvisor ONA-1000 400G
- Page 1 Page 1 of 14 Viavi OneAdvisor ONA-1000 400G Software Update Instructions April 29, 2020 Table of Contents Scope ................................2 Network Upgrade ............................. 2 USB Upgrade ............................8 StrataSync ............................... 12 Technical Support tac@viavisolutions.com 1-844-468-4284 option 3, 1, 1...
-
Page 2: Scope
2. USB upgrade - Use this method to update your ONA-1000 with a USB thumb drive. 3. StrataSync upgrade - Use this method if your ONA-1000 is managed using Viavi’s StrataSync Asset Management system and your company has elected to deploy software via this method. - Page 3 Page 3 of 14 Network Settings Press the Network icon, , to display LAN Settings. Set IP Mode to “DHCP” for automatic IP address assignment or “Static” for manual input. If using a static address, be sure to configure the DNS server for an accurate address or the upgrade will fail to locate the upgrade server.
- Page 4 Page 4 of 14 After configuring LAN settings, press the System icon, , to redisplay the System Menu. Upgrade Press the Upgrade icon, , to display upgrade methods. Technical Support tac@viavisolutions.com 1-844-468-4284 option 3, 1, 1...
- Page 5 Page 5 of 14 Technical Support tac@viavisolutions.com 1-844-468-4284 option 3, 1, 1...
- Page 6 Page 6 of 14 Network Upgrade Press to display upgrade settings. Press Reset to Default to ensure the server address name is correct. Connect Press to show the upgrade versions available at upgrademyunit.net. Technical Support tac@viavisolutions.com 1-844-468-4284 option 3, 1, 1...
- Page 7 Page 7 of 14 Start Upgrade Press , and press to initiate the upgrade. Technical Support tac@viavisolutions.com 1-844-468-4284 option 3, 1, 1...
-
Page 8: Usb Upgrade
Page 8 of 14 2. USB Upgrade Step Action Details Updatemyunit.net Using an internet browser on your PC or laptop, go to http://updatemyunit.net/ ONA-1000 Click on the to display the OneAdvisor ONA-1000 upgrade page. Download Click on the icon for the desired server to start the download from that server. There are icons for three servers: EMEA, NORTH AMERICA or APAC server. - Page 9 Page 9 of 14 Eject Once the extract has completed, safely eject the USB drive from your PC or Laptop. Power on ONA Press and hold the ON/OFF button to turn on the ONA-1000. AC Power Connect the AC power adapter to the power connector on the right side of the ONA-1000 mainframe.
- Page 10 Page 10 of 14 11. Upgrade Press the Upgrade icon, , to display upgrade methods. 12. Select USB Press to display upgrade versions available on the USB stick. Technical Support tac@viavisolutions.com 1-844-468-4284 option 3, 1, 1...
- Page 11 Page 11 of 14 13.Start Upgrade Press . Press to initiate the upgrade. Technical Support tac@viavisolutions.com 1-844-468-4284 option 3, 1, 1...
-
Page 12: Stratasync
Page 12 of 14 StrataSync Step Action Details Power On Press and hold the ON/OFF button to turn on the ONA-1000. AC Power Connect the AC power adapter to the power connector on the right side of the ONA-1000. LAN Connection Connect the Ethernet Management Port on the side of ONA-1000 to a network connection with internet... - Page 13 Page 13 of 14 Network Settings Press the Network icon, , to display LAN Settings. Set IP Mode to “DHCP” for automatic IP address assignment or “Static” for manual input. If configuring a static address, be sure to include an accurate DNS address or the unit will fail to locate the Stratasync server.
- Page 14 Page 14 of 14 Sync Press to sync your ONA-1000 400G and initiate upgrades that have been assigned by your company’s StrataSync Administrator. Technical Support tac@viavisolutions.com 1-844-468-4284 option 3, 1, 1...
Need help?
Do you have a question about the OneAdvisor ONA-1000 400G and is the answer not in the manual?
Questions and answers