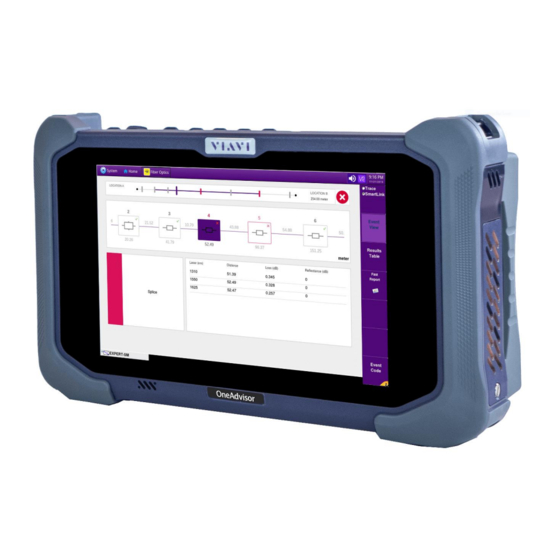
Viavi OneAdvisor ONA-800 Software Update Instructions
Hide thumbs
Also See for OneAdvisor ONA-800:
- Getting started manual (75 pages) ,
- Setup (5 pages) ,
- Quick card (3 pages)
Advertisement
Quick Links
Page 1 of 15
Viavi OneAdvisor ONA-800
Software Update Instructions
May 1, 2020
Table of Contents
Scope ................................................................................................................................................................ 2
1.
Network Upgrade ..................................................................................................................................... 2
2. USB Upgrade..........................................................................................................8
3. Stratasync Upgrade..................................................................................................13
Technical Support
tac@viavisolutions.com
1-844-468-4284 option 3, 1, 1
Advertisement

Subscribe to Our Youtube Channel
Summary of Contents for Viavi OneAdvisor ONA-800
- Page 1 Page 1 of 15 Viavi OneAdvisor ONA-800 Software Update Instructions May 1, 2020 Table of Contents Scope ................................2 Network Upgrade ............................. 2 2. USB Upgrade…………………………………………………………………………………………….8 3. Stratasync Upgrade……………………………………………………………………………………..13 Technical Support tac@viavisolutions.com 1-844-468-4284 option 3, 1, 1...
-
Page 2: Scope
2. USB upgrade - Use this method to update your ONA-800 with a USB thumb drive. 3. StrataSync upgrade - Use this method if your ONA-800 is managed using Viavi’s StrataSync Asset Management system and your company has elected to deploy software via this method. - Page 3 Page 3 of 15 Network Settings Press the Network icon, , to display LAN Settings. Set IP Mode to “DHCP” for automatic IP address assignment or “Static” for manual input. If using a static address, be sure to configure the DNS server for an accurate address or the upgrade will fail to locate the upgrade server.
- Page 4 Page 4 of 15 After configuring LAN settings, press the System icon, , to redisplay the System Menu. Upgrade Press the Upgrade icon, , to display upgrade methods. Technical Support tac@viavisolutions.com 1-844-468-4284 option 3, 1, 1...
- Page 5 Page 5 of 15 Network Upgrade Press to display upgrade settings. Press Reset to Default to ensure the server address name is correct. Technical Support tac@viavisolutions.com 1-844-468-4284 option 3, 1, 1...
- Page 6 Page 6 of 15 Connect Press to show the upgrade versions available at upgrademyunit.net. Technical Support tac@viavisolutions.com 1-844-468-4284 option 3, 1, 1...
- Page 7 Page 7 of 15 Start Upgrade Press , and press to initiate the upgrade. Technical Support tac@viavisolutions.com 1-844-468-4284 option 3, 1, 1...
-
Page 8: Usb Upgrade
Using an internet browser on your PC or laptop, go to http://updatemyunit.net/ ONA-800 Click on the to display the OneAdvisor ONA-800 upgrade page. Download Click on the icon for the desired server to start the download from that server. There are icons for three servers: EMEA, NORTH AMERICA or APAC server. - Page 9 Page 9 of 15 Eject Once the extract has completed, safely eject the USB drive from your PC or Laptop. Power on ONA Press and release the ON/OFF button to turn on the ONA-800. AC Power Connect the AC power adapter to the power connector on the top of the ONA-800 mainframe.
- Page 10 Page 10 of 15 11. Upgrade Press the Upgrade icon, , to display upgrade methods. Technical Support tac@viavisolutions.com 1-844-468-4284 option 3, 1, 1...
- Page 11 Page 11 of 15 12. Select USB Press to display upgrade versions available on the USB stick. Technical Support tac@viavisolutions.com 1-844-468-4284 option 3, 1, 1...
- Page 12 Page 12 of 15 13.Start Upgrade Press . Press to initiate the upgrade. Technical Support tac@viavisolutions.com 1-844-468-4284 option 3, 1, 1...
-
Page 13: Stratasync Upgrade
Page 13 of 15 StrataSync Step Action Details Power On Press and release the ON/OFF button to turn on the ONA-800. AC Power Connect the AC power adapter to the power connector on the top of the ONA-800. LAN Connection Connect the Ethernet Management Port on the top of ONA-800 to a network connection with internet... - Page 14 Page 14 of 15 Network Settings Press the Network icon, , to display LAN Settings. Set IP Mode to “DHCP” for automatic IP address assignment or “Static” for manual input. If configuring a static address, be sure to include an accurate DNS address or the unit will fail to locate the Stratasync server.
- Page 15 Page 15 of 15 Sync Press to sync your ONA-800 and initiate upgrades that have been assigned by your company’s StrataSync Administrator. Technical Support tac@viavisolutions.com 1-844-468-4284 option 3, 1, 1...


Need help?
Do you have a question about the OneAdvisor ONA-800 and is the answer not in the manual?
Questions and answers