Advertisement
Thank you for your purchase of this unique product for your Dodge Challenger!
Thank you for your purchase of this unique product for your Dodge Challenger!
With these modules, you will be able to control the color of your factory-installed
With these modules, you will be able to control the color of your factory-installed
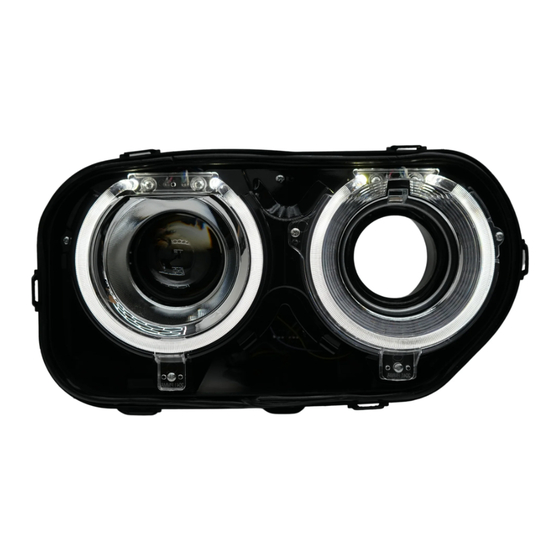
LED "halos" inside the headlight. They are a direct replacement for the factory
LED "halos" inside the headlight. They are a direct replacement for the factory
LED panels which illuminate these rings.
LED panels which illuminate these rings.
Please note: Headlights must be opened before proceeding with installation.
This process can be completed by heating and prying the lens from the housing.
We recommend viewing example videos online to understand the process;
however, professional installation is strongly recommended. Please contact
Diode Dynamics if you need assistance locating an installer.
What's Included: 2 LED Boards, 2 drivers, 1 RGBW extension wire, SolidState Relay Harness
What's Included: 2 LED Boards, 2 drivers, 1 RGBW extension wire, SolidState Relay Harness
Tools Needed: Torx T10 Screwdriver, Phillips Screwdriver, Socket Head Wrench
Tools Needed: Torx T10 Screwdriver, Phillips Screwdriver, Socket Head Wrench
NOTE:
NOTE:
The following instructions are intended to be used with a Diode Dynamics RGBW Controller. If you
The following instructions are intended to be used with a Diode Dynamics RGBW Controller. If you
do not have a Diode Dynamics controller, these LEDs can be powered with any RGB or RGBW controller
do not have a Diode Dynamics controller, these LEDs can be powered with any RGB or RGBW controller
that operates with common anode (positive) powered with an external relay or directly to the battery.
that operates with common anode (positive) powered with an external relay or directly to the battery.
PAGE 1
PAGE 1
2015+ Dodge Challenger
2015+ Dodge Challenger
RGBW
LED Board Installation Guide
RGBW
LED Board Installation Guide
TM
TM
1. After opening the headlights, remove the factory LED
1. After opening the headlights, remove the factory LED
panels by removing the screws holding the main bezel in
panels by removing the screws holding the main bezel in
place. Then remove the screws holding each ring and LED
place. Then remove the screws holding each ring and LED
panel underneath to the housing.
panel underneath to the housing.
2. Remove the main bezel. Unclip the wire connectors
2. Remove the main bezel. Unclip the wire connectors
and remove the factory LED panels.
and remove the factory LED panels.
3. Place the new Diode Dynamics LED Boards into
3. Place the new Diode Dynamics LED Boards into
position, running the wires behind the bezel and out
position, running the wires behind the bezel and out
of the headlamp, sealing any holes you may create.
of the headlamp, sealing any holes you may create.
(314) 205-3033
See back for further instructions.
(314) 205-3033
WWW.DIODEDYNAMICS.COM
3 YEAR
WARRANTY
See back for further instructions.
WWW.DIODEDYNAMICS.COM
3 YEAR
WARRANTY
Advertisement
Table of Contents

Related Manuals for Diode Dynamics RGBW DD2163


Summary of Contents for Diode Dynamics RGBW DD2163
- Page 1 The following instructions are intended to be used with a Diode Dynamics RGBW Controller. If you do not have a Diode Dynamics controller, these LEDs can be powered with any RGB or RGBW controller do not have a Diode Dynamics controller, these LEDs can be powered with any RGB or RGBW controller that operates with common anode (positive) powered with an external relay or directly to the battery.
- Page 2 Wiring Instructions DO NOT OVERTIGHTEN. Replace the headlamp lens and 5. Connect the LED board to the RGBW driver. Then connect the driver to a Diode Dynamics LED repeat for the other side. 5. Connect the LED board to the RGBW driver. Then connect the driver to a Diode Dynamics LED- controller (sold separately).
Need help?
Do you have a question about the RGBW DD2163 and is the answer not in the manual?
Questions and answers