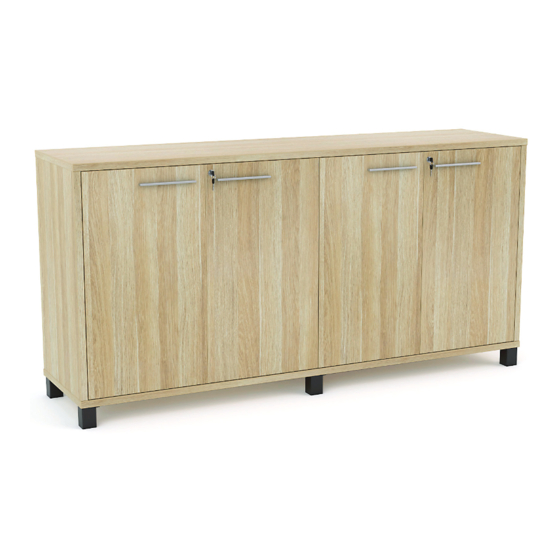
Knight Cubit Credenza Assembly Instructions Manual
Hide thumbs
Also See for Cubit Credenza:
- Assembly instructions manual (8 pages) ,
- Assembly instructions manual (10 pages) ,
- Assembly instructions manual (10 pages)
Advertisement
Quick Links
Advertisement

Subscribe to Our Youtube Channel
Related Manuals for Knight Cubit Credenza


Summary of Contents for Knight Cubit Credenza
- Page 1 Cubit Credenza Assembly Instructions Tools Required: Powered screwdriver.
-
Page 2: Parts List
Cubit Credenza Page 2 Assembly Instructions PARTS LIST · To prevent possible scratches or damage, assemble the credenza on a soft surface such as a blanket, carpet or packaging. Item Decription Quantity Item Decription Quantity Top Panel 6x35 Cam Bolt... - Page 3 Cubit Credenza Page 3 Assembly Instructions Step 1 Preparation for Top panel A, Bottom panel G, Left side panel X, Right side panel Z, Vertical panel Y, Door panel V1, V2, V3 & V4. IMPORTANT: Please note the difference between parts g2 and g3.
- Page 4 Cubit Credenza Page 4 Assembly Instructions Step 2 Top panel A, Back panel D, Left side panel X, Right side panel Z, Vertical panel Y assembly. Step 2 Fit the pull bar to the top side of the mechanism according to the number corresponding to your worksurface depth.
- Page 5 Cubit Credenza Page 5 Assembly Instructions Step 3 Fix cams on panel X, Y, Z and D into cam bolts (c1) on panel G and tighten in a clockwise direction as illustrated above. Cover the cam covers (c2) on the top of all the cams.
- Page 6 Cubit Credenza Page 6 Assembly Instructions Step 5 Door panel V1, V2, V3 and V4 assembly. Fit the pull bar to the top side of the mechanism according to the number corresponding to your worksurface depth. This number will locate over of the raised cylinder...
- Page 7 Cubit Credenza Page 7 Assembly Instructions Complete knightgroup.co.nz...
Need help?
Do you have a question about the Cubit Credenza and is the answer not in the manual?
Questions and answers