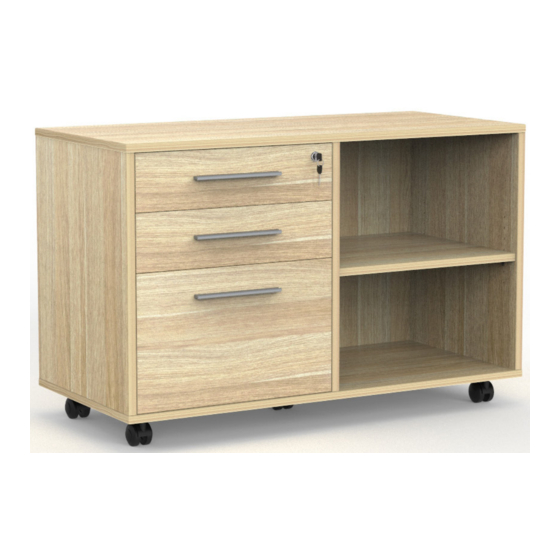
Summary of Contents for Knight Cubit Caddy
- Page 1 Cubit Caddy Assembly Instructions Tools Required: Powered Screwdriver knightgroup.co.nz...
- Page 2 Cubit Caddy Page 1 Assembly Instructions • To prevent possible scratches or damage, assemble the product on a soft surface such as a blanket, carpet or packaging. Recommended 2-person Step knightgroup.co.nz...
- Page 3 Cubit Caddy Page 2 Assembly Instructions Parts Item Description Item Description Top Panel 5/8” Cam Cover Left Side Panel Threaded Dowel Pin Right Side Panel ST5*16 Screw Back Panel 4*25 Screw Bottom Panel Castor Moveable Shelf Vertical Panel 5 x Threaded Dowel Pin 24 x 5/8”...
- Page 4 Cubit Caddy Page 3 Page 3 Assembly Instructions Assembly Instructions Step 1 Connect Cam bolts and dowels on panel D to the holes on panel X and Z and tighten in a clockwise direction. Cams/holes on the panel Y to face to panel X.
- Page 5 Cubit Caddy Page 4 Page 4 Assembly Instructions Assembly Instructions Step 3 Connect cam bolts and dowels on panel X, Z, Y and D to the holes on panel A and G and tighten in a clockwise direction. Step 4 Insert threaded dowel pins (p1) into panels X, D, Y and Z.
- Page 6 Cubit Caddy Page 5 Page 5 Assembly Instructions Assembly Instructions Complete knightgroup.co.nz...


Need help?
Do you have a question about the Cubit Caddy and is the answer not in the manual?
Questions and answers