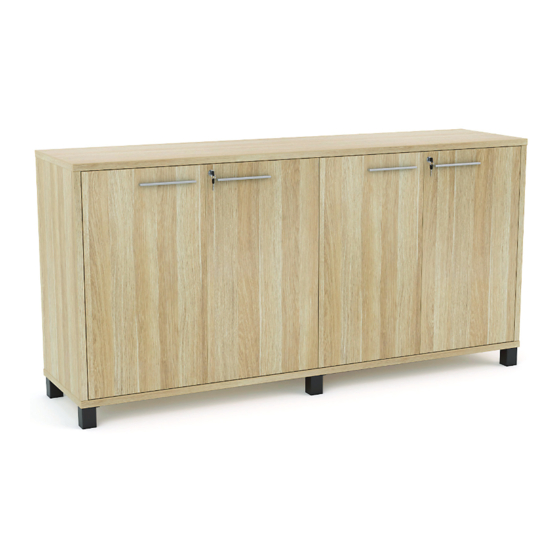
Knight Cubit Credenza Assembly Instructions Manual
Hide thumbs
Also See for Cubit Credenza:
- Assembly instructions manual (7 pages) ,
- Assembly instructions manual (10 pages) ,
- Assembly instructions manual (10 pages)
Subscribe to Our Youtube Channel
Summary of Contents for Knight Cubit Credenza
- Page 1 Cubit Credenza Assembly Instructions Tools Required: Powered Screwdriver knightgroup.co.nz...
- Page 2 Cubit Credenza Page 1 Assembly Instructions PARTS LIST • To prevent possible scratches or damage, assemble the credenza on a soft surface such as a blanket, carpet or packaging. Item Decription Quantity Item Decription Quantity Top Panel 6x35 Cam Bolt...
- Page 3 Cubit Credenza Page 2 Page 2 Assembly Instructions Assembly Instructions Step 1 Preparation for top panel A, bottom panel G, left side panel X, right side panel Z, vertical panel Y, door panel V1, V2, V3 & V4. IMPORTANT: Please note the difference between parts g2 and g3.
- Page 4 Cubit Credenza Page 3 Page 3 Assembly Instructions Assembly Instructions Step 2 Top panel A, back panel D, left side panel X, right side panel Z, vertical panel Y assembly. Cams/Holes on the panel Y should face to panel X.
- Page 5 Cubit Credenza Page 4 Page 4 Assembly Instructions Assembly Instructions Step 3 Fix cams on panel X, Y, Z and D into cam bolts (c1) on panel G and tighten in a clockwise direction as illustrated above. Cover the cam covers (c2) on the top of all the cams.
- Page 6 Cubit Credenza Page 5 Page 5 Assembly Instructions Assembly Instructions Step 5 Door panel V1, V2, V3 and V4 assembly. knightgroup.co.nz...
- Page 7 Cubit Credenza Page 6 Page 6 Assembly Instructions Assembly Instructions Complete knightgroup.co.nz...


Need help?
Do you have a question about the Cubit Credenza and is the answer not in the manual?
Questions and answers