Advertisement
Quick Links
Advertisement

Related Manuals for Knight Cubit Highrise Workstation


Summary of Contents for Knight Cubit Highrise Workstation
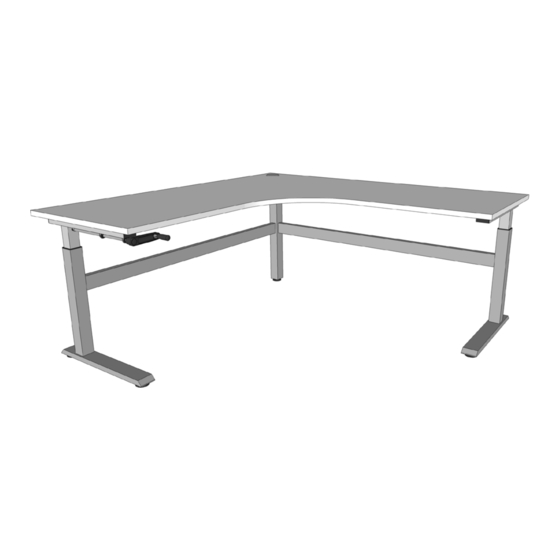
- Page 1 Cubit Highrise Workstation Assembly Instructions Tools Required: Powered screwdriver.
- Page 2 Cubit Highrise Workstation Page 2 Assembly Instructions · To prevent possible scratches or damage, assemble the desk upside down on a soft surface such as a blanket, carpet or packaging. · Attach Leg to the top assembly by using bolts, spring washer, flat washer.
- Page 3 Cubit Highrise Workstation Page 3 Assembly Instructions Step 1 Fit adjustable feet to all legs. Step 2 Attach crossbeam F to leg A using bolt J. knightgroup.co.nz...
- Page 4 Cubit Highrise Workstation Page 4 Assembly Instructions Step 3 Insert long hex end of gear bar E to leg A. Step 3a Attached corner leg C to crossbeam F. Short end of gear bar E must be fitted into the drive socket in the corner leg C.
- Page 5 Cubit Highrise Workstation Page 5 Assembly Instructions Step 4 Attached crossbeam F to leg B using bolt J. Step 5 Insert short end of gear bar E to leg B. knightgroup.co.nz...
- Page 6 Cubit Highrise Workstation Page 6 Assembly Instructions Step 5a Attach corner leg C to crossbeam F. Step 5b Step 6 Long end of gear bar E must be fitted into Attach the two top rails D to plate C1 using the drive socket in the corner leg C.
- Page 7 Cubit Highrise Workstation Page 7 Assembly Instructions Step 7 Attach top rails D to legs A and B using bolts I. Step 8 Insert caps G into crossbeam F. knightgroup.co.nz...
- Page 8 Cubit Highrise Workstation Page 8 Assembly Instructions Step 9 Fit top. Ensure that the top bars are parallel to the desk top. Completed knightgroup.co.nz...
- Page 9 How to operate handle Page 9 Operation Guide Step 1 Pull handle lever, tilt handle lever upward and klick into crank handle. Step 2 Fold handle away parallel to desk top. knightgroup.co.nz...
- Page 10 Changing crank handle from left to right operation Operation Guide Tools Required: Powered screwdriver.
- Page 11 Changing crank handle from left to right operation Page 11 Operation Guide Step 1 Step 2 Loosen grub screws from locking collar on Slide out crank handle and shaft. leg B. Step 3 Step 4 Remove hanger bracket screws to release Fit the hex drive assembly into the drive socket on leg A.
- Page 12 Changing crank handle from left to right operation Page 12 Operation Guide Step 6 Fit hanger bracket screws and tighten. Step 7 Slide in crank handle assembly. With crank handle fully retracted, push the locking collar hard against the furthest bearing on the hanger bracket and tighten grub screws. knightgroup.co.nz...
- Page 13 Cubit Highrise Workstation Worktops Assembly Instructions Tools Required: Powered screwdriver.
- Page 14 Cubit Highrise Workstation Worktops Page 14 Assembly Instructions 1800mm x 1800mm x 700mm 1800mm 100mm 700mm *A: Ensure that the top bars are parallel to the desk top. knightgroup.co.nz...
- Page 15 Cubit Highrise Workstation Worktops Page 15 Assembly Instructions 30mm 30mm 700mm Min 27mm Max 125mm 591mm knightgroup.co.nz...
- Page 16 Cubit Highrise Workstation Worktops Page 16 Assembly Instructions 1500mm x 1500mm x 700mm 1500mm 100mm 700mm *A: Ensure that the top bars are parallel to the desk top. knightgroup.co.nz...
- Page 17 Cubit Highrise Workstation Worktops Page 17 Assembly Instructions 30mm 30mm 700mm Min 27mm Max 125mm 591mm knightgroup.co.nz...
Need help?
Do you have a question about the Cubit Highrise Workstation and is the answer not in the manual?
Questions and answers