
Subscribe to Our Youtube Channel
Related Manuals for Knight Cubit Tambour


Summary of Contents for Knight Cubit Tambour
- Page 1 Cubit Tambour Assembly Instructions Tools Required: Powered Screwdriver knightgroup.co.nz...
- Page 2 Cubit Credenza Page 1 Assembly Instructions PARTS LIST • To prevent possible scratches or damage, assemble the credenza on a soft surface such as a blanket, carpet or packaging. Item Decription Quantity Item Decription Quantity Top panel 6x35 Cam Bolt Left side panel 8x30 Dowel Pin Left side panel...
- Page 3 Cubit Credenza Page 2 Page 2 Assembly Instructions Assembly Instructions Step 1 Preparation for Top panel A, immmovable panel G, Vertical O, Left side panel X, X1, Right side panel Z, Z1, back panels D, D1. 1. Insert cams bolts (c1) and dowel pins (d1) into panels A, G, X, X1, Z and Z1 as illustrated above. 2.
- Page 4 Cubit Credenza Page 3 Page 3 Assembly Instructions Assembly Instructions Step 2 Insert cam bolts (c1) on panel X and Z into cams on panels D, O and tighten in a clockwise direction. Step 3 Insert cam bolts (c1) on panel X1 and Z1 into cams on panels D1, O and tighten in a clockwise direction. knightgroup.co.nz...
- Page 5 Cubit Credenza Page 4 Page 4 Assembly Instructions Assembly Instructions Step 4 Insert cam bolts (c1) on panel X, Z, D, O, D1, X1, Z1 and tighten in a clockwise direction, then tighten the two cams of the panel X depend on the through hole in the panel Y. Step 5 Note: All the roller doors must place...
- Page 6 Cubit Credenza Page 5 Page 5 Assembly Instructions Assembly Instructions Step 6 Insert cam bolts (c1) on panel G into cams on panels X, X1, D, D1, Z, Z1 & O, and tighten in a clockwise direction. Then tighten the panel bottom G on the panel X with fix bolt (s20). Attached legs to panel G with provided screws. Step 7 Insert threaded dowel pins (p1) into panels D1, X1, and Z1, put the panel E on the top of threaded dowel pins (p1), place the cam covers (c2) on the top of cams.
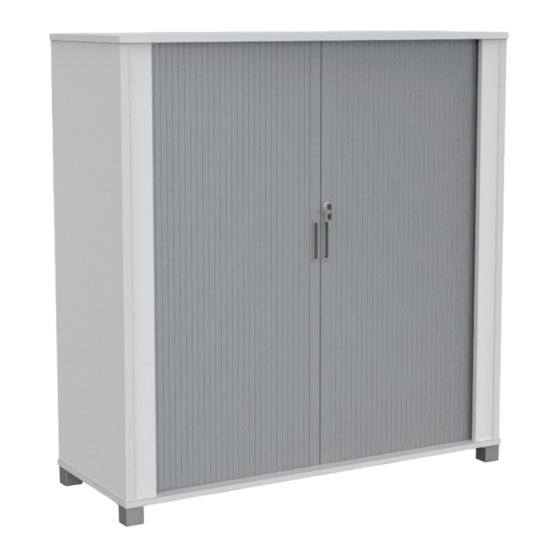
- Page 7 Cubit Credenza Page 6 Page 6 Assembly Instructions Assembly Instructions Complete knightgroup.co.nz...
Need help?
Do you have a question about the Cubit Tambour and is the answer not in the manual?
Questions and answers