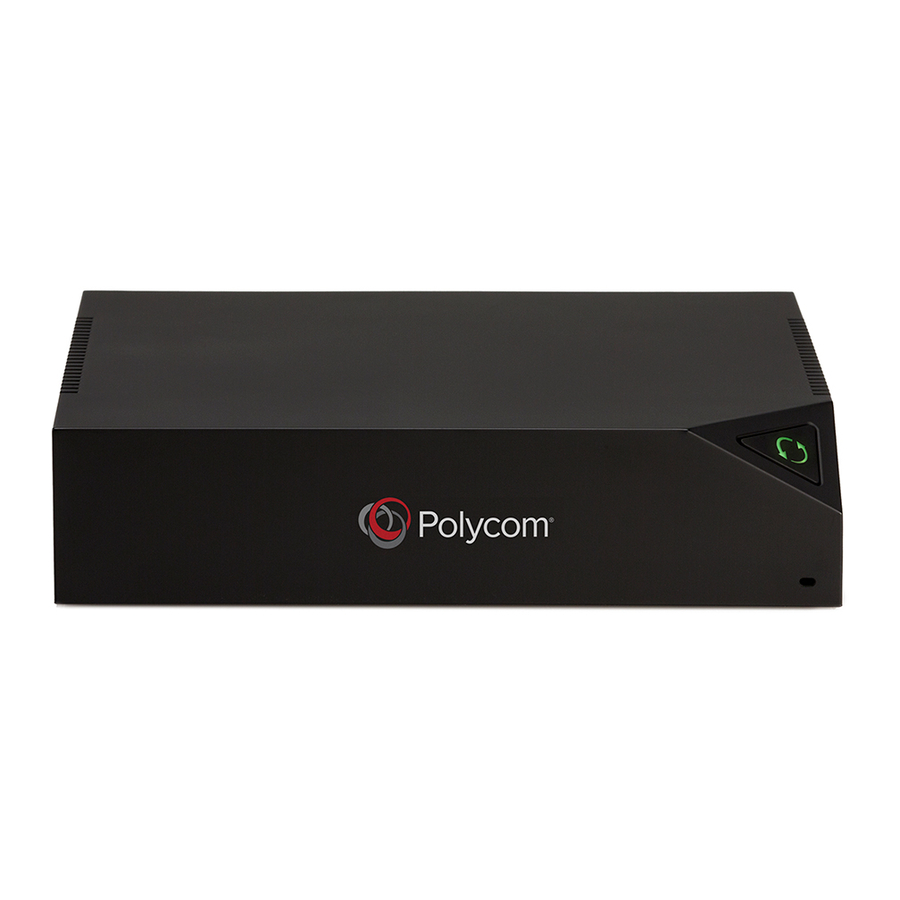
Polycom Pano User Manual
Hide thumbs
Also See for Pano:
- Administrator's manual (78 pages) ,
- Deployment manual (42 pages) ,
- User manual (38 pages)
Table of Contents
Advertisement
Quick Links
Advertisement
Table of Contents
Troubleshooting

Related Manuals for Polycom Pano


Summary of Contents for Polycom Pano
- Page 1 USER GUIDE 1.1 | December 2017 | 3725-42667-003A ® ™ Polycom Pano...
- Page 2 Open Source Software Used in this Product This product may contain open source software. You may receive the open source software from Polycom up to three (3) years after the distribution date of the applicable product or software at a charge not greater than the cost to Polycom of shipping or distributing the software to you.
-
Page 3: Table Of Contents
Pano Home Screen......................4 Home Screen Elements................... 4 Start Collaborating....................5 Sharing Content....................7 Sharing Content Using the Pano App................. 7 Share Content Using a Miracast-Certified Device...............7 Share Content Using an AirPlay-Certified Device...............8 Share Content Using an HDMI Connection................ 8 Stop Sharing Content......................9 Content Sharing Limitations.................... - Page 4 ™ Connecting to a Polycom Pano or Polycom Video System ..........19 Connect to a Pano System or Polycom Video System.......... 19 Automatically Detecting Pano Systems..............20 Disconnect from a Polycom Pano or Polycom Video System........ 20 Sharing Content........................ 21 Sharing Local Content....................21 Sharing Cloud and/or Local Content..............
-
Page 5: Before You Begin
▪ Release notes Polycom recommends that you record your device's serial number and have it available for setup and troubleshooting. The serial number is printed on the device and the shipping box labels. It also is listed on the Dashboard of the system web interface. -
Page 6: Getting Started With Polycom ® Pano
Notes at support.polycom.com. Setup Your administrator should set up the Pano device and connect any necessary equipment so you can start collaborating. There is no power button; the device is intended to remain on and ready to use. Pano Home Screen You see the home screen when the Pano device starts up or when you exit a session. -
Page 7: Start Collaborating
Start Collaborating You can start collaborating on the Pano device by opening a blackboard or by sharing content from your device. The animations you see on the home screen let you know which options you have for creating and sharing content. - Page 8 If you have a touch-capable monitor, tap or start writing anywhere to open a blackboard. ▪ Share content using an AirPlay-certified device. ▪ Share content using a Miracast-certified device. ▪ Share content using the Pano App. ▪ Share content using an HDMI connection. Polycom, Inc.
-
Page 9: Sharing Content
Sharing content from a device that is wired to the Pano device. A Pano device can show up to four shared content sources at a time from one or more participants. Note: Prior to sharing content, make sure you take necessary precautions to protect your privacy. For example, disable your device's screen lock feature before you share your screen with meeting participants. -
Page 10: Share Content Using An Airplay-Certified Device
3. If prompted, enter the security code shown on the Pano device home screen. Share Content Using an HDMI Connection You can share content from a personal device that is directly connected to the Pano device using an HDMI cable. -
Page 11: Stop Sharing Content
Procedure 1. Connect one end of an HDMI cable to the HDMI output port on your device. 2. Connect the other end of the cable to the HDMI input port on the Pano system. Stop Sharing Content When you are finished presenting content, make sure you end the sharing session. -
Page 12: Creating And Interacting With Content
You can create and interact with content using the Pano device toolbar. Interacting with Content The Pano device has touch capabilities so that you can quickly and easily manipulate and navigate content. This feature is automatically enabled when your administrator connects a touch-capable monitor or pointing device, such as a USB mouse, to the Pano device. -
Page 13: Show An Item From The Content Tray
Procedure 1. Select the content tray icon 2. Select the item you want to show. Toolbar Elements The Pano device toolbar provides you options for creating and interacting with content. Annotation Toolbar Elements Element Description Toggle (enter and exit) full-screen presentation mode. -
Page 14: Annotate Content
Procedure 1. Do one of the following: ▪ On the toolbar, select . Use one or more fingers to erase an annotation. ▪ Press and hold to erase all visible annotations. Polycom, Inc. -
Page 15: Using The Pointer To Control Cloud Content
Creating and Interacting with Content Using the Pointer to Control Cloud Content The pointer tool lets you select and control content that is shared from the Polycom Cloud Service. Navigate Cloud Content You can navigate content that you share via the Polycom Cloud Service. -
Page 16: Take A Snapshot
You can extend the canvas of a blackboard or whiteboard to create a continuous flow of written or drawn ideas. The Pano device displays one board at a time, but you can zoom in and out of a continuous blackboard or whiteboard session to view specific details. -
Page 17: View Help Tips
. A message appears informing you that the session will end in 15 seconds. Zoom and Move Shared Content You can zoom in and out of active content on the Pano device. You can also move active shared content around on the connected display. -
Page 18: Panel Bar Menu
Note: The control to maximize and restore is a toggle that allows you to switch between the two modes. Access Content Control Shortcuts Each content item shared with the Pano device is enclosed within a panel that contains a bar with shortcut controls for minimizing, maximizing, and closing a content item. -
Page 19: Polycom ® Pano ™ App
Pano App may scale your content to different resolutions. ▪ The Pano App includes an auto discovery feature that allows you to detect nearby Pano systems. Install Application Software You can download the Pano App software from Polycom Support to install on your device. -
Page 20: Check Application Version
» Select Settings , then go to Software Version. Getting Started with Polycom Pano App You can share content using Polycom Pano App with or without signing in to the Polycom Cloud Service. I Want to Share: System Needed Polycom Cloud Service Sign-In... -
Page 21: Start Screen Sharing
Upon successful sign-in, your status icon changes from on the Connect to Room screen. Start Screen Sharing You can share local desktop and running applications without signing in to the Polycom Cloud Service. Procedure 1. Start Polycom Pano App. 2. Select Start Screen Sharing. -
Page 22: Automatically Detecting Pano Systems
To connect with another Polycom Pano or Polycom video system, disconnect from the current one first. If you are connected with a Polycom Pano or Polycom video system without signing in to the Polycom Cloud Service, disconnect before signing in to the Polycom Cloud Service. -
Page 23: Sharing Content
You can share your local desktop or running applications after you are connected to a Pano system or Polycom video system. You need to connect to a Pano or Polycom video system that is in the same network segment as your device. Otherwise, local content sharing may not be available. -
Page 24: Controlling Content Using The Toolbar
Sign in to the Polycom Cloud Service. ▪ Connect with a Pano system that is registered to the Polycom Cloud Service. Note: Make sure you are in the same network segment as the Pano system. Otherwise, local content sharing may not be available. Procedure 1. -
Page 25: Enable Content Layout Control
When sharing local or cloud content with the Pano App, you can maximize or restore the content window on the Pano system. This works only when the Pano system and the device using the Pano App are on the same network. Polycom, Inc. -
Page 26: End Sessions On The Pano System
Restore content window shared on Pano screen End Sessions on the Pano System You can force end all connections from a Pano system. This also ends all content sharing sessions, if any. This feature is available only when you are within the same network segment as the Pano system. -
Page 27: Troubleshooting
You can view or send the log files to your administrator to help determine causes of and solutions to problems. Procedure 1. Right-click Polycom Pano App on the application’s title bar. 2. Select Log Collector. 3. Enter the recipient’s email address. -
Page 28: Troubleshooting
The administrator might ask for the serial number of the Pano system. Procedure 1. Look for the serial number on the bottom of the system. Locating the IP Address You can view the system IP address on the Pano device home screen. Polycom, Inc.
Need help?
Do you have a question about the Pano and is the answer not in the manual?
Questions and answers