Advertisement
Advertisement

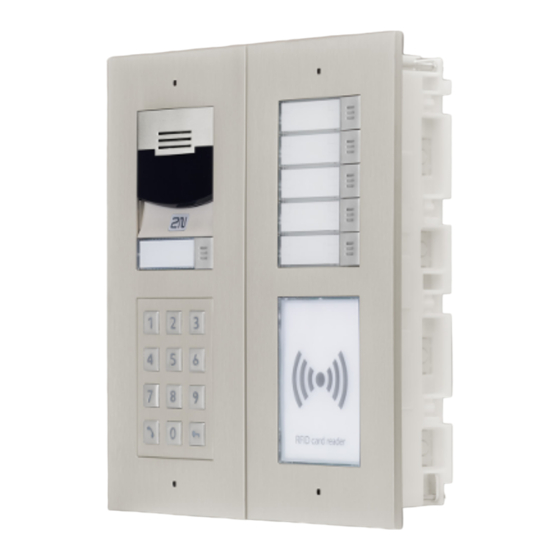
Related Manuals for 2N IP Verso


Summary of Contents for 2N IP Verso
- Page 1 2N IP Verso Set-up with a PEAKnx touch panel and YOUVI...
- Page 2 Set-up of a 2N door station with a PEAKnx touch panel Created for use with the following products Compatible door station Controlpro, Controlmini, Controlmicro, YOUVI 2N IP Verso The product names mentioned in this document may be brands or registered trademarks of their respective owners.
-
Page 3: Table Of Contents
1.1. Setting up the Controlmini/-pro in the Fritzbox ........4 1.2. Setting up the 2N IP Verso door intercom in the Fritzbox ......4 2. -
Page 4: Introduction
Set-up of a 2N door station with a PEAKnx touch panel Introduction The following instructions explain how to set up a 2N IP Verso door station with your PEAKnx touch panel. The communication between the touch panel and the door station is realized via SIP. -
Page 5: Setting Up The 2N Ip Verso Door Intercom
Connect the 2N device to a PoE-enabled switch on your network. To be able to set up the IP Verso, you must enter its IP address into your browser. It is also specified in the instructions of the door station, e.g.: 192.168.188.30. - Page 6 Place a check mark at “Use Authentication ID”. Under “Authentication ID” and “Password”, enter the authentication name and the password which you have assigned for the 2N door station in the Fritzbox. Under “Proxy Address” enter the IP address of the Fritzbox (registrar).
- Page 7 Set-up of a 2N door station with a PEAKnx touch panel The status should now show “Registered”. Return to the main menu. Create a new user under Directory > Users. Therefore, click on the following icon: Enter a suitable name for the panel under “Name”, e.g. Controlmini.
- Page 8 Set-up of a 2N door station with a PEAKnx touch panel In order for YOUVI to access the camera stream of the 2N door station, it must be enabled on the IP Verso. To do this, go to Services > HTTP API and set the camera API to “Unsecure(TCP)”...
-
Page 9: Setting Up The Youvi Camera Module (With Bria Solo Free)
3. Setting up the YOUVI camera module (with Bria Solo Free) To make use of the 2N door station’s camera, it needs to be added and set up within YOUVI Configuration. To add the camera module open YOUVI Dashboard on the panel and select Install Camera Device. - Page 10 Set-up of a 2N door station with a PEAKnx touch panel network as the PEAKnx touch panel. To do this, enter the following URL in your brow- ser: ж http://x.x.x.x:31228 ж Where x.x.x.x must be replaced by the local IP address of your PEAKnx touch panel.
- Page 11 Set-up of a 2N door station with a PEAKnx touch panel Note: Keep in mind that high frame rates (short refresh intervals) and resolutions put additio- nal strain on your network. Click “Save” to register the settings with your PEAKnx touch panel.
- Page 12 Set-up of a 2N door station with a PEAKnx touch panel For the “Domain” enter the IP address of your Fritzbox and for “SIP Username” and “Password” enter the user name and password which you have assigned for the Cont- rolmini in the Fritzbox/SIP server.
-
Page 13: Technical Support
Softphone > Preferences and check “Launch when Windows starts”. To test the correctness of these settings, press the bell on your 2N door station. After a few seconds, your PEAKnx touch panel should display an incoming call notification. -
Page 14: About Peaknx
Set-up of a 2N door station with a PEAKnx touch panel About PEAKnx As a manufacturer of innovative hardware and software components, PEAKnx develops products for future-proof building automation. For example, individual front-end panels including visualization, which make all information of an intelligent building available at a central point. - Page 15 www.peaknx.com...
Need help?
Do you have a question about the IP Verso and is the answer not in the manual?
Questions and answers