Table of Contents
Advertisement
Quick Links
Advertisement
Table of Contents

Related Manuals for Bresser T-REX 2


Summary of Contents for Bresser T-REX 2
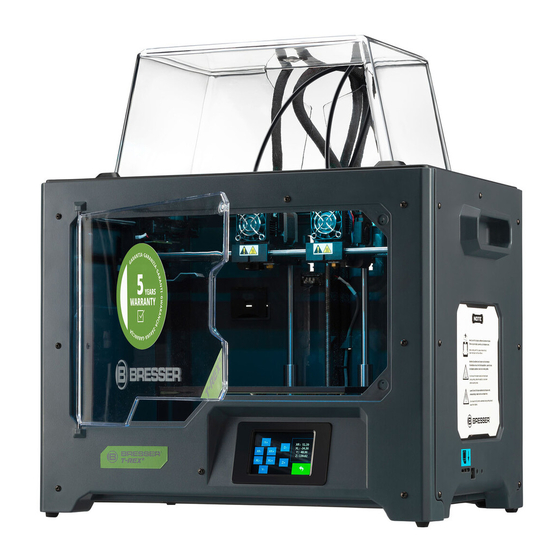
- Page 1 3D printer Art. No. 2010600 Quickstart Guide WARNING! • Hot surfaces! Do not touch the heat nozzle and the construction platform in operation! • Danger! Moving parts in printer may cause injury. Do not wear gloves or other sources of entanglement in operation!
-
Page 2: Warranty
• Article number and Product description • Date of purchase and dealer Contact details: e-Mail: service.3d@bresser.de (preferred communication) Internet: www.bresser.de/c/de/service Phone*: 00 800 – 63 43 7000 Service hours: Monday to Friday (except national public holidays) 9:00 a.m. to 3:00 p.m. CET... -
Page 3: Set Contents
Set contents 3D printer Filament spool Top cover Service card Quickstart guide Power cable USB cable SD card Spool holder Build tape Screwdriver Stamping Allen wrench Pin tool Scraper wrench PTFE tube Guide tube Grease Glue stick Anti-oozing plate Levelling card Levelling nut - 3 -... - Page 4 Unpacking This 3D printer set was packed with care. Please follow the unpacking steps laid out below. CAUTION! • Remove the package and take out accessories carefully! Do not use force! • Do not tear off the yellow adhesive tape around the nozzle. It has thermal insulation and high temperature resistance characteristics.
- Page 5 5. Carefully take the extruder out of 6. Remove the foam shape. Use a the foam shape. Avoid the nozzle scissors to cut the two ties on both touching the desk to prevent from sides of the x-axis guide rail and scratching it.
-
Page 6: Parts Overview
Parts overview 1. Printing platform 8. Slot 15. SD card slot 2. Platform support 9. Nozzle cooling fan 16. USB cable input 3. Leveling nut 10. Spring presser 17. Guide tube buckle 4. LCD panel 11. Main cooling fan 18. Spool holder slot 5. -
Page 7: Installation
Installation Assempling the extruder 1. Lower the platform and place the dual extruder on the extruder seat. 2. Take the M2.5 Allen wrench from the tool bag and four M3 bolts from the accessory kit. 3. Adjust the extruder above the Holes for bolts extruder bracket to align the holes for the bolts. - Page 8 Installing guide tube and filament 1. Level the spool holder and insert it with its plate facing forward into the corresponding opening at the printer's backside. 2. Turn down the spool holder to make the holder bottom cleave to the printer's backside.
- Page 9 Important tips Guide tube 1. The filament spool must be oriented buckle corectly (see below illustrations) 2. After the guide tube fixation is Limited seat completed, press the left spring presser of the extruder, put the Lock the guide tube with R-shape filament vertically into the left buckles.
-
Page 10: General Settings
General settings Loading/Unloading the filament Manual Print Preheat Tools 1. Tap on [Tools] > [Filament] R Extruder Heating... 2. Tap on [Load] to start the extruder heating up. After the target temperature is reached, manually insert the filament into the filament feeding wheel. When the filament is ejected from the nozzle, it indicates that loading is completed. - Page 11 Leveling Manual Next 1. Tap on [Tools] > [Level] to start leveling. The printer will finish homing first. 2. After stoping movement of extruder and platform, tighten the three nuts below the platform counterclockwise. Next IMPORTANT NOTE: This needs to be done to avoid scratches to the build plate by the extruder! Next 3.
- Page 12 Calibrating the axis Z-axis calibration Manual Print Preheat Tools 1. Tap on [Tools] > [Setting] > [Z calibration]. The printer uses a compensation layer mechanism. Instead of manually adjusting the installation positions of the left and right nozzles, a program is used to calculate the height difference between the two nozzles.
-
Page 13: X-Axis Calibration
X-axis calibration X-axis calibration is used to adjust the consistency of the two extruders in the X-axis direction to prevent misalignment during printing. IMPORTANT NOTE: Make sure that the filament has been inserted into the extruder before starting the x-axis calibration. 1. -
Page 14: Y-Axis Calibration
Y-axis calibration Y-axis calibration is used to adjust the consistency of the two extruders in the Y-axis direction to prevent misalignment during printing. 1. Tap [Setting]-[Y Calibration], or continue the Y-axis calibration after the X-axis calibration is completed. After the machine initialization movement is completed, the nozzle and the platform will be heated. -
Page 15: First Print
First print After installing, loading filament and calibrating, it start your first print. 1. Insert the SD card to the side of machine. Print Preheat Tools Test 2. Tap on [Print] > [SD card] > [Test]. Choose a test file from the folder for a first print. - Page 16 Bresser GmbH Gutenbergstr. 2 · DE-46414 Rhede Germany www.bresser.de · service@bresser.de Errors and technical changes reserved. Quickstart_2010600_T-REX-2-3D-printer_en_BRESSER_082020a...
Need help?
Do you have a question about the T-REX 2 and is the answer not in the manual?
Questions and answers