Monogram ZV48R Installation Instructions Manual
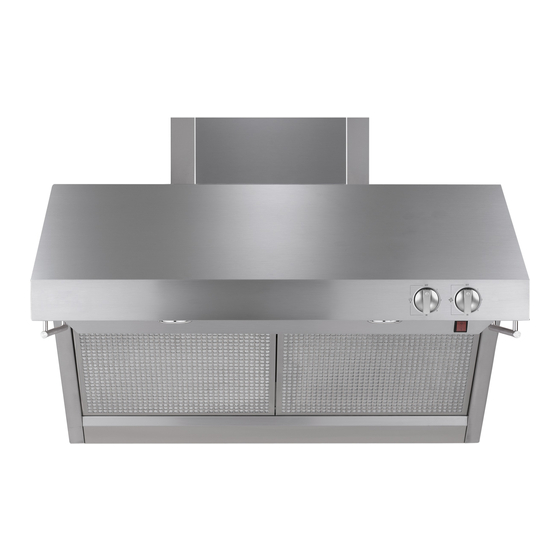
Professional restaurant style vent hoods
Hide thumbs
Also See for ZV48R:
- Installation instructions manual (32 pages) ,
- Installation instructions manual (16 pages) ,
- Installation instructions manual (16 pages)
Advertisement
Quick Links
Advertisement

Related Manuals for Monogram ZV48R


Summary of Contents for Monogram ZV48R
- Page 1 INSTALLATION INSTRUCTIONS 30”, 36” and 48” Professional Restaurant Style Vent Hoods MONOGRAM.COM...
- Page 2 Completion Time — 1 to 3 Hours. the heating equipment manufacturer’s guidelines covered under the warranty. monogram.com or call 1.800.444.1845. monogram.ca or call 1.800.561.3344. (replacement) air system in accordance with local building code requirements. Visit GEAppliances.com monogram.com/use-and-care/parts or call...
- Page 3 Durée d’assemblage — 1 à 3 heures. garantie ne s’applique pas. monogram.com ou appelez le 1.800.444.1845. combustion et une évacuation appropriées des gaz par le conduit d’évacuation (cheminée) de l’équipement à monogram.ca ou appelez le 1.800.561.3344.
- Page 4 Si se producen fallas en el producto debido pautas y estándares de seguridad del fabricante del equipo mismas. visite monogram.com o llame al 1.800.444.1845. monogram.ca o llame al 1.800.561.3344. monogram.com/use-and-care/parts o llame al 1.800.444.1845.
- Page 5 Installation Instructions CONTENTS Safety Information ............2 ............... 8 ............3 ..Installation Clearances ..........4 ......... 10 ......... 4 ......11 ....5 .......... 12 ............6 ........... 12 ..............6 .......... 12 ........................12 Tools and Materials Required ...................
- Page 6 Advance Planning INSTALLATION CLEARANCES OPTIONAL DUCT COVER ACCESSORIES These vent hoods are designed to be installed onto a wall or beneath a soffit or cabinet. Standard decorative duct covers are available in 6" Installation with Warming Shelf from the top of the hood to the ceiling. type cooking surface when warming shelf is used.
- Page 7 Advance Planning DETERMINE INSTALLATION HEIGHT, DUCT COVER ACCESSORIES These vent hoods must be installed Restaurant-Style Hoods without Restaurant-Style Hoods with Shelf Warming Shelf Installed Installed *Possible *Possible Actual Hood 6” Duct 12” Duct Hood 6” Duct 12” Duct Ceiling Installation Covers Covers Installation...
- Page 8 Advance Planning ADVANCE PLANNING POWER SUPPLY Ductwork Planning IMPORTANT - (Please read carefully) WARNING AVERTISSEMENT ADVERTENCIA elbows to vent horizontally through the rear wall. Remove house fuse or open circuit breaker before beginning installation. configurations. prevailing local codes and ordinances. Electrical supply outdoors.
- Page 9 Advance Planning DUCT FITTINGS Total Equivalent Quantity Equivalent Duct Piece Dimensions Length* Used Length Hoods Are Equipped 10" round 5 ft. For 10" Round Duct to 8" round 1 ft. (per foot for duct runs to outdoors. straight length) NOTE: lengths! Maximum recommended duct length for these hoods: 150 feet...
- Page 10 Installation Preparation REMOVE THE PACKAGING Duct from the "V" shaped Transition cardboard section. Wood Mounting Parts Hood Remove shipping pads. and lift out. Support Motor grease trays. Set Mounted IMPORTANT: Lift the hood on Skid grease filters and trays aside by grasping the outside Shipping Carton opening on the top.
- Page 11 Installation Instructions DETERMINE HOOD, DUCTWORK AND WIRING LOCATIONS Draw the line to ceiling height. 9-7/8" to the cooking surface. Top of Hood NOTE: Wood 22-1/2" Support 20" one or more duct covers. *House Wiring Location of hood location Bottom of Hood Dimension A from the desired installation height.
- Page 12 Installation Instructions INSTALL HOOD ONTO WALL SKIP THIS STEP IF INSTALLING BENEATH A Install Transition Onto Top of Hood SOFFIT OR CABINET, GO TO STEP 2B. IMPORTANT: Remove shipping tape from damper and check that damper moves freely. below the 20" marked line. and secure with 4 screws provided.
- Page 13 Installation Instructions Alternate Mounting Method IMPORTANT: Soffit framing must be capable of INSTALL HOOD TO SOFFIT OR supporting up to 150 lbs. BENEATH CABINETS Install Transition Onto Top of Hood SKIP THIS STEP IF USING WALL MOUNTING IMPORTANT: Remove METHOD shipping tape from damper Duct and check that damper...
- Page 14 Installation Instructions CONNECT DUCTWORK INSTALL DUCT COVERS NOTE: airflow as illustrated. after film is peeled off. Remove protective film from duct covers. If more than with screws provided. with duct tape for an airtight seal. Air Flow Duct Tape Over Seam seal the flange Screw and Screw...
- Page 15 Installation Instructions INSTALL FILTERS engage the slots in the hood track. the bottom. Raise filter to the top and lock into place. up and lift out. INSTALL BACKGROUND AND SHELF INSTALL BACKGUARD This hood can be installed with the warming shelf and backguard together or with the warming shelf or backguard alone.
- Page 16 Notes...
- Page 17 Notes...
- Page 18 NOTE: safety glasses or goggles should be worn. ® monogram.com. NOTE: and specifications are subject to change without notice. 31-2000856 Rev. 0 10-20 GEA Printed in Mexico...
Need help?
Do you have a question about the ZV48R and is the answer not in the manual?
Questions and answers