Do you have a question about the HydroTap G5 Classic Plus and is the answer not in the manual?
Questions and answers
Karen Flanders
April 23, 2025
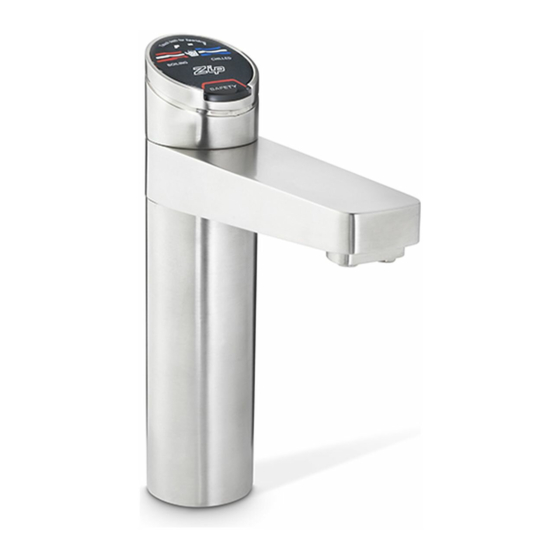
what does the flashing ! symbol mean please
1 comments:
Mr. Anderson
May 11, 2025
The flashing "!" symbol on the Zip HydroTap G5 Classic Plus indicates that the filter needs replacing, there is a CO₂ warning, or the unit is in an error mode. Refer to the Command Centre screen for more details.
This answer is automatically generated
Peter
June 24, 2025
Good day,
Would you be able to provide estimated useful life span for this Hydrotap G5 Boiling and Chilled Tap? Thanks heaps


Need help?
Do you have a question about the HydroTap G5 Classic Plus and is the answer not in the manual?
Questions and answers
what does the flashing ! symbol mean please
The flashing "!" symbol on the Zip HydroTap G5 Classic Plus indicates that the filter needs replacing, there is a CO₂ warning, or the unit is in an error mode. Refer to the Command Centre screen for more details.
This answer is automatically generated
Good day, Would you be able to provide estimated useful life span for this Hydrotap G5 Boiling and Chilled Tap? Thanks heaps