
Related Manuals for INOXPA RF Series


Summary of Contents for INOXPA RF Series
- Page 1 INSTALLATION, SERVICE AND MAINTENANCE INSTRUCTIONS FLEXIBLE IMPELLER PUMP Original Instructions 01.650.30.02EN (A) 2021/01...
- Page 2 Applicable harmonized standards: EN ISO 12100:2010 EN 809:1998+A1:2009/AC:2010 EN 60204-1:2006+A1:2009 The technical file has been prepared by the signer of this document in INOXPA S.A.U. David Reyero Brunet Technical Office Manager Banyoles, 24th February, 2020 The serial number may be preceded by a slash and by one or two alphanumeric characters...
-
Page 3: Table Of Contents
9.5. Cross section of RF pump (monoblock) ........................22 9.6. Parts list of RF pump (monoblock) ..........................22 9.7. Cross section of RF pump (bare shaft) ........................23 9.8. Parts list of RF pump (bare shaft) ..........................23 INOXPA S.A.U. · 01.650.30.02EN · (A) 2021/01... -
Page 4: Generalities
• risk to the environment due to the type of substances released. 2.3. WARRANTY Any warranty will be void immediately and lawfully and, additionally, INOXPA will be compensated for any civil liability claims submitted by third parties, in the following cases: •... -
Page 5: Safety
Important instruction for the protection of the equipment and its functions ATTENTION 3.2. GENERAL SAFETY INSTRUCTIONS Read the instruction manual carefully before installing and starting the pump. Contact INOXPA in case of doubt. 3.2.1. During the installation 9. Technical Specifications of chapter 9 should always be observed. -
Page 6: General Information
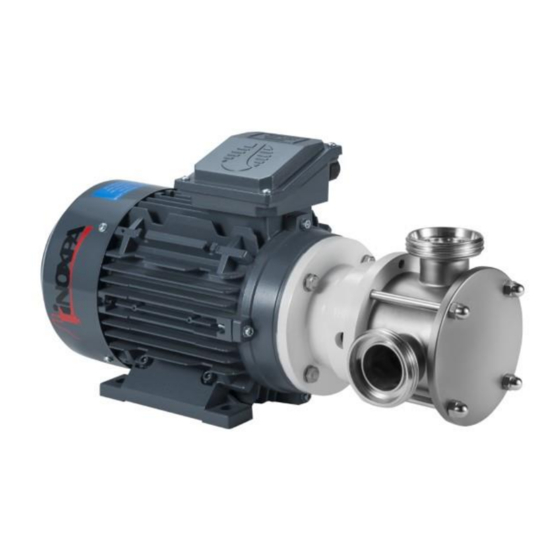
The pumps of the RF series are available both in monoblock version with direct motor at 900 rpm or at 1450 rpm and in bare shaft configuration. Optionally, the can also be supplied mounted on a stainless-steel or iron trolley. -
Page 7: Installation
Installation 5. Installation 5.1. RECEPTION OF THE PUMP INOXPA cannot be held responsible for the damage sustained by the equipment during transport or unpacking. Please visually check that the packaging is not damaged. The pump package includes the following documents: •... -
Page 8: Transport And Storage
Over 68ºC the operator should take protective measures and place warning notices advising of the danger which exists if the pump is touched. The type of protection chosen should not isolate the pump entirely. This allows better cooling of the bearings and lubrication of the bearings support. INOXPA S.A.U. · 01.650.30.02EN · (A) 2021/01... -
Page 9: Pipes
• Start and stop the pump motor momentarily. Make sure that the direction of rotation is correct. If the pump rotates in the wrong direction it could cause serious damage. ATTENTION ALWAYS check the direction of rotation of the motor with liquid inside the pump. · INOXPA S.A.U. 01.650.30.02EN · (A) 2021/01... -
Page 10: Start-Up
Prior to starting the pump, carefully read the instructions in section Installation. Carefully read section 9. Technical Specifications. INOXPA will not be liable for improper use of the equipment. NEVER touch the pump or the lines if hot liquids are being pumped. 6.1. CHECKS BEFORE STARTING THE PUMP •... - Page 11 Start-up Use special protection when the sound pressure in the operation area exceeds 85 dB(A) · INOXPA S.A.U. 01.650.30.02EN · (A) 2021/01...
-
Page 12: Troubleshooting
The following table provides solutions to problems that might arise during the operation of the pump. The pump is assumed to have been properly installed and be suitable for the relevant application. Please contact INOXPA if technical assistance is required. Motor overload... -
Page 13: Maintenance
Under normal working duties, they must be changed after 15 000 working hours. 8.6. CLEANING The use of aggressive cleaning products such as caustic soda and nitric acid may give to skin burns. Use rubber gloves during cleaning procedures. Always use protective goggles. · INOXPA S.A.U. 01.650.30.02EN · (A) 2021/01... - Page 14 Check the concentration of the cleaning solutions. Incorrect concentrations may lead to the deterioration of the pump seals. To remove any traces of cleaning products ALWAYS perform a final rinse with clean water at the end of the cleaning process. INOXPA S.A.U. · 01.650.30.02EN · (A) 2021/01...
-
Page 15: Disassembly And Assembly Of The Pump
Incorrect assembly or disassembly may cause damage in the pump’s operation and lead to high repair costs and a long period of downtime. INOXPA is not responsible for accidents or damages caused by a failure to comply with the instructions in this manual. - Page 16 3. Insert the pin (56) through the shaft. 4. Mount the lantern (04) to the motor flange (93) and fasten it with the hexagonal screws (52) and the washers (53). Motor size Ø T. 80 T. 90 T. 100 INOXPA S.A.U. · 01.650.30.02EN · (A) 2021/01...
- Page 17 2. Place the stop ring (31) and attach it using the elastic ring (66A). 3. Mount the assembly to the support of the bearings (06) and attach it using the elastic ring (66). · INOXPA S.A.U. 01.650.30.02EN · (A) 2021/01...
-
Page 18: Technical Specifications
Parts in contact with pumped material AISI 316L Other parts in stainless steel AISI 304 Seals in contact with the product Other materials for the seal check with INOXPA Surface finish matt Mechanical seal Type of seal: single outside seal... -
Page 19: Weight
Technical Specifications 9.1. WEIGHT Bare shaft Monoblock Weight Weight Pump type [Kg] [Kg] RF-02/20 RF-05/25 RF-10/40 RF-20/50 RF-30/65 · INOXPA S.A.U. 01.650.30.02EN · (A) 2021/01... -
Page 20: Rf Pump Dimensions (Monoblock)
Technical Specifications 9.2. RF PUMP DIMENSIONS (MONOBLOCK) Pump type RF-02/20 RF-05/25 RF-10/40 RF-20/50 9.3. RF PUMP DIMENSIONS (BARE SHAFT) Pump type CLAMP CLAMP 1551 RF-02/20 RF-05/25 RF-10/40 RF-20/50 RF-30/65 INOXPA S.A.U. · 01.650.30.02EN · (A) 2021/01... -
Page 21: Exploded Drawing Of Rf Pump
Technical Specifications 9.4. EXPLODED DRAWING OF RF PUMP · INOXPA S.A.U. 01.650.30.02EN · (A) 2021/01... -
Page 22: Cross Section Of Rf Pump (Monoblock)
Pump cover AISI 316L Lantern GG15 Shaft AISI 316L Mechanical seal* Cer/C/NBR Tie bar AISI 304 Blind nut Hexagonal screwl Flat washer Steel Elastic pin O-ring* Splash ring EPDM Motor Recommended spare parts INOXPA S.A.U. · 01.650.30.02EN · (A) 2021/01... -
Page 23: Cross Section Of Rf Pump (Bare Shaft)
GG 15 Mechanical seal Cer/C/NBR Spacer bushing F-114 Tie bar AISI 304 Stop ring F-114 Blind nut Elastic ring Steel Elastic ring Steel Bearing Steel O-ring Splash ring EPDM Seal Recommended spare parts · INOXPA S.A.U. 01.650.30.02EN · (A) 2021/01... - Page 24 How to contact INOXPA S.A.U.: Contact details for all countries are Continually updated on our website. Please visit www.inoxpa.com to access the information. INOXPA S.A.U. Telers, 60 – 17820 – Banyoles – Spain Tel.: +34 972 575 200 – Fax.: +34 972 575 502...
Need help?
Do you have a question about the RF Series and is the answer not in the manual?
Questions and answers